What sandpaper grit numbers mean
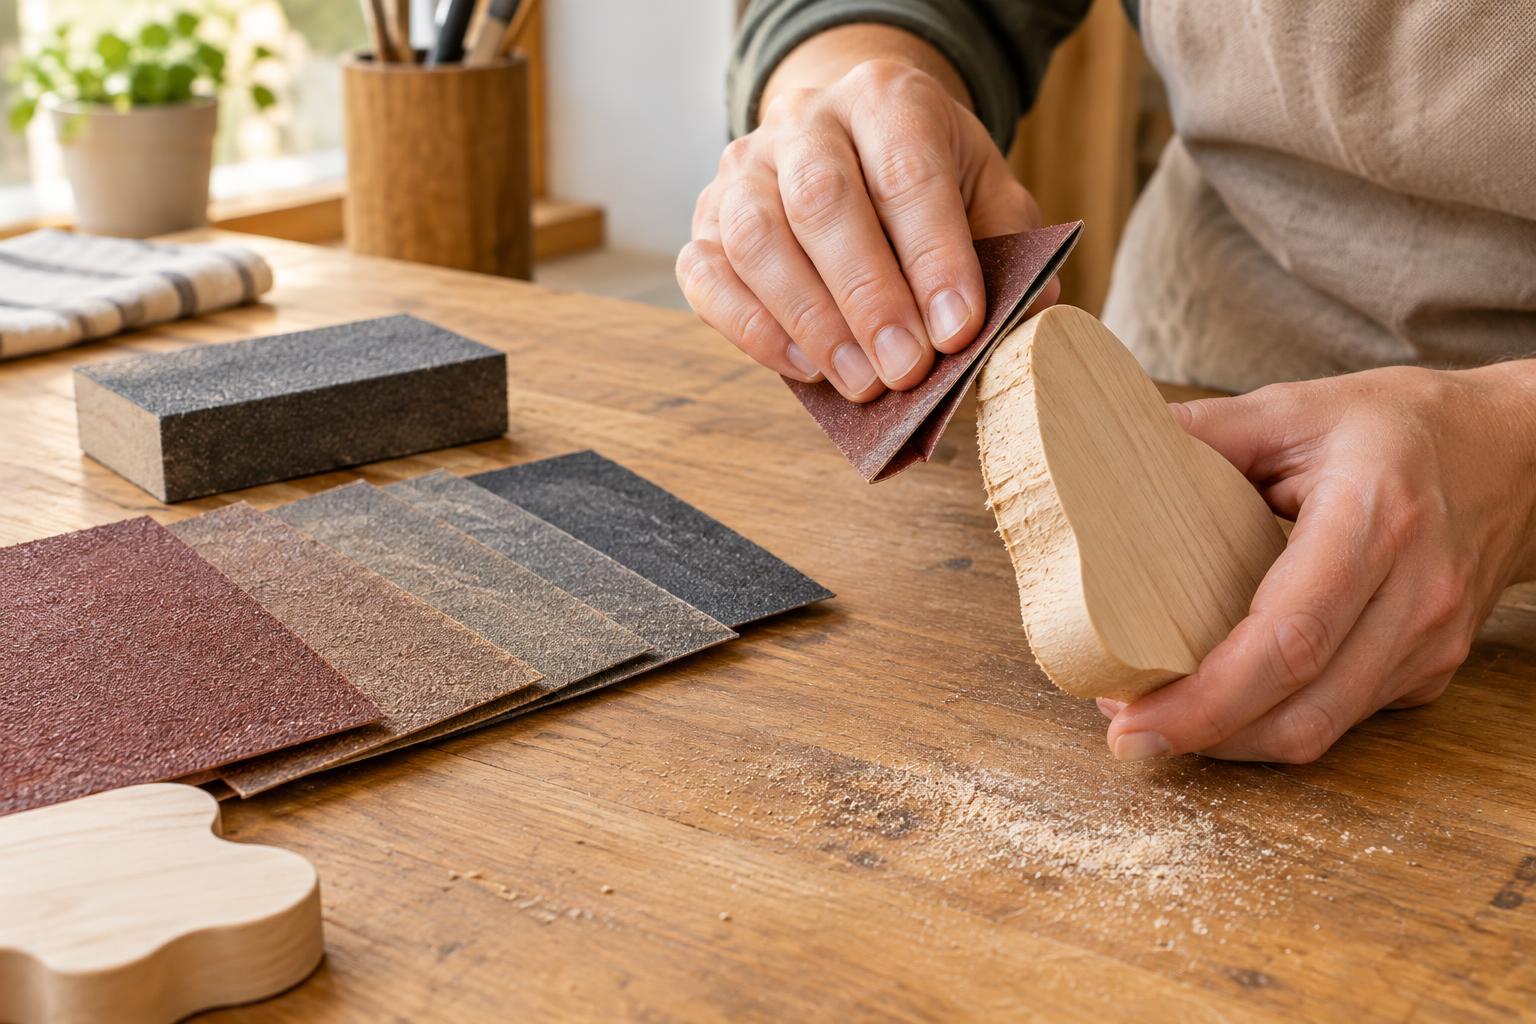
Sandpaper is covered with abrasive particles that scrape away small amounts of material. Its grit number describes how coarse or fine that abrasive is: lower numbers cut more aggressively, while higher numbers leave finer scratches. Choosing a grit is less about finding one perfect sheet and more about deciding how much material you need to remove before refining the surface.
For small wooden craft projects, 80–120 grit is useful for noticeably rough areas or shaping an uneven edge. Around 150–180 grit can smooth marks left by coarser paper, while 220–320 grit helps prepare a surface for many decorative finishes. These are starting points, not a rule for every material. If the surface is already fairly smooth, begin with a finer grit; coarse paper can create extra work by leaving deep scratches.
Set up the piece before you start
Check the edge in good light and run a finger near it carefully to locate splinters or sharp spots. Decide whether you want to keep a crisp corner or soften it slightly. Sanding can change a shape faster than expected, especially on thin wood, so mark any edge that needs to stay straight and secure the piece on a stable work surface. A clamp with scrap material beneath its jaws can hold a small piece without leaving marks.
A sanding block helps keep pressure even on flat surfaces. You can wrap sandpaper around a small, flat offcut or use a ready-made block. For a narrow curve, fold the paper or wrap it around a suitably shaped object without forcing the curve flat. Have a way to collect dust, and work with ventilation. Eye protection and a well-fitting dust mask are sensible when sanding produces airborne dust. Avoid sanding an unknown old coating, since you may not know what its dust contains.
Smooth rough edges in stages
Start with the least aggressive grit likely to do the job. On a rough wooden edge, make a few controlled passes with 120 grit, then stop and inspect it. Hold the block flat if you want to preserve a straight edge. If the corner feels uncomfortably sharp, tilt the block only slightly and make light, even passes along its length. This creates a small softened edge rather than a large, uneven bevel.
Once splinters and obvious bumps are gone, move to a finer grit such as 180, then 220 if the finish calls for it. Each step should remove the scratches left by the previous one. On the broad face of wood, sand with the grain where practical; scratches across the grain can become more noticeable under a finish. End grain, found at the cut end of a board, may need a little more attention, but use light pressure so its corners do not round over.
Wipe away dust between grits with a clean, dry cloth or a suitable dust-collecting tool. Dust can hide scratches and make it difficult to judge progress. Check the piece by sight and touch before moving on: it should feel consistently smooth, not merely smooth in the area you have sanded most often.
Match the method to the material and finish
Sandpaper is particularly useful for unfinished wood and some rigid craft materials, but not every rough edge needs sanding. Paper and cardstock may fray when abraded; a sharp craft knife or scissors usually gives them a cleaner edge. Fabric edges are better managed with sewing or other fabric-finishing methods. If you are working with plastic, test an inconspicuous spot first because sanding can leave visible scratches, and take care not to breathe the dust.
Consider the next step of your project before making the surface finer. Paint can cover minor sanding marks, but a transparent finish may reveal them. Some finishes and adhesives also need a clean, sound surface to bond well. Follow the product’s preparation directions rather than assuming that the highest grit number is always best. Remove sanding dust thoroughly before applying glue, paint, or finish.
Common mistakes and a simple practice exercise
Pressing hard, skipping directly from very coarse to very fine paper, and sanding one spot for too long are common causes of uneven results. Let the abrasive do the cutting. Replace paper when it stops cutting effectively or becomes clogged; extra pressure on worn paper rarely helps. Keep fingers clear of the working edge, and never use a powered sander on a tiny piece held in your hand.
To practise, take an unfinished wood offcut and divide one edge into two sections with pencil marks. Smooth one section using light passes through 120, 180, and 220 grit, checking it after each stage. Leave the other section untouched for comparison. The exercise helps you feel how each grit changes the edge—and when to stop before the shape changes more than you intended.


