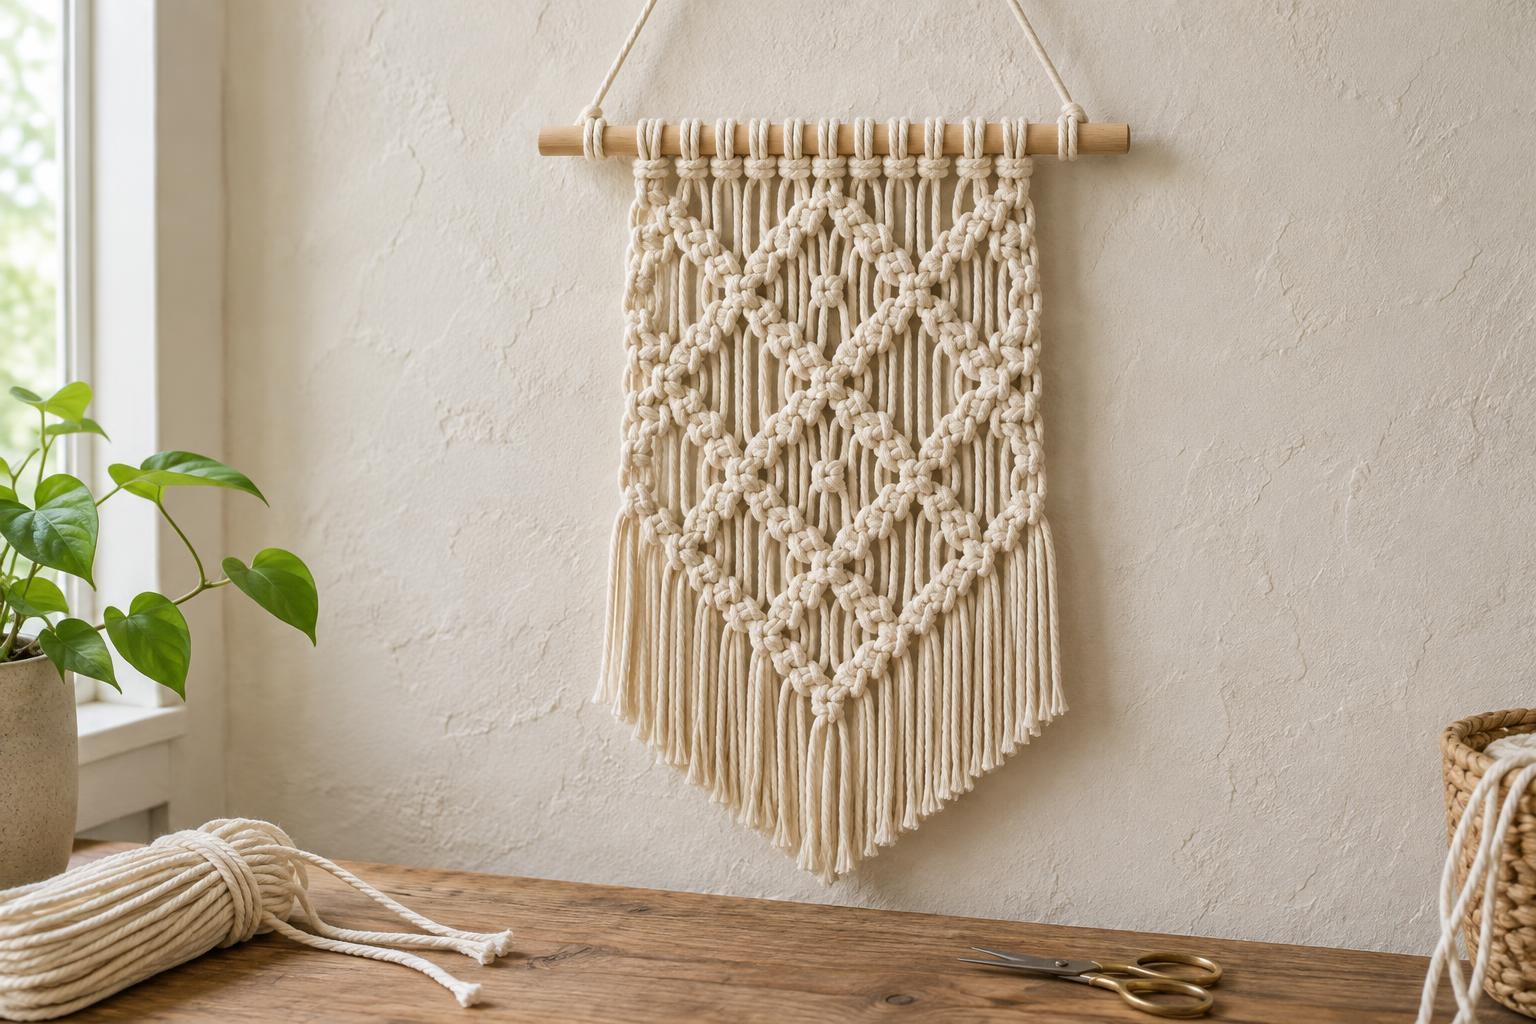
Gather your materials
For this project, you need a wooden dowel about 30 cm long, eight pieces of macramé cord, scissors, a measuring tape, and something sturdy to hold the dowel while you work. A hook on a secure door hanger or a temporary hanging spot can help keep the cords within reach. A comb is optional if you want soft, brushed-out fringe.
Choose a cord that feels comfortable to handle, such as cotton macramé cord around 3 to 5 mm thick. Softer cord is easier to straighten and adjust than stiff rope. Cut eight pieces about 2 m long. This gives you room to practise and trim the ends; the finished length will vary with your knot spacing. Measure one piece first, then use it as a guide for cutting the others. Keep a few short offcuts nearby for practising before you begin the wall hanging.
Avoid starting with cords that are only just long enough for the finished piece. Knots use more cord than straight hanging strands, and an uneven cut can be difficult to correct later.
Attach the cords to the dowel
Fold one cord in half and place the folded loop over the dowel. Bring both loose ends through the loop and pull them down gently to make a lark’s head knot. Repeat with the other seven cords, spacing the loops evenly across the dowel. You now have 16 hanging strands.
Arrange the strands into four neighbouring groups of four. In each group, the two outside strands will form the knots, while the two middle strands will stay mostly straight. Hang the dowel before tying the pattern so the strands can fall naturally. Straighten any twists and check that the two ends of each folded cord are roughly level. If the mounting knots slide too easily, snug them up before moving on.
Try to work at a comfortable height rather than pulling the cords across a table. When the strands hang freely, it is easier to see which ones belong to each group and to judge whether your knots sit in a straight row.
Learn one complete square knot
Start with the leftmost group of four strands. Move the left outside strand across the front of the two middle strands and under the right outside strand. Bring the right outside strand behind the two middle strands, then pass it forward through the loop on the left. Pull the outside strands gently and evenly. This makes the first half of a square knot.
For the second half, reverse the direction: move the right outside strand across the front of the middle pair and under the left outside strand. Bring the left outside strand behind the middle pair and forward through the loop on the right. Pull both outside strands until this half sits beneath the first. Together, the two halves make one square knot.
Keep the middle strands fairly straight and tighten with a steady pull on both outside strands. If you repeat the first half instead of reversing it, the work may begin to twist. Undo that half and try again; macramé is forgiving when you catch a mistake early.
Build an alternating pattern
Tie one square knot in each of the four groups to complete your first row. Aim to place the knots at a similar distance below the dowel, but do not worry about making them identical. Leave a small gap beneath the row so the pattern has room to show.
For the next row, set aside the first two strands on the far left and the last two on the far right. Take the remaining 12 strands in three new groups of four and tie one square knot in each group. These knots will sit between the knots above them. For a third row, return to the original four groups and tie another square knot in each. Repeat the alternating rows until the knotted area looks balanced above the length of fringe you want.
Pause after each row to separate the strands with your fingers. Check that no strand has crossed into the wrong group and that the gaps between rows look reasonably consistent. If one knot sits much higher than its neighbours, loosen it and adjust it before adding more rows below.
Finish and tidy your wall hanging
When you like the length of the knotted section, let the loose strands hang and trim them into a straight line or a shallow V. Cut less than you think you need at first; you can always shorten the fringe, but you cannot put length back. For a softer edge, gently separate and comb the ends if your cord is suitable for brushing.
You can hang the dowel by tying a separate piece of cord to its ends, checking that the knots are secure before displaying the piece. Step back and look at the overall shape. Minor differences in tension often look less noticeable from a distance than they do while you are tying.
If the hanging pulls to one side, check that the mounting knots are spaced evenly and that you have used the same number of strands in each knot. If the rows seem cramped, allow a little more space between them on your next attempt. This small project is a useful way to practise even tension before trying larger macramé designs.


