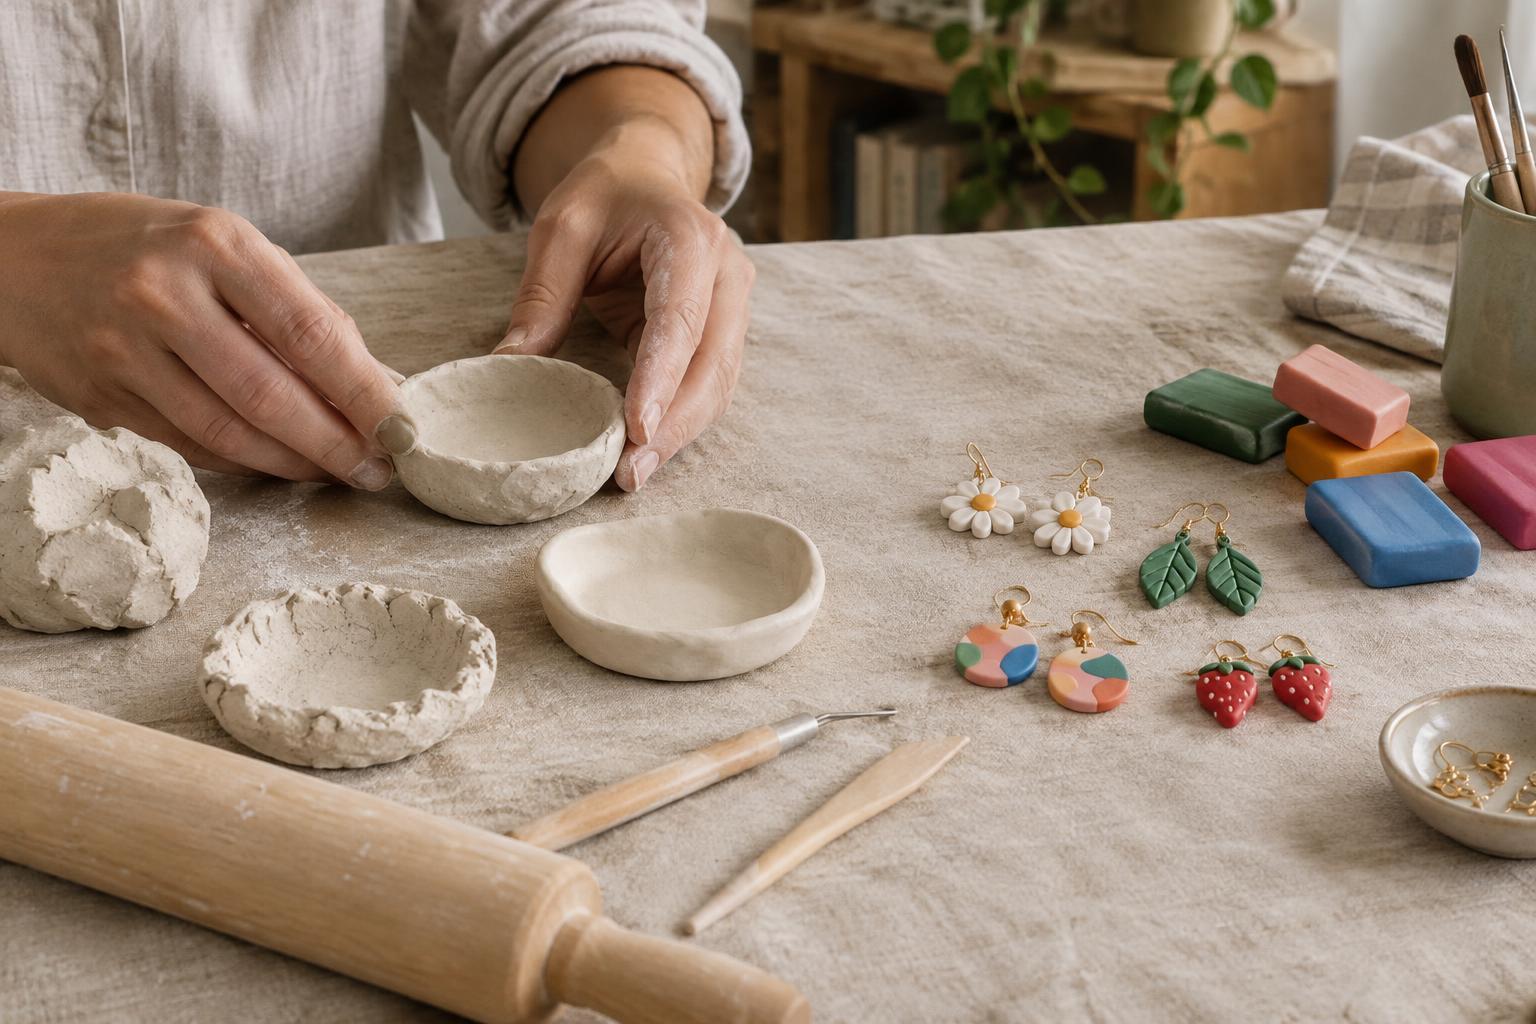
Start with the decoration you want to make
For a small home decoration, the best clay depends less on experience than on the finished object. Air-dry clay is a convenient choice for simple ornaments, stamped shapes, and decorative dishes because it hardens without an oven. Polymer clay is often better for tiny details, thin shapes, colorful patterns, and repeated pieces such as matching magnets. Both are approachable for beginners, but neither is ideal for every shape or setting.
Before choosing, decide where the piece will live. A decoration that hangs indoors has different demands from an item placed near a sink or handled every day. Neither material should be assumed suitable for food contact. If you are making a little dish, plan to use it for dry objects such as keys or jewelry, not for serving snacks.
How the materials behave while you work
Air-dry clay contains moisture and firms up as that moisture leaves. It usually feels soft enough to press into a mold, roll flat, or mark with stamps. You can often smooth a small seam with a little water, though too much water can turn the surface mushy. Because the clay shrinks as it dries, very thick areas or uneven thicknesses may crack or warp. It can also begin drying while you work, so keep unused clay covered.
Polymer clay stays workable until it is cured with heat according to the package directions. That gives you more time to shape fine details or make several pieces before curing them together. Colors are available in the clay itself and can be combined for stripes, marbling, or small appliqué details. Some colors may transfer to hands or tools, so clean your work surface when switching shades. Finished flexibility and strength vary by product and by how thick you make the piece.
If you want a pale, matte surface to paint after shaping, air-dry clay is a straightforward starting point. If you want crisp lettering, miniature shapes, or a pattern that runs through the material, polymer clay may make the process easier.
Choose a project that suits the clay
For an air-dry clay ornament, roll the clay to an even thickness on a protected surface. Cut out a shape, smooth its edges, and make a hanging hole before it dries. A simple texture pressed into the front can add interest without making thin, breakable details. Let the ornament dry as directed on the package, turning it if needed so both sides dry evenly. Wait until it is fully dry before painting.
For a polymer clay magnet, condition the clay by working it until it is pliable, then shape a small, fairly flat design. Keep any raised details firmly attached, and cure the piece for the time and temperature specified by its maker. After it has cooled, attach a magnet with an adhesive suitable for the materials and allow the adhesive to set as directed. Make the decoration light enough for the magnet you have chosen.
A shallow decorative dish is possible with either clay, but avoid making the base paper-thin or the rim unusually thick. Air-dry clay needs time to dry throughout; polymer clay needs enough support during curing to hold its intended shape. Test a small sample first if you are unsure how a particular brand handles a curved form.
Prepare, cure, and finish with care
Set up a clean, smooth work area and keep clay tools separate from utensils used to prepare food. For air-dry clay, follow the package guidance on drying time and avoid rushing a thick piece with strong heat. A surface can feel dry while the center still holds moisture. Once the piece is thoroughly dry, you can sand rough spots gently and remove dust before painting. A compatible sealer may help protect the finish, but it will not necessarily make the piece waterproof.
Polymer clay must be cured, not simply left out to dry. Follow the maker’s temperature, timing, and ventilation instructions; an oven thermometer can help you check whether your oven is heating as expected. Do not raise the temperature to speed things up, and do not microwave the clay unless its manufacturer explicitly permits it. Let the piece cool before assessing its firmness or adding paint, adhesive, or a finish.
A quick way to decide
Choose air-dry clay when you want to avoid oven curing, make a larger simple shape, or enjoy painting a matte surface. Choose polymer clay when your project calls for small repeated details, built-in color, or a longer working session without the clay drying on the table. Check the instructions for the particular product you buy, since drying, curing, and finishing requirements can differ.
Whichever clay you pick, start with one small test piece. It will show you how thin you can roll it, how well details hold, and what the finished surface looks like. That small experiment is often more useful than trying to rescue a complicated decoration after it has dried or cured.


