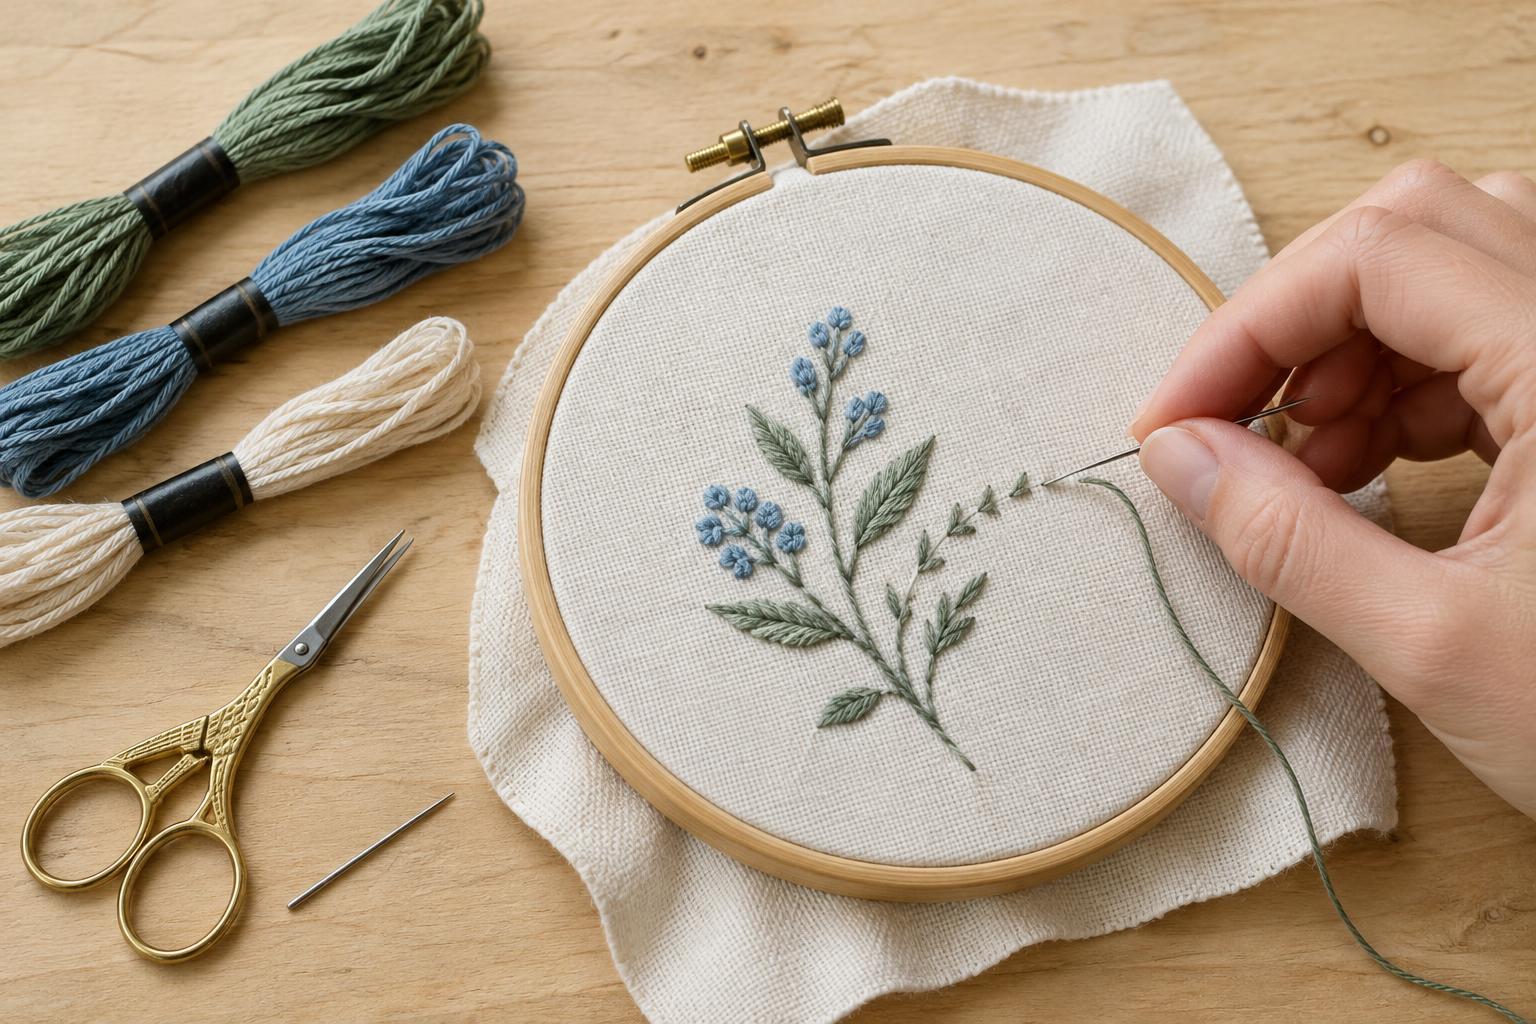
Prepare the fabric, needle, and thread
For a first project, choose a firmly woven cotton or linen fabric. It is easier to place stitches evenly on a stable fabric than on one that stretches. Secure the fabric in an embroidery hoop so it feels smooth and taut, but do not pull it so tightly that the weave becomes distorted. If you have drawn a design, check that its lines are visible before you begin. Test any removable marking tool on a scrap of the same fabric first.
Stranded embroidery floss is a useful starting thread because you can adjust its thickness. Cut a length of about 18 to 24 inches; a much longer length is more likely to tangle or wear as you stitch. Pull out the number of strands your design needs, then bring them together and thread an embroidery needle with an eye large enough to accommodate them. Two strands are a manageable choice for many small outlines, though the right number depends on your fabric and the look you want.
Start with a tail, not a bulky knot
An ordinary knot can leave a bump behind the fabric or catch on other threads. For a simple knotless start, bring your needle up from the back at the beginning of your design, leaving a tail of roughly two inches on the back. Hold that tail against the fabric with a finger while making your first few stitches. Position the stitches so the thread on the back passes over the tail and traps it. Once it is held securely, let go and trim any excess tail without cutting the stitches.
This works best when the first few stitches are close enough to cover the tail. If you are beginning a filled shape, another option is to make two or three tiny anchoring stitches within the area that later stitches will cover. Avoid pulling these anchoring stitches so tight that they pucker the fabric. If you are working an isolated stitch with nothing nearby to secure a tail, a small knot may be more practical; keep it small and consider whether the back of the work will be visible.
Keep the back tidy as you stitch
Try to move from one stitch to the next without carrying thread a long distance across the back. Long loose strands can snag, show through light fabric, or make it difficult to secure a new thread. When the next part of the design is far away, finish the thread and start again at the new location. On a densely stitched area, you can sometimes pass the needle beneath existing stitches on the back to reach a nearby point without leaving a loose strand.
Let the thread relax occasionally by lowering the needle and allowing it to hang freely; this can release twists before they turn into knots. If the fabric puckers, check whether you are pulling each stitch too tightly. A stitch should rest against the fabric rather than draw it inward. If a knot forms on the back, stop and ease it apart with the needle tip instead of pulling harder.
Finish by weaving the tail under stitches
When you have only a short working length left, or you reach the end of a section, take the needle to the back of the fabric. Slide it under several nearby stitches on the back, taking care not to pierce the fabric or disturb the design on the front. For a little extra hold, change direction and pass under a few more stitches. Then trim the thread close to the stitched area, leaving the stitches intact.
Aim to secure the tail under stitches of the same or a similar color, especially on pale fabric where a dark thread might show through. Do not pull hard while weaving: the tail should be held in place without bunching the fabric. If there are no stitches nearby to weave under, make a couple of tiny securing stitches where future embroidery will cover them, or use a small knot if the project allows it.
Check your work before removing the hoop
Turn the work over and look for loose tails, long thread carries, and knots that could catch. Check the front as well: the first and last stitches should sit as evenly as the others, without visible bumps or puckering. If a tail has slipped free, rethread it on the needle and weave it beneath nearby stitches rather than tying a large knot over it.
When the stitching is complete, remove the hoop so it does not leave a lasting ring in the fabric. Following the care needs of your fabric and thread, you can gently smooth the piece from the back if needed. A neat finish does not require a perfectly decorative reverse side; the goal is secure thread, comfortable fabric, and stitches that look clean from the front.


