Choose paper and prepare your workspace
Origami needs little equipment: a square sheet of paper and a flat, clean surface are enough for this project. Lightweight origami paper is easy to crease and comes in useful colors, but a square cut from ordinary printer paper also works. Avoid thick card for your first box. Several layers must fold together near the end, and bulky paper can make them difficult to control.
Start with a square large enough to handle comfortably, around 15 to 20 cm on each side. If you cut your own, check that the edges are equal before you begin; a slightly uneven square can leave the finished box lopsided. Keep the paper flat rather than holding it in the air while folding. You can use a ruler to press a crease, but a fingertip or fingernail is usually sufficient. If the paper has one patterned side, place that side face down to have the pattern on the outside of the finished box.
Practise the folds you will use
A valley fold brings one part of the paper toward you, creating a crease that dips when the sheet is opened. For a clean fold, align the corners or edges first, hold them in place, and then press from the middle toward the ends. Unfolding does not erase the crease: it leaves a guide for later steps.
A center fold divides the square into equal halves. A diagonal fold joins opposite corners and produces a triangle. You will also use a corner-to-center fold, which brings a corner point precisely to the middle of the sheet. Fold lines from one edge to another or from corner to corner can help you locate that middle without measuring.
Make creases firm, but do not repeatedly scrape the paper. The aim is a clear line, not a torn surface. If two points fail to meet, lift the fold and realign it before pressing hard. These small corrections are much easier while the sheet is still flat.
Fold a simple paper box
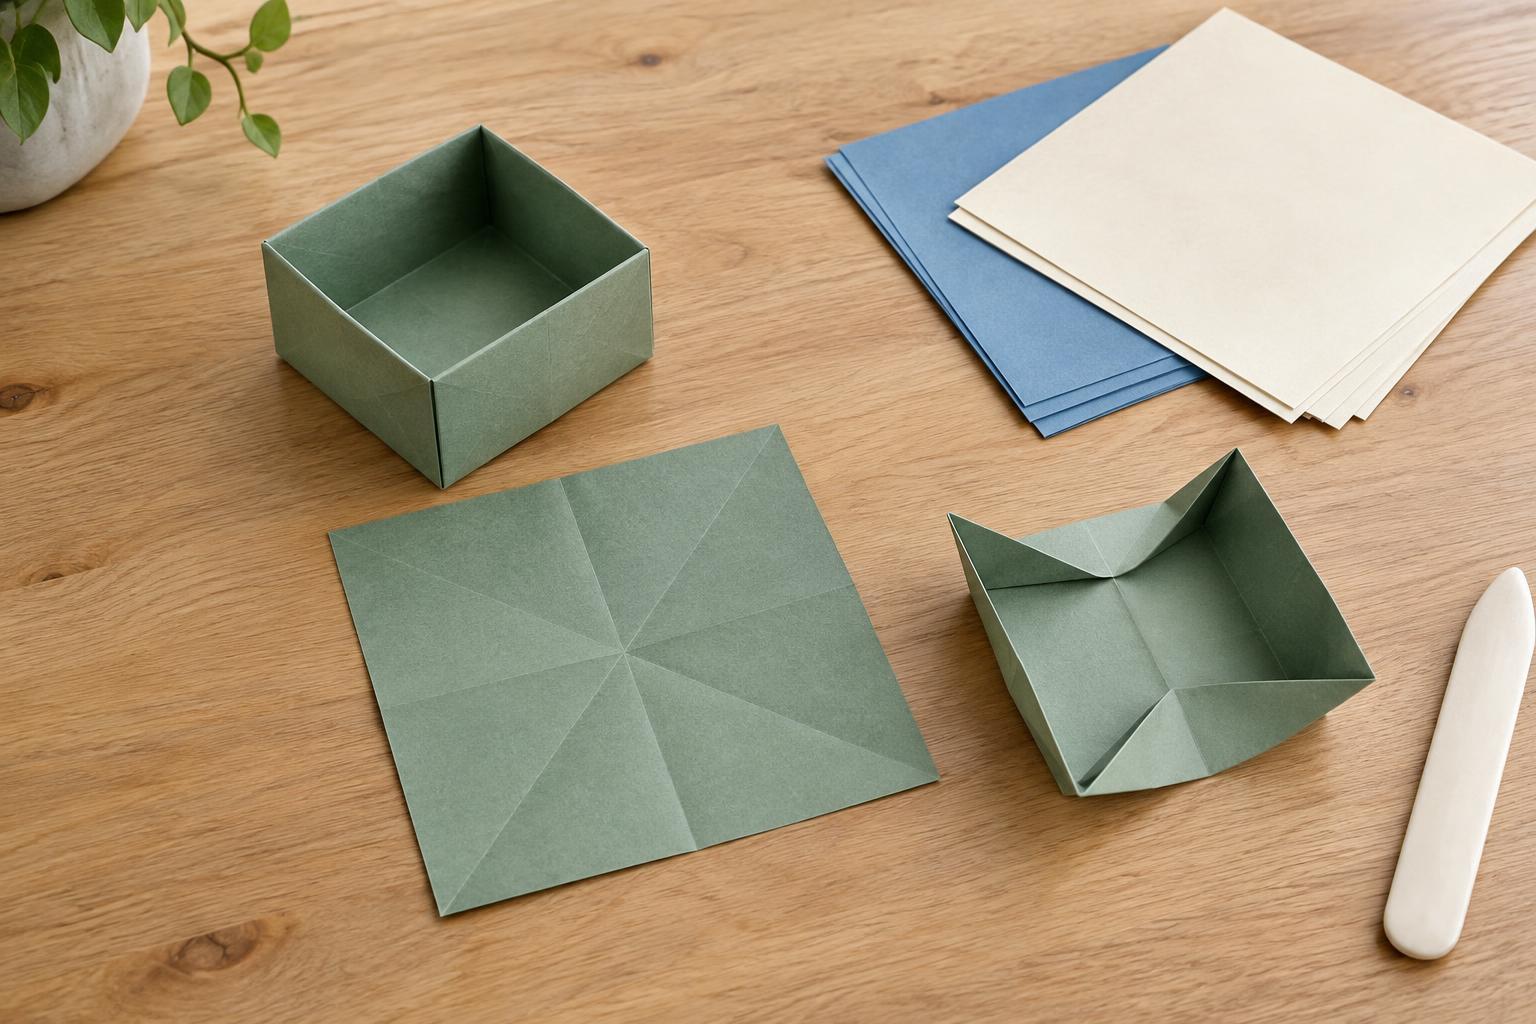
Place your square like a diamond, with one corner pointing toward you. Fold the bottom corner up to meet the top corner, crease, and unfold. Bring the left corner to the right corner, crease, and unfold. The crossed lines mark the center. Fold each of the four corners into that center point. You now have a smaller square with four triangular flaps. Turn it so its edges are horizontal and vertical, keeping the flaps facing up.
Fold the left edge of this smaller square to the center, crease, and unfold. Do the same with the right edge. Next, fold the top edge to the center, crease, and unfold; repeat with the bottom edge. These folds create the lines that will become the box walls. Open out only the top and bottom triangular flaps, leaving the left and right flaps folded toward the center. The paper should look longer from top to bottom, with a point extending at each end.
Lift the left and right sections upright along their existing crease lines to form two walls. At the top end, gently push the paper inward where the diagonal creases meet those walls. The sides of the top point will fold inward as you raise that point, swing it over the end, and bring its tip down to the center of the box floor. Repeat at the bottom end. Press the floor flat and straighten the four walls. The folded points hold the box together without glue.
If the end folds resist, lower the walls and check the earlier creases rather than forcing them. You can make a matching lid with a slightly larger square of paper. Test its fit before making several boxes, since paper thickness and folding accuracy affect the final size.
Fix common beginner problems
A box that twists or has uneven walls often began with a crooked fold. Check whether each corner reached the center and whether opposite edges lined up before creasing. If one wall will not stand, look for a missed crease in the fold-to-center steps. Flatten that area, remake the crease, and try raising the wall again.
Paper that splits at a corner may be too thick for the number of layers there, or the fold may have been pressed too sharply. Try a thinner sheet and work the end folds gently. If the box keeps opening, press the two end flaps firmly against the floor and square up the side walls. Remember that this is a lightweight paper container, best suited to dry, small items rather than heavy objects or liquids.
Build confidence with small variations
Once you can make one box comfortably, repeat it with papers of different sizes. Compare how a smaller square makes the end folds more delicate, while a larger square gives your fingers more room to work. Patterned paper changes the appearance without changing the method. You can also decorate a plain sheet before folding, keeping large designs near the center or edges to see where they appear on the finished box.
Origami improves through repetition more than speed. Follow the same sequence a few times, paying attention to how the early creases guide the box into shape. The finished box offers a useful place for paper clips, beads, or other tiny craft supplies—and the folds you practised will help with many other paper projects.


