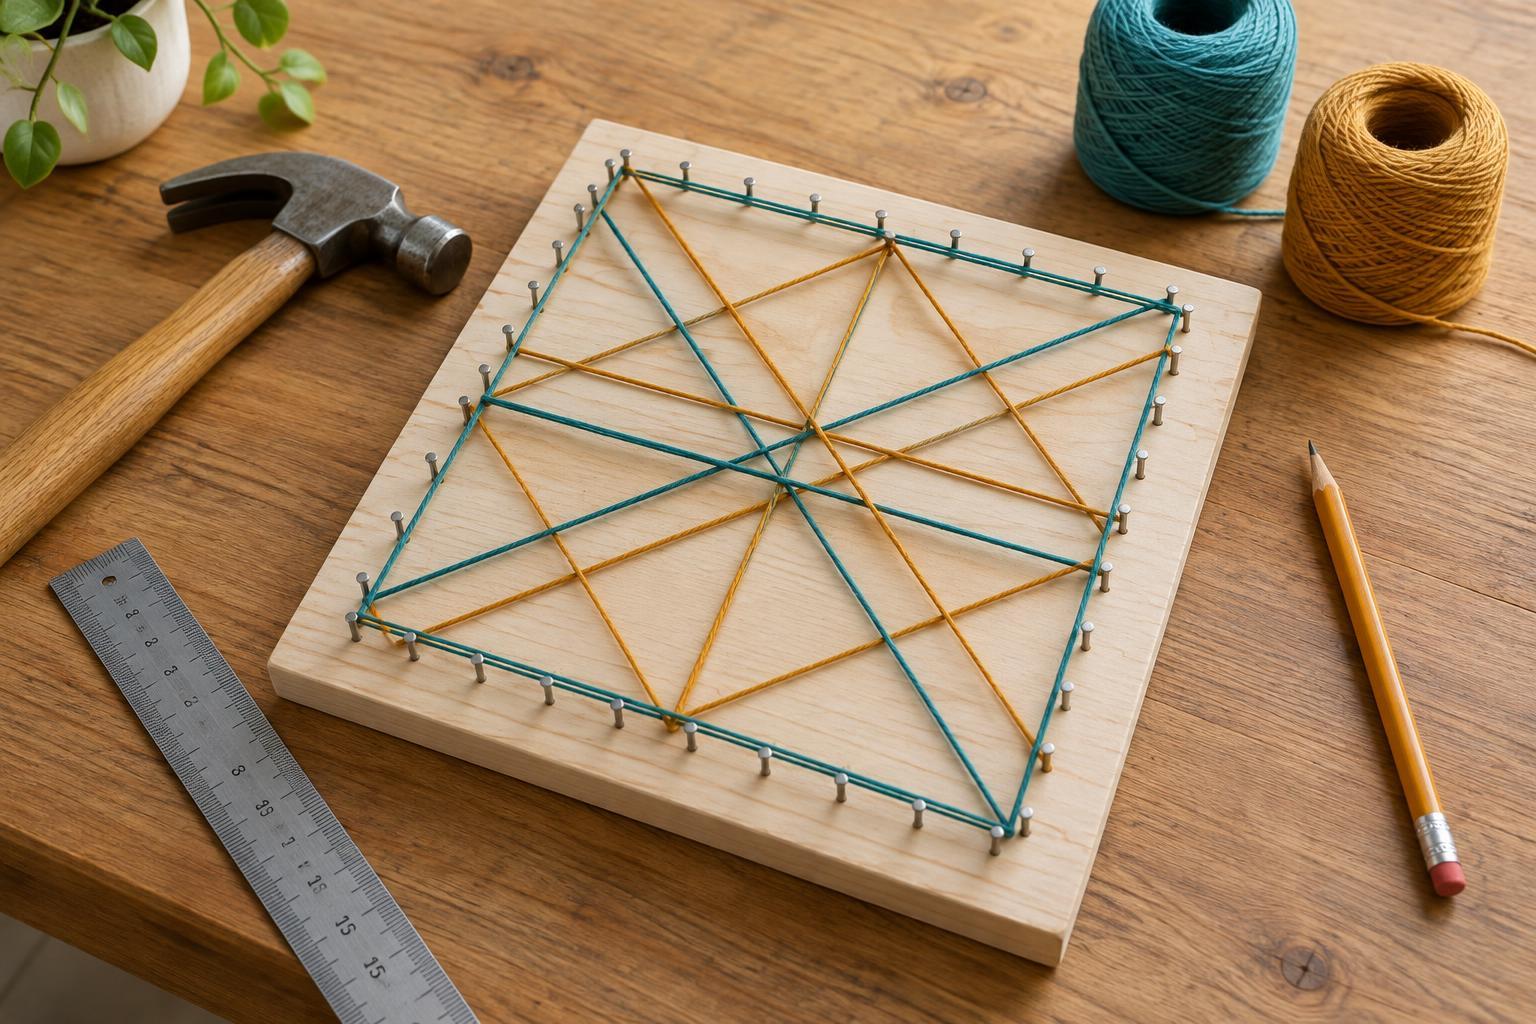
Choose a design that is easy to follow
String art turns straight lengths of thread into a decorative pattern by stretching them between nails. A square grid is a useful first project: one set of lines runs left to right, and another runs from top to bottom. The repeated spacing makes it easier to spot mistakes, while two thread colors help each direction stand out.
Start with a smooth wooden board roughly 15–20 cm wide and a square design about 10 cm wide. Mark five nail positions along each side of the square, including its corners. That gives you four equal gaps per side and 16 nail positions in total; each corner is shared by two sides. A larger board or fewer nails will give you more room to practice wrapping.
Gather materials and prepare the board
You will need a wooden board thick enough that nail points will not come through the back, small nails with heads that can hold thread, a hammer, a ruler, a pencil, paper, tape, embroidery floss or other sturdy thread, and scissors. A piece of scrap wood can protect your work surface. If you want to paint or stain the board, do that first and let it dry fully before adding the design.
Draw the square on paper and mark the five positions on each side with a ruler. Check that opposite sides have the same spacing, then tape the template to the board. You can also mark the positions directly in pencil if you prefer. Place the board on a stable surface with the scrap wood underneath. Keep your fingers clear of the hammer; holding a nail upright with small pliers can help when starting it. Wear eye protection while hammering, especially if you are working with unfamiliar wood or nails.
Set the nails at an even height
Tap a nail into each marked position. Work gradually around the square, keeping the nails as upright as you can. Leave enough of each nail exposed to loop thread beneath its head, but drive it far enough into the wood that it does not wobble. Check the back of the board before continuing to make sure no points have emerged.
Remove the paper template carefully once all the nails are in place. If it catches, tear it into small sections rather than pulling hard against the nails. A slightly crooked nail can often be straightened with gentle taps. Replace any nail that remains loose: tightening thread around it may pull it further out of position.
Wrap the first set of lines
Choose one color for the horizontal lines. Tie the thread to the top nail on the left side with a double knot, leaving a short tail. Stretch it straight across to the top nail on the right side, loop it once around that nail, then guide it down along the right edge to the next nail. Stretch the thread back across to the matching nail on the left side. Continue down the square, alternating direction until you have made five horizontal lines. Wrap the final nail and tie off securely.
Aim for firm, even tension rather than pulling as hard as possible. Thread that is too loose may sag; thread pulled too tightly can bend nails or snap. If a line slips upward, guide it back beneath the nail head before making the next line. Trim the knot tails only after you are satisfied that they will hold.
Add a second color and finish neatly
Repeat the process with a second color, this time connecting matching nails on the top and bottom edges. Start at one side, run a vertical line between the two edges, move to the next nail along an edge, and return across the square. The vertical threads will cross the horizontal ones to form a grid. Keep each new loop close to the board so the layers remain tidy.
Look over the finished piece from the front and side. If one line is noticeably slack, unwind that portion and wrap it again rather than tugging on a finished knot. You can make the next version denser by adding more evenly spaced nails, or change its appearance by using a single thread color. For this first grid, consistent spacing and gentle, steady tension matter more than speed.


