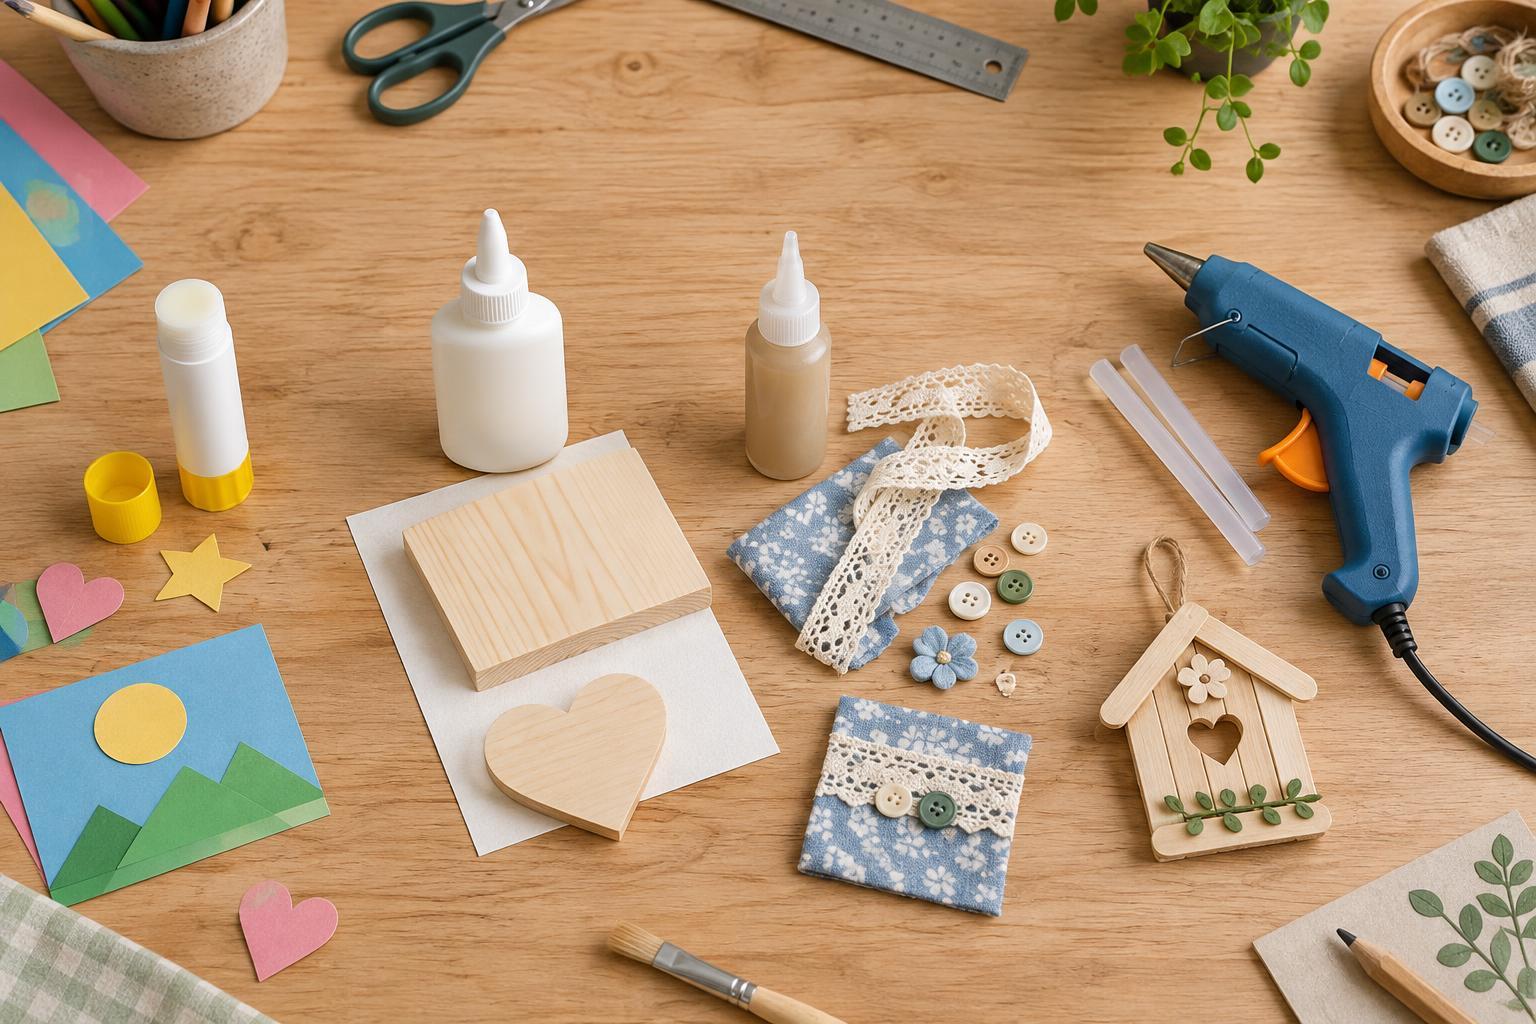
Start with the materials, not the glue
A successful join depends on more than whether an adhesive feels strong. Consider what you are attaching, how heavy it is, whether the surfaces absorb moisture and whether the finished item needs to bend. A paper collage has different needs from a fabric ornament or a small wooden decoration.
Before gluing, remove dust, loose fibers and grease. Let painted surfaces dry, and try the adhesive on an offcut when the finish matters. Product formulas vary, so check the label for suitable materials, drying instructions and any safety precautions. A test bond is especially useful for smooth plastic, coated paper or delicate fabric.
Glue stick: quick, tidy joins for lightweight paper
A glue stick is a convenient choice for paper shapes, cards and scrapbook layers. It gives you reasonable control without a brush or a puddle of liquid glue. For a neat result, apply an even layer across the back of the piece, paying attention to the edges, then place it and smooth gently from the center outward.
Glue sticks are less suitable for bulky embellishments, textured surfaces or objects that will be pulled. An uneven coat can leave corners lifting later. Very thin or absorbent paper may still wrinkle, so test a scrap first. If a piece needs to hold weight, choose a more appropriate adhesive rather than applying extra layers of glue stick.
PVA: a versatile liquid glue for absorbent surfaces
PVA craft glue works well for many paper, cardboard and unfinished-wood projects. It spreads easily, making it useful when you need to cover a broader area or join two flat, porous surfaces. Apply a thin, even coat with the bottle tip or a brush, press the parts together and leave them undisturbed while the bond develops.
Too much PVA can soak paper, cause ripples or squeeze out around a join. For a cardboard construction, use just enough to cover the contact area and hold the pieces in place with gentle pressure while they set. PVA is not a reliable default for every slick or flexible material. Test coated surfaces, plastic and fabric, and check the product label if the finished object may get wet.
Tacky glue: controlled placement for small embellishments
Tacky craft glue is usually thicker than standard liquid PVA, so it is easier to place a small amount where you want it. It can be handy for attaching lightweight trims, felt shapes, beads or other decorative pieces to a suitable base. The thicker texture may help a piece stay in position while the glue dries, though heavier items may still need support.
Use a small dot or narrow line rather than a large blob. Press the embellishment into place and allow enough drying time before handling the project. Excess glue can show around small details, and dried appearance varies by product. If you are decorating fabric that will be worn or washed, look for an adhesive specifically labeled for that use instead of assuming ordinary tacky glue will hold.
Hot glue: fast assembly for suitable decorative pieces
Hot glue is useful when a project needs a quick initial hold, such as attaching lightweight decorations to a wreath base or assembling a display object. Its bulk can help bridge small gaps between uneven surfaces. Apply a modest amount, bring the pieces together promptly and hold them steady until the glue firms up.
The nozzle and melted glue can burn skin. Work on a heat-safe surface, keep fingers clear of the join and unplug the gun when finished. Test heat-sensitive materials first: thin plastic, delicate fabric and some foams may deform or melt. Hot glue can also leave visible strings or raised lumps. It is not automatically the best choice for a join that must flex, bear significant weight or withstand heat.
Make a stronger, cleaner bond
Whatever adhesive you choose, dry-fit the pieces before opening the glue. This lets you check alignment and plan where to apply it. Use the smallest amount that gives adequate coverage, then keep the parts still for the time indicated on the product. A bond that feels firm at first may need longer before it is ready for handling.
If a join fails, check the surfaces before adding more glue. Dust, a glossy coating, too little contact area or movement during drying may be the cause. Clean away loose adhesive, make a fresh test on scraps and consider changing the adhesive or the design. Choosing the glue for the materials and the job is more effective than simply using more of it.


