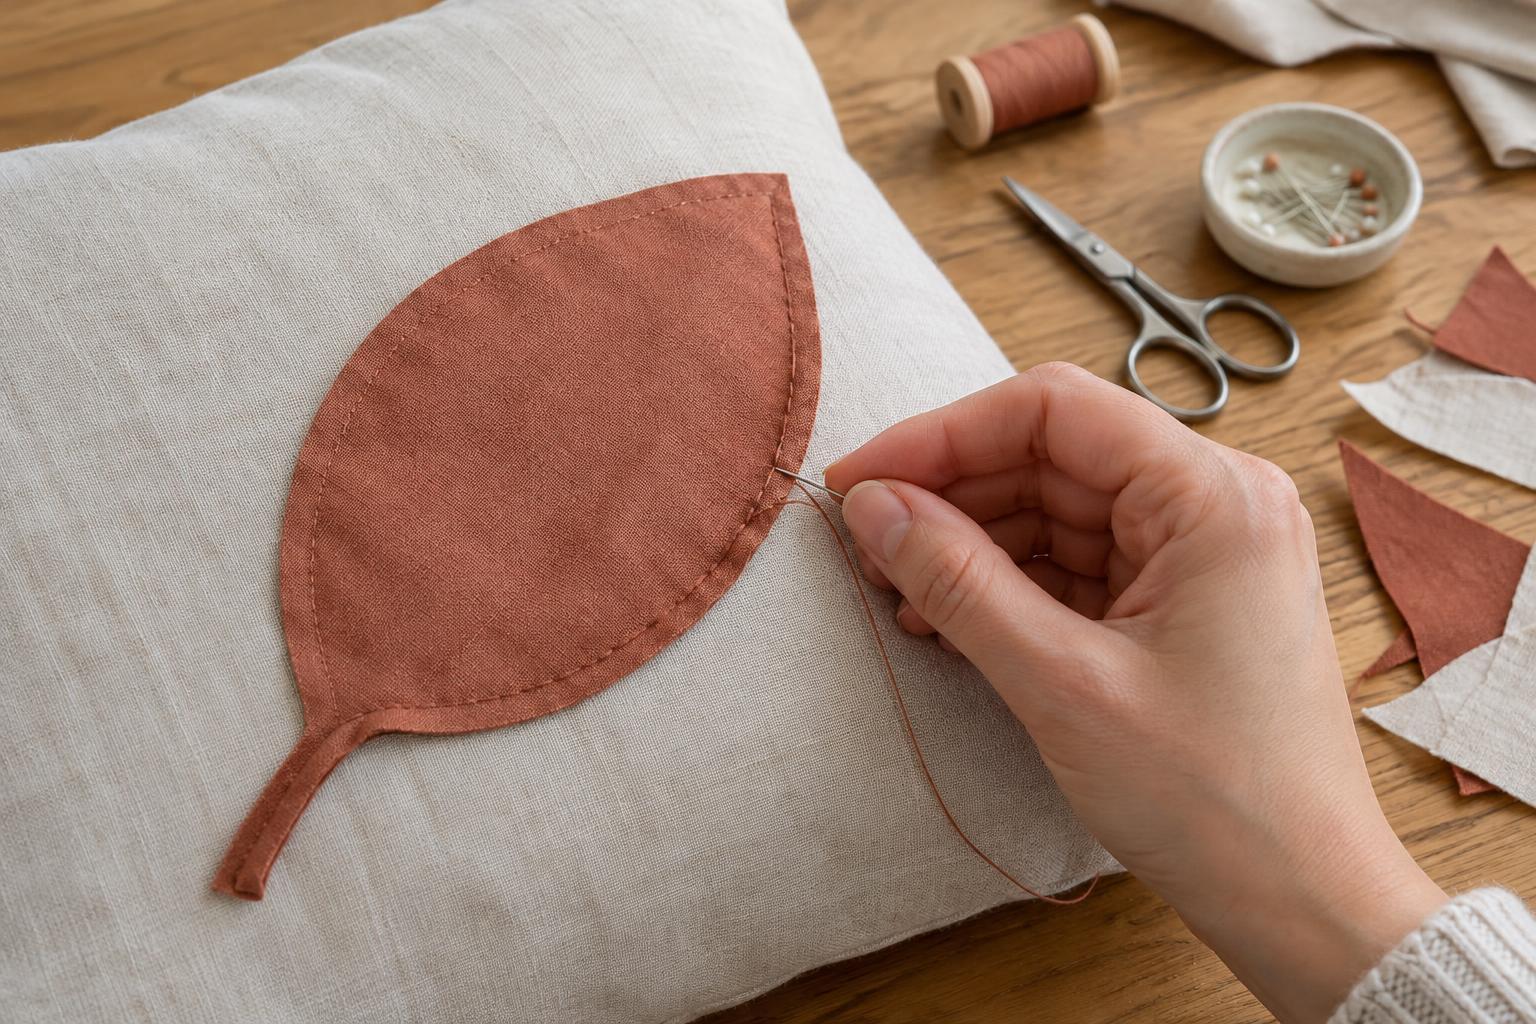
Choose a fabric and plan your shape
Appliqué is a fabric shape attached to a larger piece of fabric. A simple stitched edge is a useful way to add a pocket-sized motif to a tote bag, cushion cover or piece of clothing without needing a sewing machine. For a first project, choose a basic shape such as a circle, heart or leaf. Sharp points and very narrow details are harder to turn and stitch neatly.
Medium-weight woven cotton is a manageable choice for both the appliqué and its background. Very thin fabric may show the seam allowance beneath the shape, while thick fabric can be difficult to fold at the edges. If the finished item will be washed, prewash and dry both fabrics as you would the completed item. This helps reduce the chance that one fabric will shrink more than the other later.
Gather a paper template, pencil or washable fabric marker, fabric scissors, pins or clips, a hand-sewing needle and matching thread. An iron is helpful for setting the folds. Choose thread close to the appliqué colour if you want the stitches to blend in; contrasting thread will make the outline more noticeable.
Cut the appliqué with room to fold
Draw or trace your shape on paper and cut it out. Place the template on the right side of the appliqué fabric to check that any print sits where you want it. Trace around the template, then cut the fabric about 5 mm outside that line. The extra fabric is the seam allowance: it will fold underneath so the raw edge is hidden. For very small motifs, a slightly narrower allowance may be easier to manage.
Place the shape right side up on the background fabric and check its position before sewing. Make sure the background lies flat and that you can reach its reverse side. If you are decorating a finished bag, for example, take care not to stitch through both sides. Mark the placement lightly, then remove the shape while you prepare its edges.
Turn and hold the edges
Working a short section at a time, fold the seam allowance to the wrong side along the traced line. Press the fold gently with an iron suited to the fabric, or finger-press it if the shape is small. On a curved edge, make several tiny cuts into the allowance so it can spread or overlap as needed. Stop each cut before the traced line: cutting through it can leave a gap in the finished edge.
Points need a little extra attention. Fold one side underneath, then fold the other side over it to form a tidy point. If the fabric bunches, trim a little from the allowance rather than forcing a thick fold. Put the appliqué back on the background and pin it in place, keeping pins away from the section you are about to sew. A few long, temporary basting stitches can hold it more securely if pins distort the shape.
Sew a small, even outline
Thread a needle with a comfortable length of thread and knot one end. Bring the needle up from the back of the background fabric, catching the folded edge of the appliqué. Insert it into the background immediately beside the fold, then bring it up through the folded edge a short distance ahead. Repeat around the shape. These small whip stitches should hold the fold down without pulling it tight. A spacing of roughly 2 to 3 mm is a useful starting point, but evenness matters more than an exact measurement.
Pause every few stitches to check that the appliqué remains flat. Turn the work as you sew rather than twisting your hand into an awkward position. At corners, add a stitch close to the point to keep it sharp; on curves, take shorter stitches if the edge starts to lift. When you return to the starting point, make a small securing stitch through the fabric layers and knot the thread on the reverse side. Trim the loose end, then remove any basting stitches.
Adapt the edge and avoid common problems
If the background puckers, the thread may be pulled too tightly, or the fabric may be shifting as you sew. Ease the tension, use shorter stitches and consider basting the shape first. If raw threads escape from under the edge, tuck them beneath the fold with the needle and add a stitch to hold them. For an appliqué that will be handled or washed often, check the entire outline for loose sections before using the item.
Felt offers an easier alternative when turning edges feels fiddly: it generally holds a cut edge without the same tendency to fray as woven cotton. Cut the felt to its finished shape, pin it down and stitch around the raw edge with small, evenly spaced stitches. Whichever fabric you choose, try a practice shape on a scrap first. It gives you a chance to adjust stitch size and tension before working on the final piece.


