Choose fabric that will wash well together
A braided mat is a useful way to turn worn T-shirts and leftover fabric into something practical. For a first project, choose a small mat for a bedside or other dry area. It is easier to shape, stitch, and wash than a large rug. Its exact size depends on the amount and thickness of fabric you have, so gather more scraps than you think you will need and add strips as you go.
Choose fabrics with similar washing needs. Soft cotton jersey from old T-shirts is beginner-friendly because its cut edges tend to curl rather than shed loose threads. Woven cotton can also work, but it may fray and may need its long edges folded inward. Avoid mixing very thick fabric with thin fabric: uneven strands make a lumpy braid. Leave out pieces with stiff prints, bulky seams, buttons, or areas that are too worn to withstand pulling.
Prepare the strips and basic tools
Wash and dry the fabric before cutting so you can check for colour transfer and avoid later surprises from shrinkage. Lay each piece flat, remove hems and thick seams, then cut strips about 4–5 cm wide. The width is a starting point rather than a rule; cut narrower strips from heavy material and wider ones from very thin material. Aim for three strands of roughly equal thickness, even if their individual strips differ in width.
You will need fabric scissors, a needle and strong washable thread, and clips or pins to hold the coil while you stitch. A sewing machine is optional. Cut several long strips, but keep the remaining fabric nearby for extensions. To join two strips without a knot, overlap their ends and stitch across the overlap securely. Stagger the joins among the three strands so bulky spots do not meet in the same part of the braid.
Braid with steady, relaxed tension
Hold the three strands together at one end with a few stitches, then secure that end to a stable work surface with a clip. Cross the right strand over the middle strand, then the left strand over the new middle strand; repeat. Keep the braid firm enough to hold its shape but loose enough to bend into a circle without bunching. Smooth or gently fold each strip as you work so raw edges do not twist outward unpredictably.
Add more fabric before a strand becomes too short to handle. Stitch on an extension, then continue braiding, keeping the new join inside the braid where possible. Lay the braid on a table every so often to check its thickness and flexibility. If one section is noticeably tighter or thicker, undo a few crossings and adjust it now. A consistent braid is much easier to coil into a flat mat.
Coil and stitch the mat flat
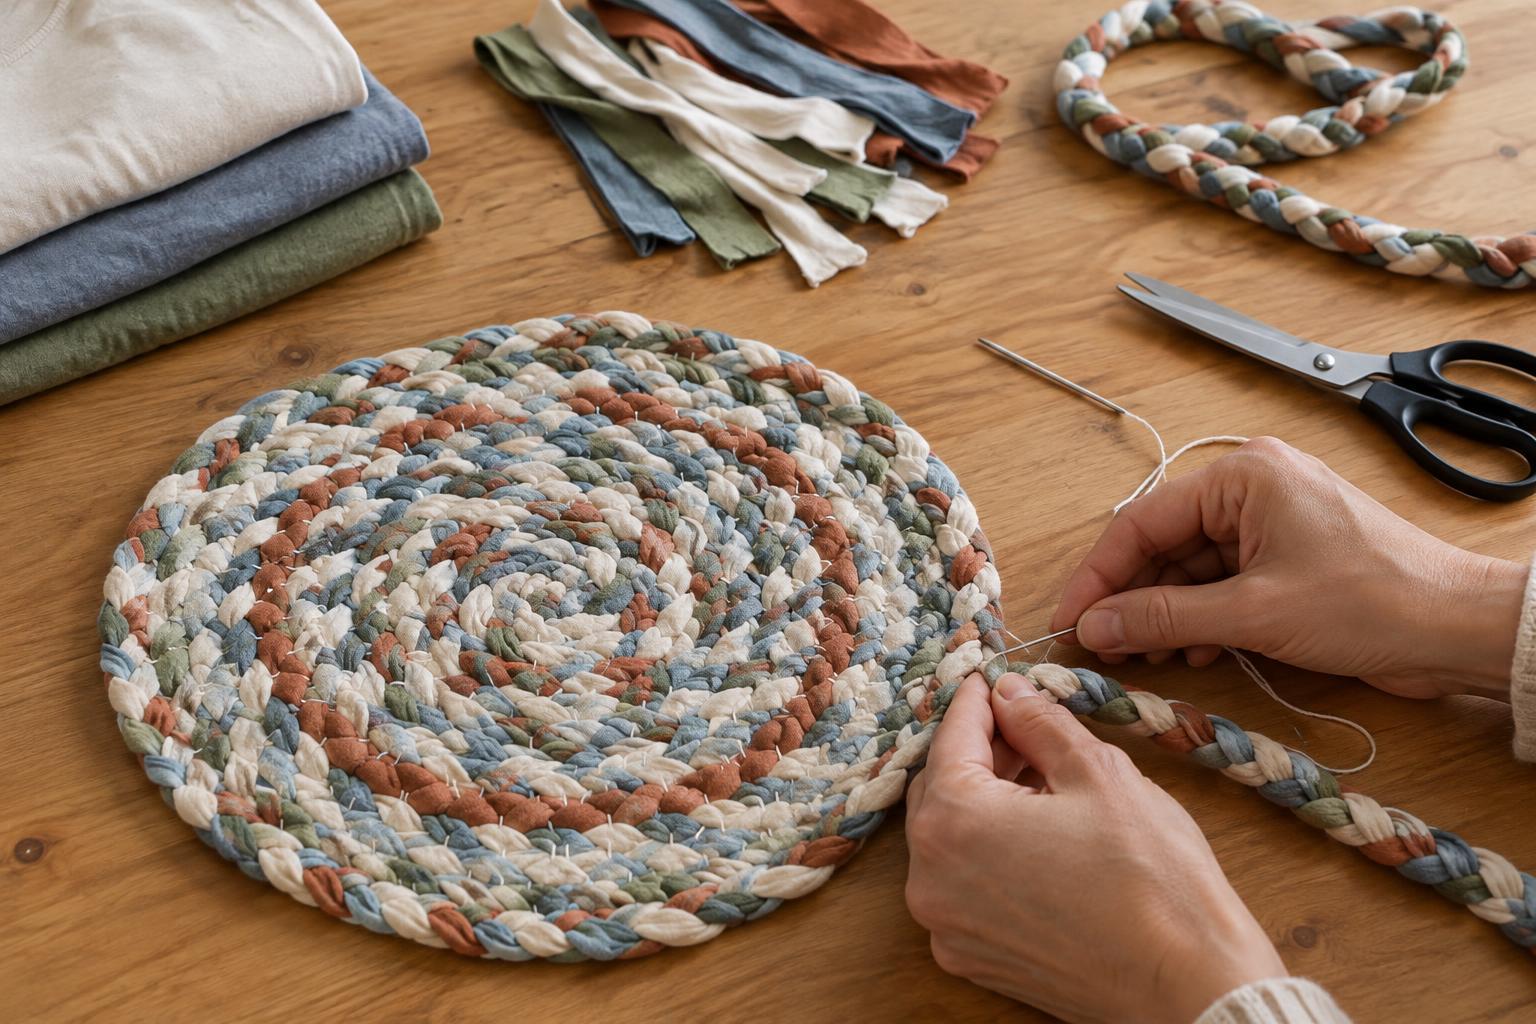
Curl the finished end of the braid into a small centre, then wrap the braid around it in a flat spiral. Place each new round beside the previous one, not on top of it. Clip a short section in place and stitch the touching edges together with strong thread, taking several passes through each side. Work around the spiral in small sections rather than coiling the whole braid first. Check the mat on a flat surface as you go.
If the centre rises into a bowl, the inner rounds may be pulled too tightly; ease the braid outward and restitch that area. If the edge ripples, the outer braid may be too loose. Aim for a mat that lies flat without stretching the stitches to force it into shape. When you reach the size you want, tuck the last strip ends into the braid, stitch them down, and secure the braid’s end to the previous round. Inspect the whole mat for gaps or loose joins before using it.
Wash, dry, and use it with care
Start with a gentle wash in cool water, especially if the scraps came from different garments. A laundry bag can help keep a small mat from catching on other items. Avoid a hot wash or hot dryer unless you already know every fabric and thread can tolerate them. Reshape the mat while damp and let it dry thoroughly, laid flat where air can reach it. If a seam loosens after washing, repair it before the gap grows.
Fabric mats can slide on smooth floors, and washing does not make them slip-resistant. Use the mat only where it sits securely; on a hard floor, consider a separate washable nonslip underlay that fits beneath it. Keep it away from wet areas and walking routes where a moving edge could be a trip hazard. A quick check of the stitching and shape after each wash will help you decide when it needs a small repair.


