Choose corks and a sturdy base
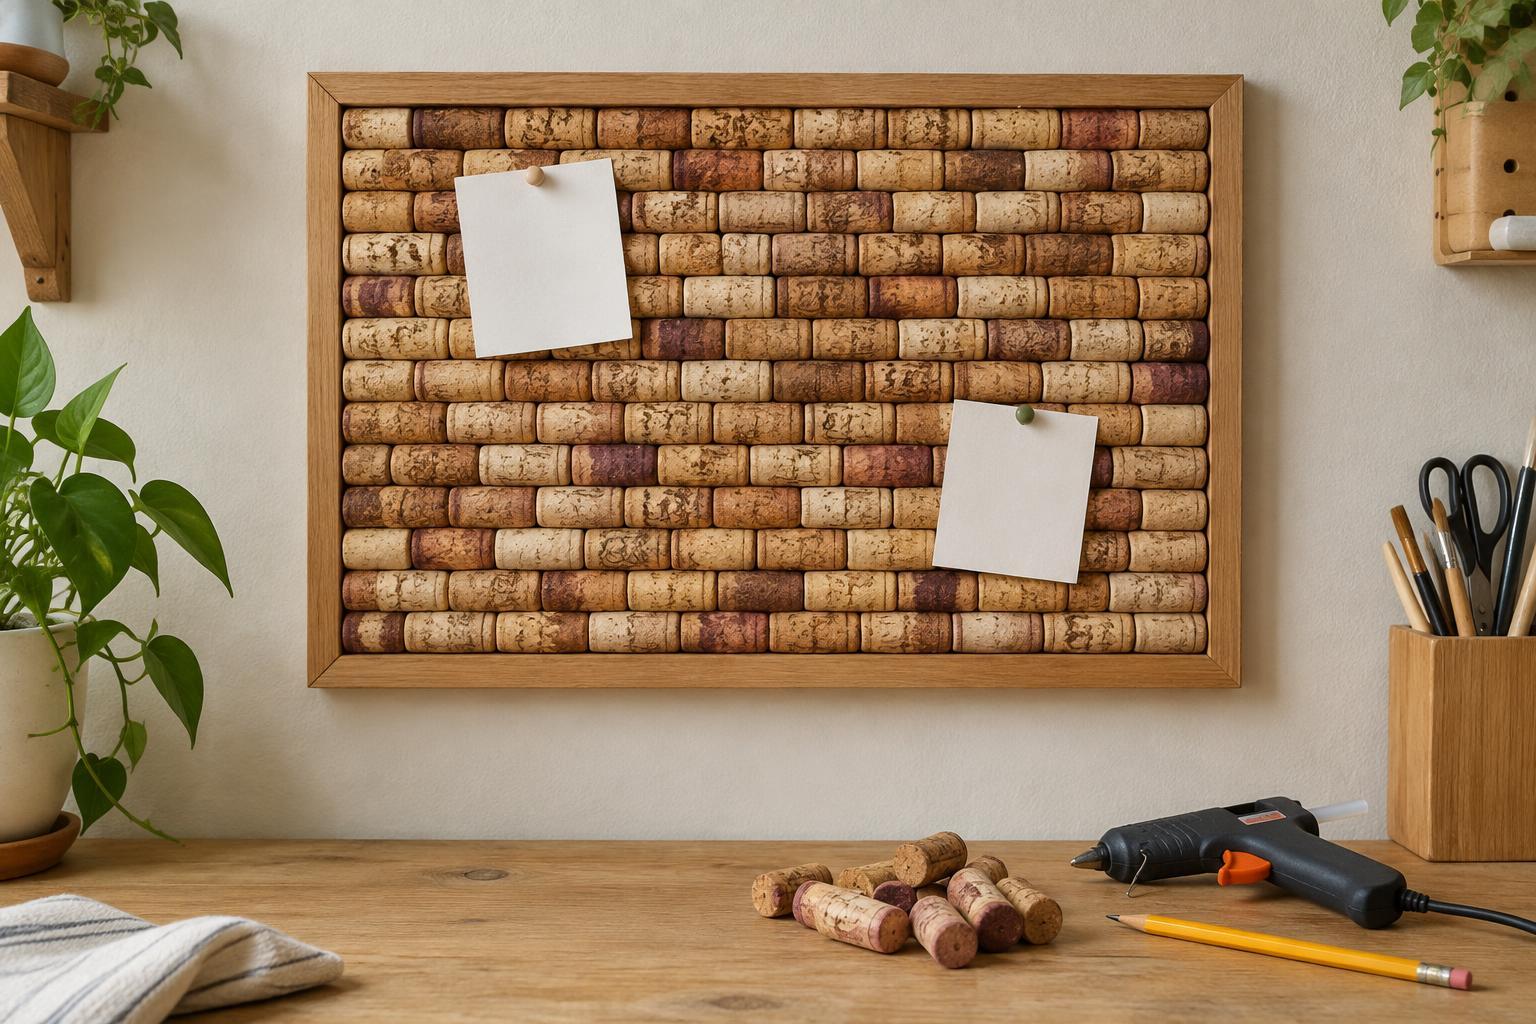
A cork notice board gives used wine corks another job: holding notes, photos and reminders. This version uses whole corks with their circular ends facing outward. Pins enter the length of each cork, so there is no need to slice dozens of corks or try to pin paper to their curved sides.
Gather natural wine corks of roughly similar length, a shallow wooden tray or frame, a rigid wooden backing if the frame lacks one, adhesive suitable for both cork and wood, and hanging hardware appropriate for the finished board. You will also need a ruler, pencil and cloth. Choose a frame with sides that help contain the corks but will not hide their front ends. A flexible cardboard backing is a poor choice: the corks and adhesive can add more weight than it is designed to support.
Natural corks are generally easier to push pins into than synthetic stoppers. Set aside any that are soft, badly crumbled or damp. Stained corks can add character if they are otherwise sound. Wipe away loose dirt with a lightly dampened cloth, then let every cork dry thoroughly before gluing.
Plan the layout before opening the glue
Place the frame flat on a table and stand the corks on end inside it, with the ends you want to display facing up. Work in rows from one corner. Try turning individual corks to find a snug fit; their widths are rarely identical. You do not need a perfectly regular grid, but avoid large gaps that leave notes with nowhere to pin.
If the frame is too small for another full row, rearrange the corks rather than forcing them in. You can leave a narrow, even border at the sides. Check the height of the corks as well: a much shorter cork may be difficult to pin into when surrounded by taller ones. Swap it for a closer match or move it to the edge. Once you like the arrangement, take a quick photo or move the corks aside in row order so you can reproduce it.
Attach the corks
Make sure the backing is firmly attached to the frame before you start. If you are adding a wooden panel, fit and secure it according to the frame’s construction so it cannot pull away when the board is hung. Work on a protected, level surface. Choose an adhesive whose label says it works with cork and wood, and follow its directions for ventilation, application and drying time.
Starting in one corner, apply a modest amount of adhesive to the bottom end of each cork and press it onto the backing. Add a little adhesive where neighboring corks touch if the product directions allow it. Build the rows steadily, checking that the visible ends stay reasonably level. Too much adhesive can squeeze into the gaps and remain visible; too little, or glue applied to dusty corks, may give a weak bond.
Leave the board flat and undisturbed for the adhesive’s full curing time. A cork that feels steady after a short wait may still shift when a pin is pushed into it. After curing, gently test a few corks by hand. Reattach any that move before hanging the board.
Hang and use the finished board
Attach hanging hardware to the sturdy frame or wooden backing, not to a thin decorative insert. Choose hardware and wall fixings suited to the board’s weight and the type of wall. If you are unsure how much the assembly weighs, weigh it after the adhesive has cured. A small board can also stand on a stable shelf, provided it cannot tip when you press in a pin.
Push pins straight into the outward-facing cork ends and use just enough pressure to hold the paper. Avoid forcing a pin through a damaged cork or close to an exposed edge. Check the board occasionally for loose corks or mounting hardware, especially if you change the notes often. Keeping it away from persistent dampness will help protect both the corks and the wooden base.


