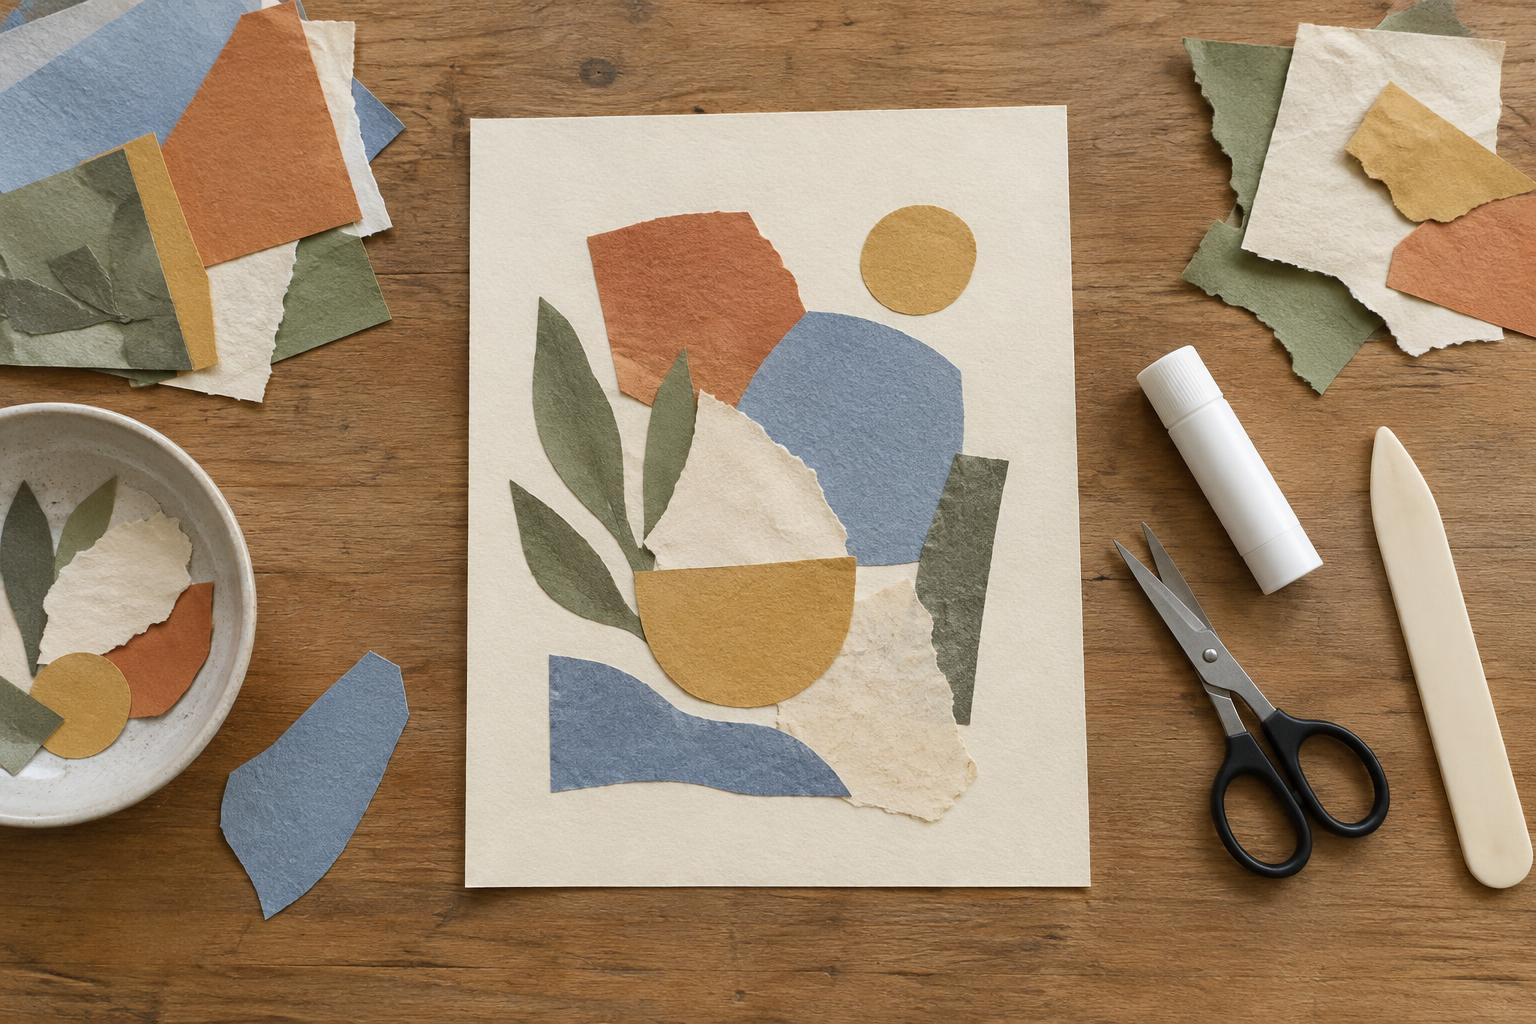
Gather paper with a purpose
A good collage can start with materials already at home: magazine pages, wrapping paper, envelopes, book pages from a damaged book, or scraps from earlier projects. Choose a sturdy backing, such as cardstock or lightweight cardboard, so it can support the layers you add. You will also need scissors, a pencil, and a glue stick or a small amount of craft glue. Keep a scrap sheet nearby for testing cuts and adhesive.
Before you cut anything, decide on a loose subject or mood. A garden scene, a collection of geometric shapes, or an abstract arrangement of warm colors will each suggest different paper choices. Sort your scraps by color, pattern, and thickness. This makes it easier to find a useful piece while you work and helps you notice if one bold pattern might overpower everything else.
Choose a palette that leaves room to breathe
Start with two or three main colors and let other colors play smaller supporting roles. You might choose several shades of blue, a warm orange accent, and a neutral cream background. The colors do not need to match exactly: a range of light and dark versions can make the collage feel more varied. What matters is giving the eye a few repeated colors to follow across the page.
Place your largest pieces on the backing without glue. Look at the arrangement from a short distance, then move pieces until no single area feels crowded by color or pattern. Repeating an accent color in two or three separate spots can connect the composition. Leave some backing visible, or use areas of quiet, plain paper between busy sections. Empty space is not wasted space; it helps the more detailed pieces stand out.
Plan the layers before you glue
Think of the collage in three levels: a background, larger shapes that establish the layout, and smaller pieces that draw attention to selected areas. Cut or tear your background pieces first. Torn edges can give a soft, irregular transition, while cut edges create a crisp outline. Neither is better; choose the edge that suits the effect you want.
Test the order by stacking the loose pieces on your backing. If an important shape disappears under another, shift it forward or trim the piece above it. Try varying the size of overlaps: a slight overlap can connect two shapes, while a larger one can make one shape feel clearly in front. For extra depth, a small piece of thicker paper can sit on top, but too many thick layers may make the finished sheet difficult to flatten or display.
Glue from the back toward the front
Once you like the arrangement, take a quick photo or make a light pencil mark to remember where the main pieces belong. Remove the loose pieces, then attach the background first. Apply adhesive in a thin, even layer, paying attention to the edges. Press each piece down gently from the center outward to push out trapped air. Add the middle and top layers in the order you planned.
Use glue sparingly, especially on thin magazine paper, which may wrinkle when it becomes too wet. A glue stick often gives more control for flat paper pieces; if you use liquid glue, spread a small amount rather than placing a thick blob in the center. Pause occasionally and check the whole page. It is easier to correct a gap or awkward overlap before the next layer covers it.
Refine the composition and let it dry
When all the pieces are attached, check where your eye goes first. If a small, bright scrap draws attention away from the intended focal point, consider removing it if the glue has not set, or balancing it with a related color elsewhere. If the collage feels too busy, resist adding more detail. A plain shape placed over part of a crowded area can sometimes restore clarity.
Let the collage dry flat before handling or displaying it. If the backing begins to curl, place a clean sheet of paper over the fully dry surface and set it beneath a flat, lightweight object for a while. Finally, trim stray paper only if you want a neat border; uneven edges can also be part of the design. The most useful finishing question is simple: do the colors guide the eye, and do the layers make each important shape easy to see?


