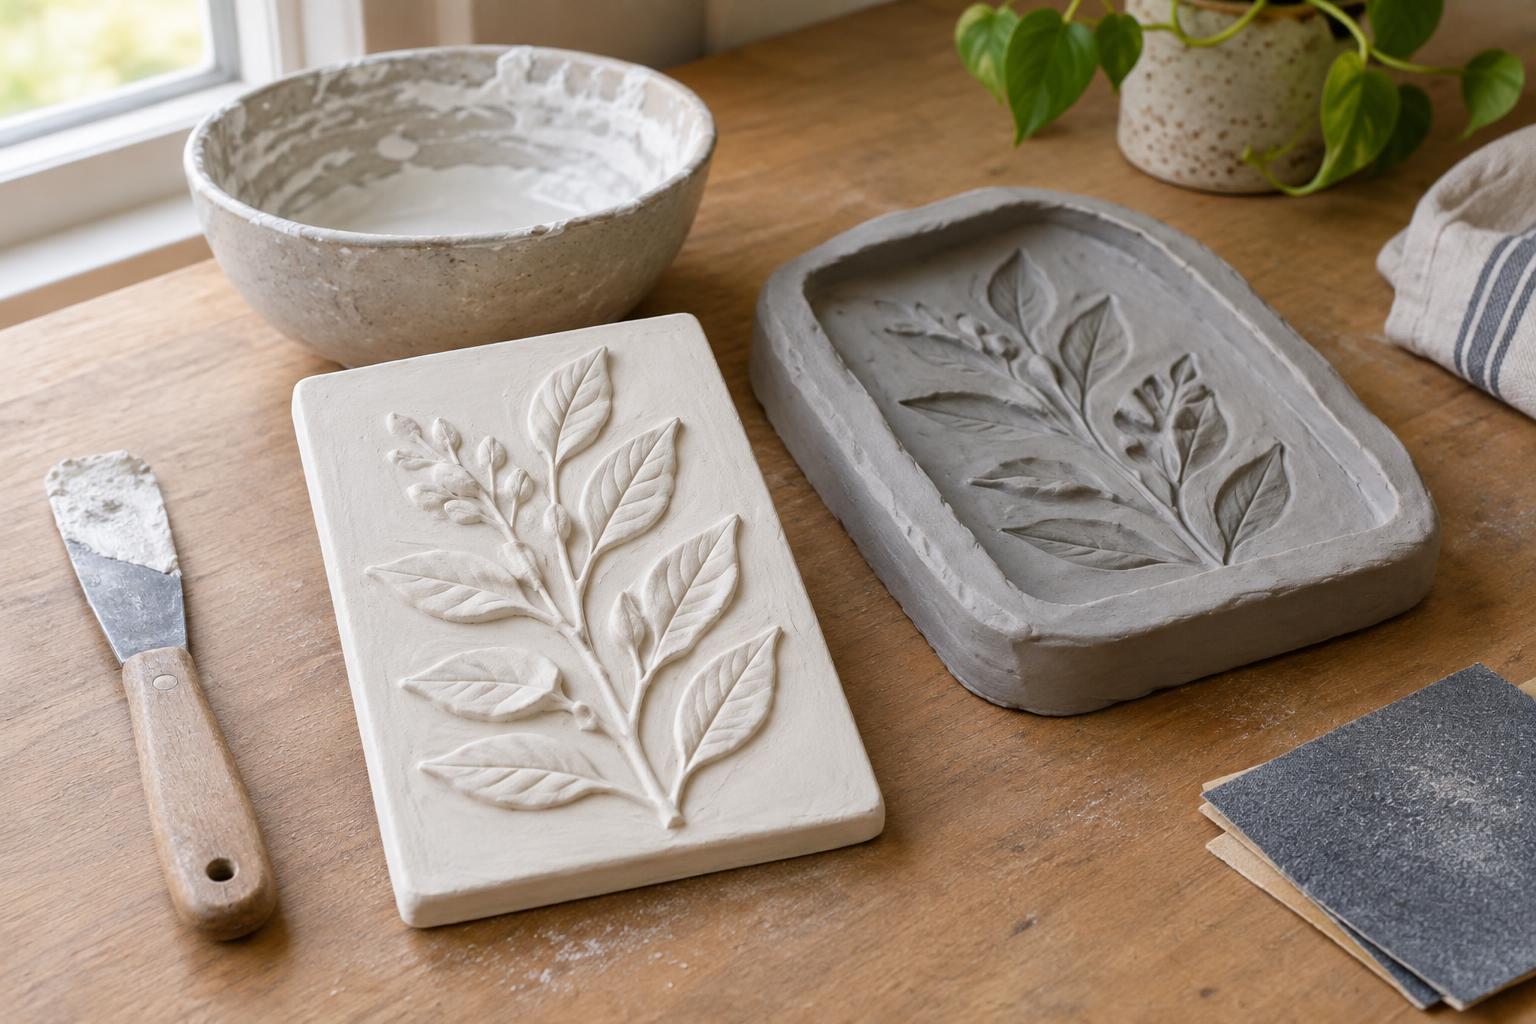
Plan a simple relief design
A relief plaque has a mostly flat surface with details that stand above it. For a first project, choose a small, shallow design rather than a large plaque with delicate projections. Leaves, lace, stamps, textured fabric, and simple hand-drawn lines can all leave impressions that become raised details in the plaster.
For this method, gather non-hardening modeling clay, a shallow flexible plastic container, casting plaster, water, a mixing cup, a stirrer, and the objects you want to use for texture. You will also need a protected work surface, gloves, and a way to keep plaster dust out of your breathing space while measuring and mixing. Check the plaster package for its mixing ratio and handling instructions. Keep food utensils separate from craft supplies.
Sketch the size and arrangement before you begin. Remember that the finished cast will reverse the mold: a mark pressed down into the clay will stand up in the plaster. If you plan to include letters, press them into the clay in reverse so they read correctly on the finished plaque. Avoid very thin lines or deep undercuts, which may break or make the cast difficult to release.
Make the clay impression mold
Press an even layer of modeling clay across the bottom of the flexible container. Smooth the surface with a flat tool or your fingers, and check that the clay meets the container walls without gaps. The container forms the outside edge of the plaque, while the clay forms its decorated face. Aim for a level surface so the finished cast has a consistent thickness.
Arrange your objects on the clay before pressing them in. Push each one gently and evenly, then lift it straight out. A shallow impression is usually enough to show a leaf vein or lace pattern; pressing too deeply creates fragile raised features. For drawn details, use a blunt tool rather than a sharp point that might tear the clay. Remove stray clay crumbs and smooth unwanted fingerprints, but leave the intended texture alone.
Make sure the container has enough free height above the clay for a sturdy plaster layer. If your container has a rigid lip or a narrow opening, choose another one: the hardened plaque must be able to come out without forcing its edges. Before mixing plaster, place the mold on a level surface where it can remain undisturbed while setting.
Mix, pour, and release the plaster
Measure water and plaster according to the product directions, preparing only enough for this mold. Add the plaster to the water as directed and stir gently until the mixture is uniform. Vigorous stirring can introduce bubbles. Work within the mixing time on the package; once plaster begins to thicken, do not add extra water to make it pourable again.
Pour slowly into one area of the mold and let the mixture spread across the design. Gently tap the container on the work surface to help trapped air rise, especially around fine details. Do not put hands into setting plaster or use it to cast directly around a body part: plaster can become warm as it hardens. Let the plaque set for the time specified by the manufacturer, then allow additional drying time before decorating it.
Flex the container carefully to loosen the cast, and peel the clay away from its decorated face. Support the plaque across its full width as you lift it; fresh plaster can be brittle. If an edge is rough, smooth it lightly after the cast is dry, taking care not to remove the relief details. Collect leftover plaster and residue for disposal according to the package directions rather than washing them down a drain, where they can harden.
Finish the surface without hiding the detail
Let the plaque dry thoroughly before painting or sealing. A damp cast may take paint unevenly, and a coating can slow further drying. Once dry, brush away loose dust. Acrylic paint works well for simple color: apply thin coats so the relief remains visible. You might paint the whole plaque one color, then lightly brush a second color across the raised areas to emphasize their shape.
If you want a protective finish, choose a sealer suitable for plaster and compatible with your paint, following its application instructions. A test on the back can show how it changes the color. Small chips or bubbles are often easiest to address with a modest design change or a new cast; heavy sanding and thick paint may blur the texture you worked to create.
Mount and display the plaque safely
Plaster is heavier and more brittle than paper or air-dry clay, so plan the display before putting it on the wall. A small plaque can rest on a secure picture ledge. To hang one, attach it to a sturdy backing with an adhesive rated for the materials and the plaque’s weight, following the adhesive’s curing instructions. Fit the hanger to the backing rather than relying on a hook glued directly to a thin plaster edge.
Check that the backing, hanger, and wall fixing are suitable for the finished weight, and display the plaque where it is unlikely to be knocked. Avoid drilling into a thin cast or hanging it before it has fully dried. If the first attempt has bubbles or broken details, keep the mold setup and try a second pour; small adjustments to impression depth, pouring speed, and gentle tapping can make the next plaque clearer.


