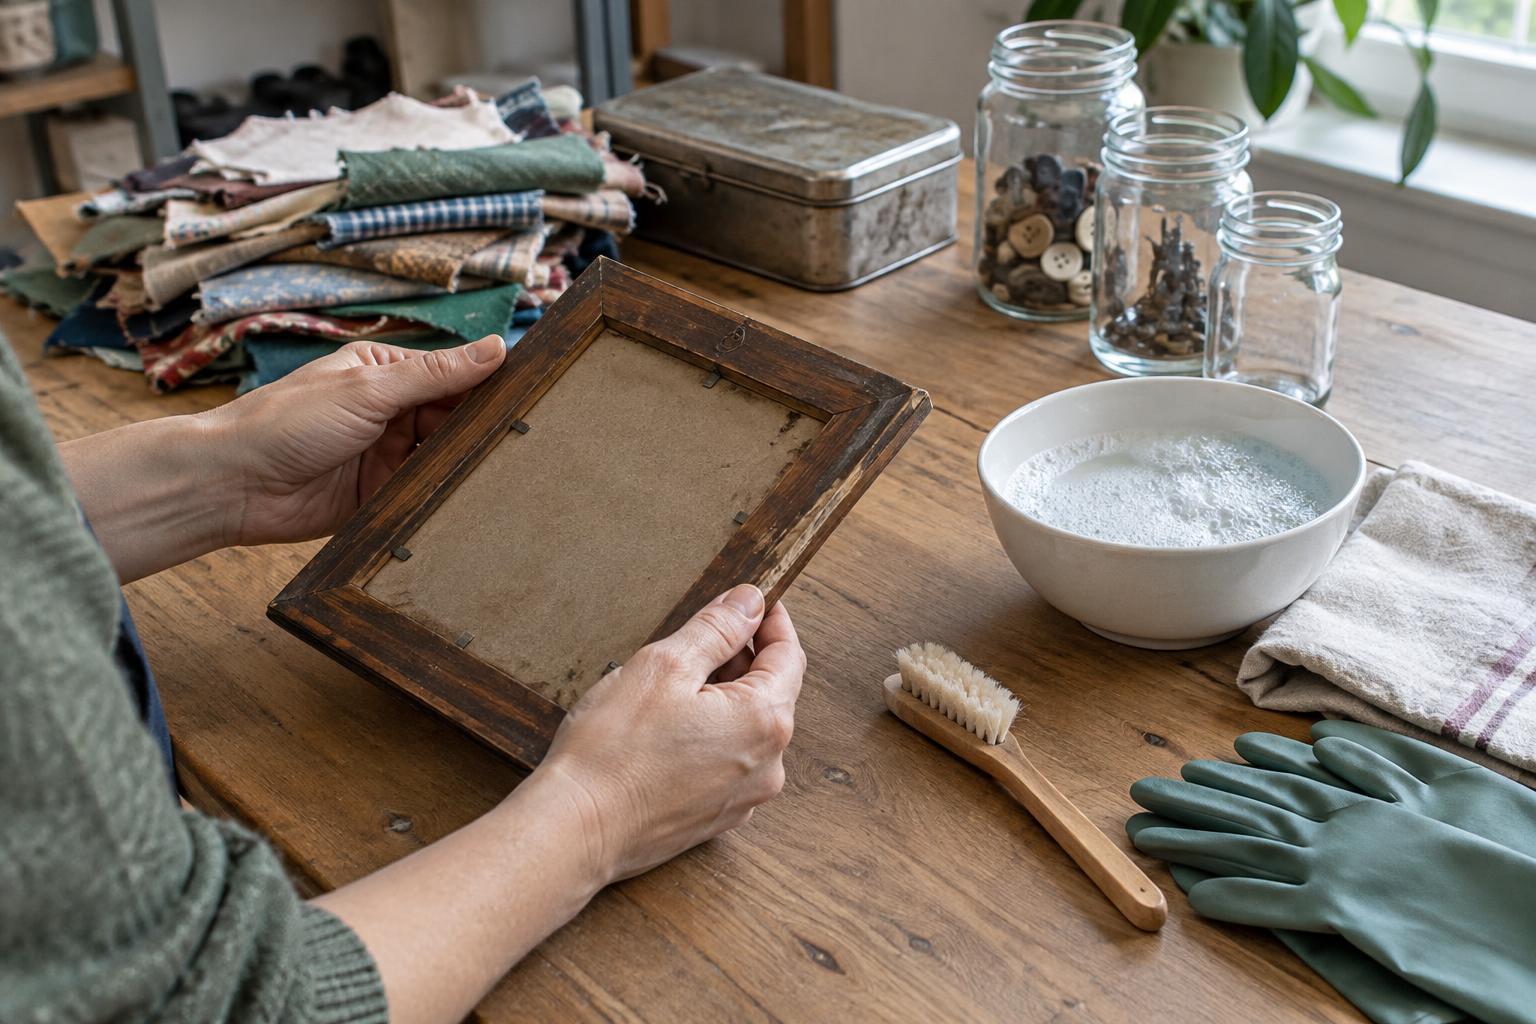
Start with the project, then inspect the item
Before buying or accepting a secondhand find, picture what you want to make and which parts you will use. A scratched wooden drawer may be fine for a painted shelf, while a wobbly chair needs more than a new finish. Bring a small flashlight and look at the item in good light. Check seams, joints, corners, undersides, and the inside of containers, where problems are easy to miss.
Look for cracks, loose fasteners, warped surfaces, water stains, rust, insect holes, and signs of repairs that may not hold. Smell the item, too: a strong musty or chemical odor can be difficult to remove. Press gently on furniture joints and test moving parts without forcing them. If your project depends on an item being sturdy, do not assume paint, glue, or decoration will fix a structural problem.
Decide what is safe and practical to reuse
Set aside items with active mold, signs of pests, crumbling material, or damage you cannot assess. Be particularly cautious with older painted surfaces: if you do not know what a coating contains, avoid sanding, scraping, or heating it in ways that create dust or fumes. Choose an intact alternative or seek appropriate guidance before disturbing the finish. Do not repurpose damaged electrical items as working lamps or appliances unless they have been properly assessed by a qualified person.
Consider the finished object's use. A secondhand container that will hold food or drink calls for different scrutiny than one used for pencils. For food contact, use materials and finishes known to be suitable for that purpose rather than relying on a decorative coating. For children's projects, avoid loose small parts, sharp edges, and finishes of uncertain composition. Passing on a questionable find is often simpler than trying to make it fit a project.
Sort materials before choosing a cleaning method
Remove detachable hardware, labels, and loose debris if you can do so without damage. Photograph an item before taking it apart so you can remember where pieces belong. Sort components by material: wood, metal, glass, hard plastic, and fabric respond differently to water and cleaners. If you are unsure about a surface, try your method on a small, inconspicuous area first and allow it to dry before judging the result.
For most sound, nonporous surfaces, begin with a soft brush or dry cloth, then wipe with a cloth dampened with water and a little mild dish soap. Use a separate damp cloth to remove soap residue, and dry the surface thoroughly. Avoid soaking glued joints, unfinished wood, paper, or absorbent board; moisture can cause swelling or weaken adhesive. Work in a ventilated area, follow product labels, and never mix cleaning chemicals.
Clean fabric, wood, metal, and glass with care
Check fabric for worn spots, stains, and odors before cutting it. If it is washable, test for color transfer on an inconspicuous area and wash it according to its care needs; then dry it fully before storing or sewing. Vacuum fabric that cannot be washed, paying attention to seams. If an upholstered piece has a persistent musty smell or suspected contamination deep inside the padding, cleaning its surface may not be enough for a craft project.
Dust unfinished wood with a soft brush, then use only a lightly damp cloth if needed and let the wood dry completely. Painted or varnished wood may tolerate a gentle wipe, but test first. Clean sound metal with a mild solution and dry it promptly, especially around screws and crevices where water can linger. Wash intact glass with warm, soapy water and inspect its edges before handling it further. Set aside chipped or cracked glass rather than trying to conceal damage with decoration.
Prepare the clean item for crafting
Once everything is dry, inspect it again. Cleaning often reveals loose veneer, hidden stains, or rough edges that were hard to see earlier. Tighten accessible hardware and remove only coatings you can handle safely. For paint, adhesive, or a new finish to bond, the surface generally needs to be clean, dry, and compatible with the product you choose. Read the product instructions and test a small area before treating the whole item.
Keep cleaned materials separate from uninspected finds so dust and pests do not move between them. Label pieces you have disassembled, and store fabric and paper somewhere dry. A short routine—inspect, decide, clean, dry, and recheck—helps you spend your crafting time on materials that are ready to become something useful.


