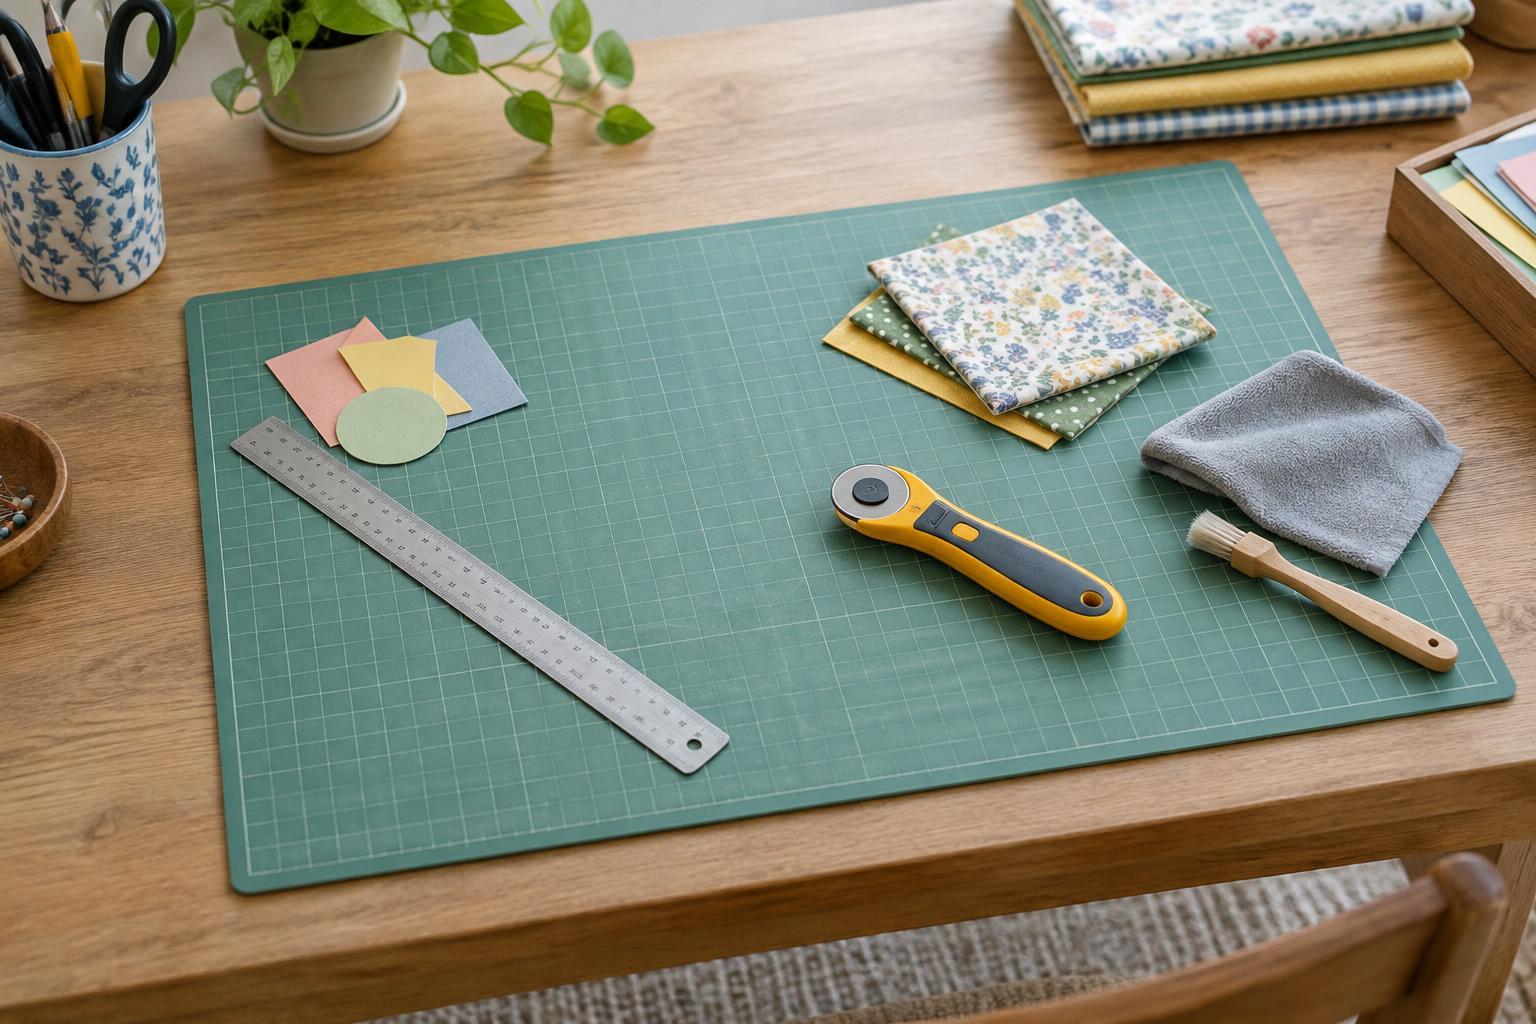
What a self-healing mat does
A self-healing cutting mat is a protective work surface designed for repeated cuts with tools such as craft knives and rotary cutters. Its surface can close around shallow cuts, helping it stay usable longer than a simple sheet of cardboard. “Self-healing” does not mean indestructible: heavy pressure, repeated cuts in one track and damaged blades can still leave grooves.
A mat helps protect your table and provides a steady surface for measuring and cutting. Printed grids and angle guides can make layout easier, but they are most useful as a quick reference. For a precise measurement, check the marks against a ruler before relying on them, especially if you work with patterns that must fit together.
Choose a mat that fits your projects and space
Start with the material you cut most often. For small paper crafts, a compact mat may be easy to move and store. For sewing, quilting or larger sheets of paper, a mat that supports the full piece—or at least the cutting area—makes the work less awkward. Before buying, measure your available table and storage space. A mat that overhangs the table can shift or bend while you cut.
Check that the mat is intended for your tools and offers a firm, stable surface. Thicker mats may feel more substantial, while a thinner mat may be easier to carry; thickness alone does not tell you how well a particular mat will wear. If you use both metric and imperial patterns, markings in both systems may be convenient. A plain reverse side can also be useful when you do not want printed lines competing with your layout.
Consider visibility as well. Choose a surface colour that contrasts with the materials you use frequently, so edges and small scraps are easier to see. If a mat has printed guides, look for clear, legible marks rather than choosing it for the greatest number of lines.
Set up for cleaner, safer cuts
Place the mat flat on a stable table, clear away loose objects and position your work so you can cut without reaching across the blade. For straight cuts, hold a suitable ruler firmly and keep your fingers away from its cutting edge. A ruler designed for cutting can help guide the blade; check that the tool and ruler are appropriate for each other.
Use a sharp blade and moderate pressure rather than trying to force a dull one through the material. With a craft knife, several controlled passes may give a cleaner result than one hard pass. When using a rotary cutter, keep the blade guarded when it is not cutting. Rotate the material or reposition yourself instead of making an uncomfortable cut toward your body.
Do not use the same narrow path on the mat for every cut. Vary the position of your work to spread wear across the surface. Keep pins, heavy scoring tools and heat-based tools away from the mat unless its maker specifically says it is suitable for them. A cutting mat is not automatically an ironing or heat-resistant surface.
Clean and store it without causing damage
Brush away paper dust, thread and fabric fibres after a session, paying attention to any shallow cuts where debris can collect. For a more thorough clean, wipe the surface with a soft cloth dampened with water and a little mild soap, then remove any soap residue and let the mat dry flat. Check the maker’s care instructions before using a cleaning product; harsh solvents or abrasive pads may damage the surface or printed markings.
Store the mat flat when possible, with nothing heavy resting on one small area. Keep it away from radiators, hot equipment and prolonged direct sunlight, which may cause some mats to warp. Avoid folding it. If you must carry a large mat upright, support it so it does not sag, and return it to a flat surface when you are finished.
Know when it is time to replace the mat
Inspect the surface before a cutting session. Deep grooves can catch a blade and pull a cut off course; raised areas can keep a ruler or material from lying flat. Persistent warping, splitting or a surface that no longer supports accurate cuts are signs that the mat may need replacing. Turning it over is an option only if the reverse side is intended for cutting.
Good habits extend a mat’s useful life, but they also improve the work you make on it. Match the mat to your project size, use an appropriate sharp blade, move your cuts around and clean up scraps afterward. Those simple steps give paper and fabric a more reliable surface for the next project.


