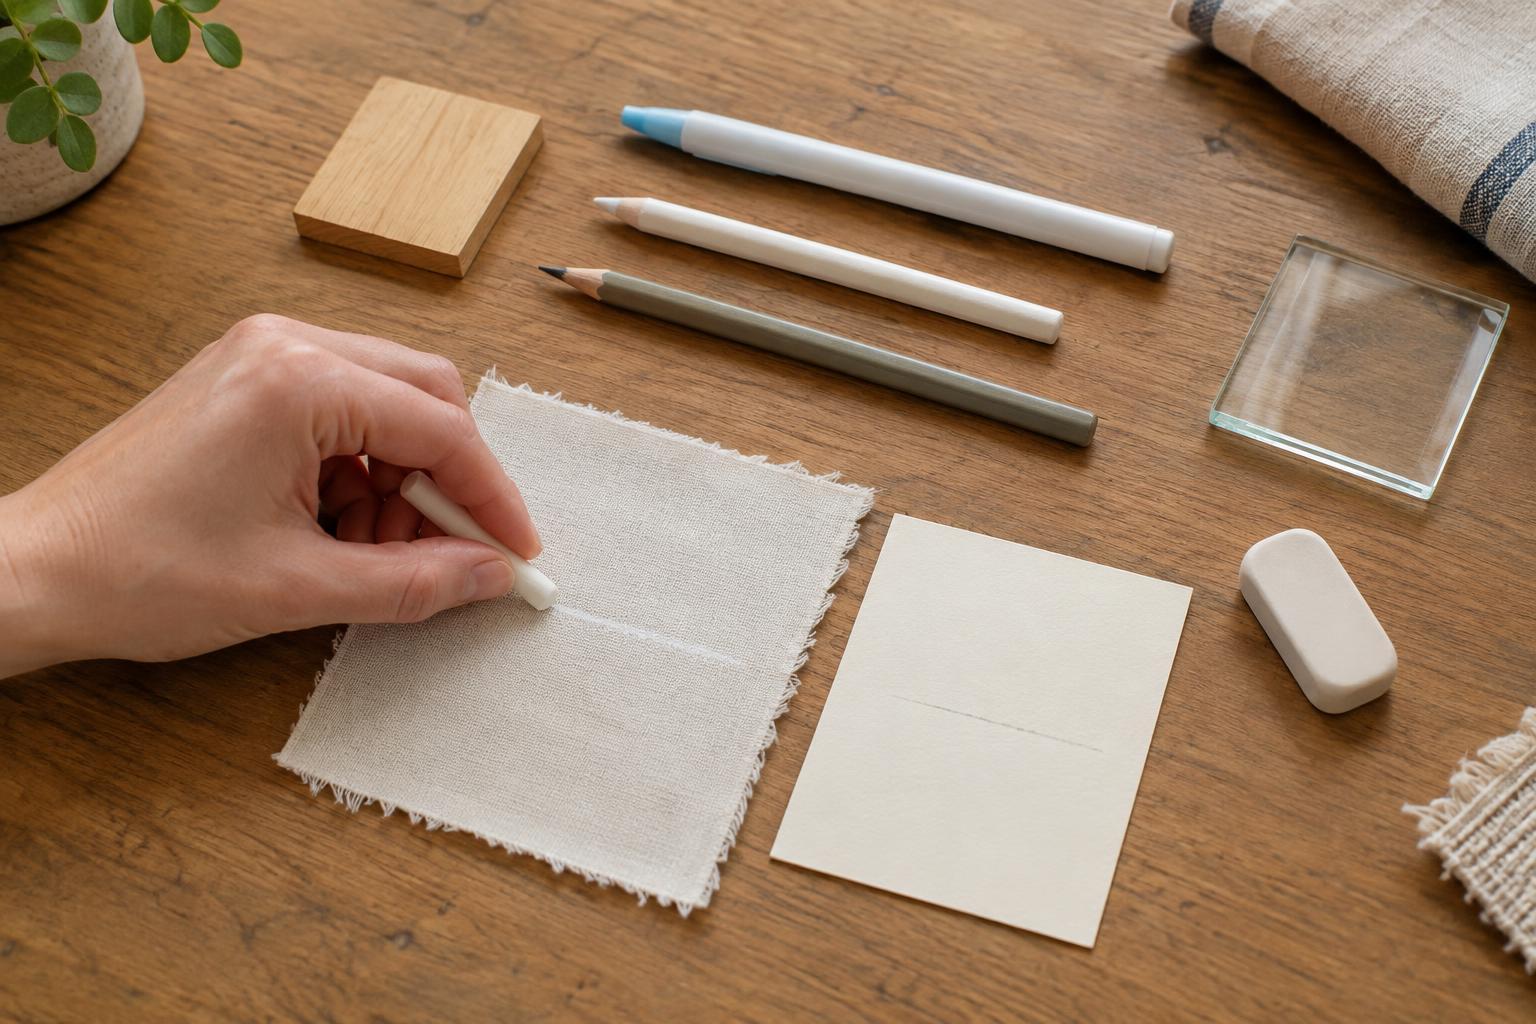
Start with the surface and the purpose of the mark
A cutting line, a fold guide and a placement dot do not all need the same tool. Before marking, ask whether the line must remain visible throughout the project or disappear afterward. Also check whether you can place it on a seam allowance, the back of a piece or an area that will be covered. Keeping marks out of sight is often more reliable than trying to erase them perfectly.
Consider the material’s surface as well as its color. Thin paper may dent under a sharp pencil; textured fabric may not hold a fine line; unfinished wood may absorb ink. A light-colored tool can be easier to see on a dark surface, but visibility alone does not make it safe. Choose the gentlest tool that gives you a line you can follow, and avoid pressing harder to compensate for a poor match.
Choose gentle options for paper and card
For many paper projects, a lightly applied graphite pencil is a practical starting point. Use a point that makes a clear line without digging into the sheet, and keep a clean scrap underneath when working on delicate paper. Erase with short, gentle strokes while supporting the paper with your free hand. Some colored pencil marks and inks are difficult to remove, so reserve them for marks that will be hidden or become part of the design.
If a fold must be precise, mark its position at the edges rather than drawing across the entire face. Then align a ruler between those marks. A scoring tool creates a controlled crease, but it also makes a permanent indentation: test your pressure on an offcut before using it on the finished piece. On coated, metallic or heavily textured papers, test both the mark and its removal, since rubbing may change the surface even when the color comes off.
Match fabric markers to the fabric and the next step
Tailor’s chalk and chalk pencils can work well for temporary lines on many woven fabrics. Apply them without dragging or stretching the cloth, and check whether the mark brushes away from a sample. For slippery or loosely woven fabrics, small tailor’s tacks—loops of contrasting thread placed through the fabric—can mark a point without pigment. They take longer, but they can be useful when a drawn line will not stay clear.
Washable and air-erasable fabric pens are convenient, but neither label guarantees a clean result on every textile. A mark may linger, spread or become harder to remove after pressing. Test on a scrap of the actual fabric, including any interfacing or finishing treatment you plan to use. Do not iron over a temporary mark unless the tool’s directions say that is appropriate. Check that marks are gone before sewing them into an inaccessible area or applying heat.
Take extra care with wood, glass and finished objects
On unfinished wood, a light pencil mark is often easier to control than ink, which can soak into the grain. Mark along the grain where possible and test erasing on a scrap, particularly before applying a clear finish. For painted or sealed wood, mark on a removable template instead when you can. Even a soft pencil or eraser may dull a delicate finish if rubbed repeatedly.
Glass, glazed ceramic and metal often accept temporary marks from tools intended for smooth, nonporous surfaces. Before using one on a finished object, make a small test mark in an inconspicuous spot, let it sit as long as your project requires, then clean it off using a method suitable for that surface. Avoid assuming a marker will wipe away from an unglazed edge, a scratched area or a coated finish. If you are unsure, trace the shape onto paper and position the template without marking the object.
Make a quick removal test part of your routine
Keep offcuts from each project for testing. Make a short line, a dot and a slightly heavier mark with your chosen tool. Leave them in place for roughly the time you expect to work, then try to remove them using your planned method. Inspect the sample in good light for leftover color, dents, shine, pilling or a change in texture. A test is most useful when it matches the real project: use the same material, pressure and finishing steps.
Use a ruler, pattern weight or low-tack tape to hold a template steady rather than repeatedly redrawing a line. Test tape on delicate surfaces too, since lifting it can pull fibers or finish away. Keep marking tools clean and store them separately from permanent pens so they are easy to identify. If a mark fails your test, change the tool, move the mark to a hidden area or use a paper template. A few minutes of preparation can spare the finished piece from an unwanted trace.


