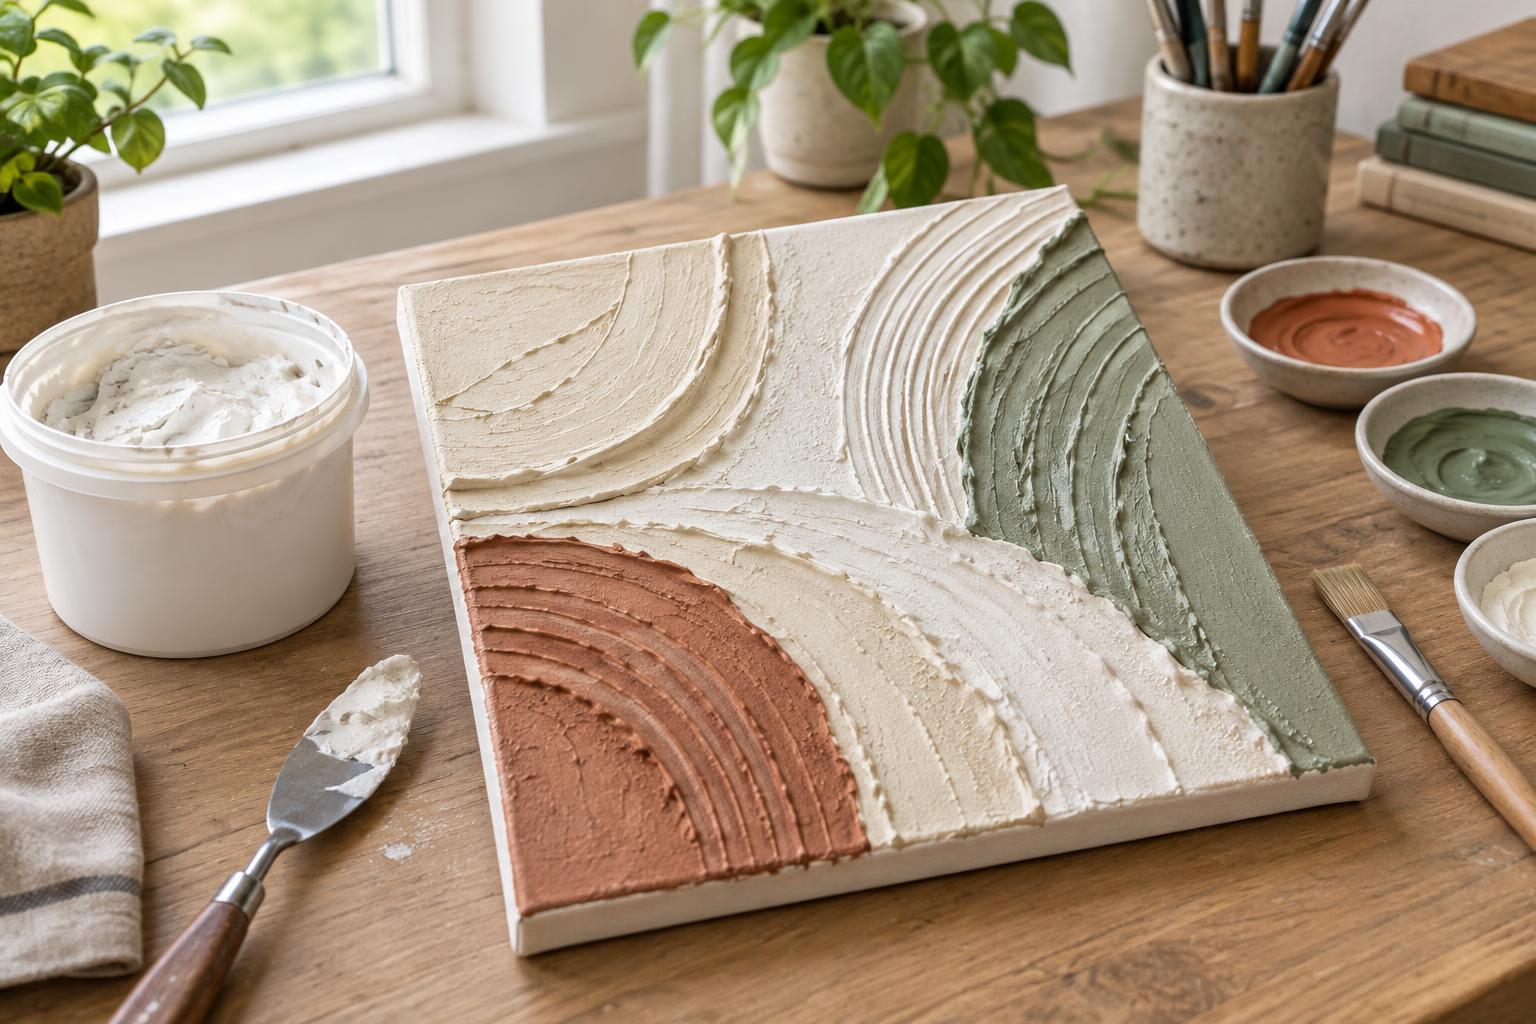
Choose materials and plan your design
Modeling paste is a thick medium that holds marks made with a tool. It can create raised lines, ridges, and shallow relief on a canvas. For a first project, choose an acrylic-compatible paste, a small pre-primed canvas, and one or two palette knives. A plastic card or an old gift card can also spread paste. Keep a damp cloth, a water container, and a scrap of cardboard nearby for testing.
Start with a simple design rather than trying to texture the entire surface. Arches, overlapping waves, and broad leaf shapes are forgiving choices because small variations look intentional. Sketch the main shapes lightly with a pencil, or place strips of low-tack tape to mark off a clean border. Leave some flat canvas visible so the raised areas stand out.
Cover your work surface and check the paste label before you begin. Products differ in how thickly they can be applied and whether they can be mixed with paint. If you want a specific color, test a small mixture first; adding paint may change how the paste holds its shape.
Prepare a stable surface
A pre-primed canvas is a convenient starting point. Make sure it is clean and dry, then place it flat while you work. If the canvas is stretched over a frame, support the fabric from beneath with a book or board that fits inside the frame opening. This helps prevent the surface from flexing when you press with a palette knife.
Test your chosen tool and paste on scrap cardboard before working on the canvas. Spread a little paste, pull the tool through it, and notice which marks remain visible. A smooth knife edge makes crisp ridges, while the corner of a card can draw narrow grooves. This short practice run makes it easier to choose a texture that suits your design.
Build texture in manageable layers
Scoop up a small amount of paste and spread it onto one part of the canvas. Hold the palette knife at a low angle for a flatter layer, or tilt it more upright to leave distinct ridges. Work in sections so you can shape each area before the paste begins to set. If a mark looks wrong, scrape it back while it is still wet and try again.
To make waves, drag the knife in gentle, repeated curves. For a more irregular surface, dab the flat of the knife onto the paste and lift it away. You can also press a stencil into a thin layer, smooth paste across the opening, and lift the stencil straight up while the paste is wet. Wipe the stencil between uses to keep its edges clear.
Build height gradually rather than piling on one very thick coat. Thick areas may take much longer to dry and can be more prone to cracking, particularly on a flexible surface. If you want taller relief, let the first layer dry according to the product directions before adding another. Avoid pressing hard enough to stretch the canvas.
Let the paste dry, then add color
Leave the canvas flat in a place where it will not be disturbed. Drying time depends on the paste, the thickness of your marks, and the room conditions, so follow the product label rather than relying on a fixed number of hours. A surface can feel dry while raised areas remain soft underneath. Wait until the texture feels firm throughout before painting or moving the canvas upright.
For a quiet, sculptural look, leave a white paste unpainted if its label indicates that it can be used that way. To add color, brush acrylic paint lightly over the raised areas or cover the whole surface with a base color first. Once that coat is dry, use a nearly dry brush with a contrasting color to catch the tops of the ridges. Apply paint gently so you do not obscure the details you made.
An optional acrylic varnish can help give the finished piece a consistent sheen. Check that the varnish is suitable for your paint and paste, and apply it only after everything has dried as directed. A small test area can help you judge whether it changes the appearance of the texture.
Avoid common mistakes and care for your tools
If your design looks crowded, stop adding marks and let the existing texture be the focus. If the paste will not hold a ridge, try using less at once or switch to a narrower tool. Uneven edges can often be cleaned up while wet with the corner of a palette knife. Once the paste is dry, it is usually easier to incorporate an imperfection into the painted design than to force it away.
Wipe excess paste from tools before washing them, and follow the product label for cleanup and disposal. Dried paste can be difficult to remove from a knife or stencil. Finally, handle the completed canvas by its frame rather than pressing on the textured surface. That small habit helps protect the raised details you worked to create.


