Choose paper that can support the design
A clean silhouette begins with paper that suits the size of its details. Thin printer paper is easy to cut, but narrow branches or fingers may bend and tear when lifted. Very thick card holds its shape better, yet it can require more pressure and make tight curves harder to follow. For a first attempt, try a smooth, medium-weight paper that bends slightly without feeling flimsy. Test it by cutting a narrow strip from a spare piece and gently handling the strip.
Look at the design before transferring it. A detail that becomes extremely narrow at its base is more likely to break than one that widens where it joins the main shape. Thicken fragile connections, soften sharp inside corners and remove tiny gaps that will not be noticeable in the finished silhouette. If you are making a stencil rather than a cut-out shape, add small bridges to hold enclosed areas, such as the center of a letter, in place.
Prepare the drawing and cutting surface
Draw or trace the silhouette lightly on the back of the paper so any remaining pencil marks will be hidden when you display it. If the design has a preferred direction, reverse it before tracing onto the back. Keep the lines clear enough to follow without pressing grooves into the sheet. Mark any pieces that should be removed, especially when the design contains several small openings.
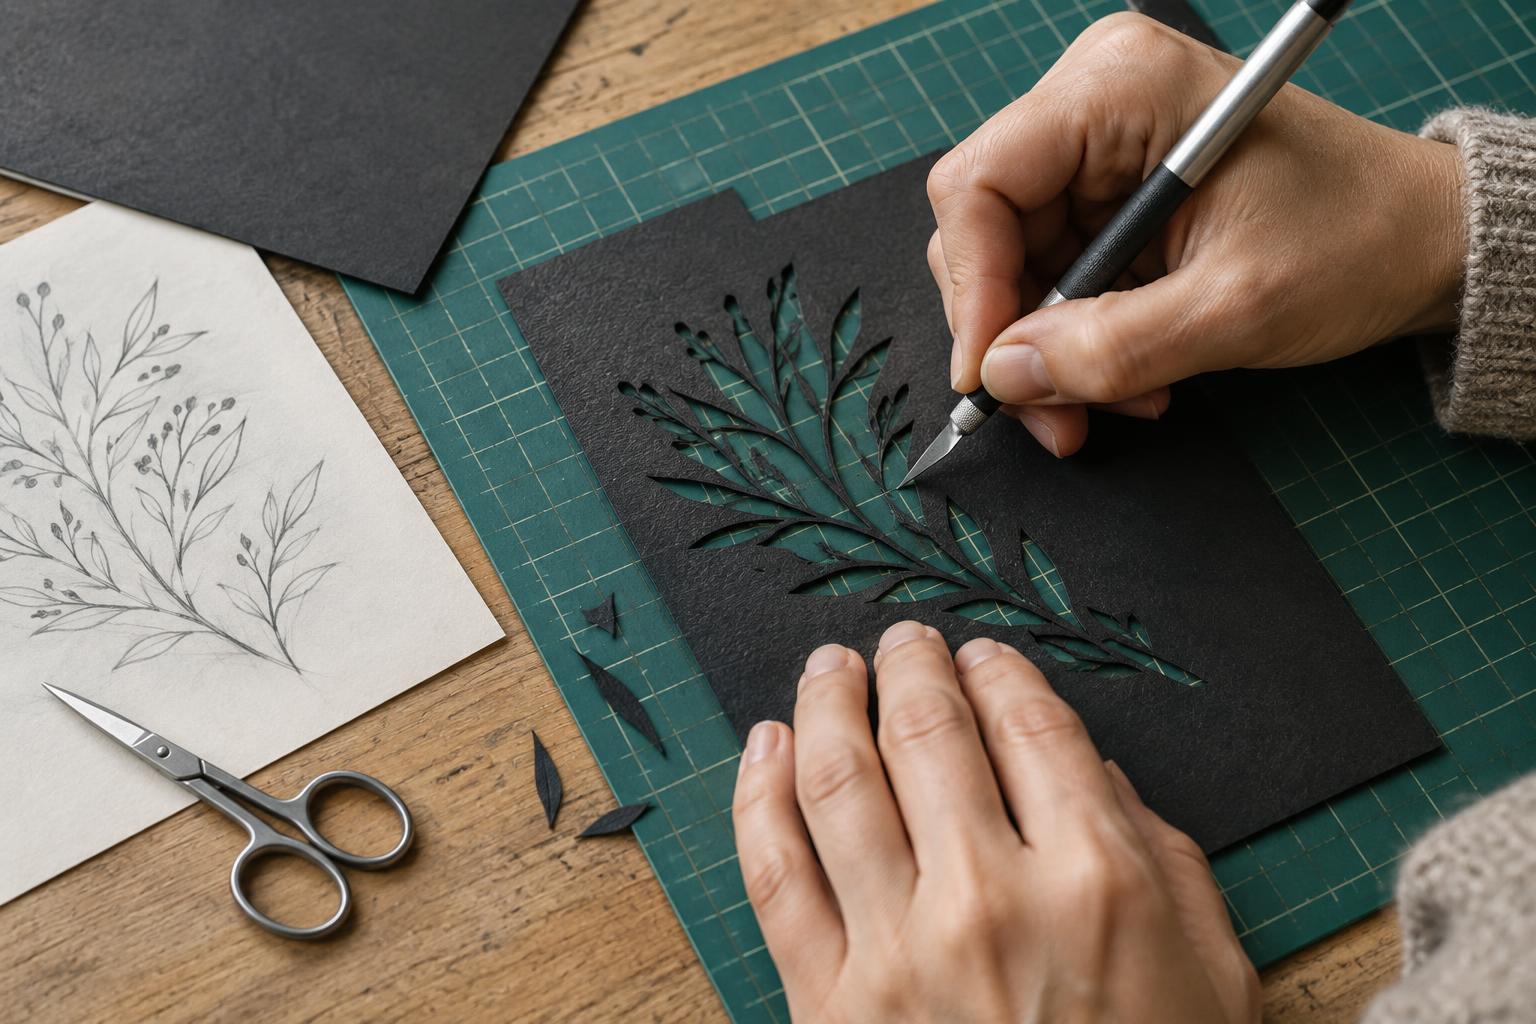
Place the paper on a clean cutting mat over a stable table. For intricate interior cuts, a sharp craft knife usually offers more control than scissors; use a fresh blade if the current one drags or catches. Keep fingers outside the blade’s path and cap or set down the knife whenever you reposition the work. Small scissors can still be useful for broad outer curves, provided their tips do not pull on the delicate sections.
Cut openings before the outer edge
Leave the silhouette attached to the surrounding sheet while you cut its interior gaps and smallest details. That larger sheet supports the design and gives you something sturdy to hold. Start each opening with a controlled cut inside the area you plan to remove, then work toward its outline. Use light passes rather than forcing the blade through in one stroke. If a cut has not gone all the way through, repeat it along the same line instead of pulling the paper apart.
Turn the paper on the mat to approach curves at a comfortable angle. For a sharp inside corner, cut toward the point from one direction, lift the blade and approach it from the other; twisting the blade while it is embedded can snag the paper. Work from small openings to larger ones, then cut the outside border last. Pause before removing each offcut and check that every edge has separated. A stuck corner can tear a fine detail if you tug it free.
Protect narrow pieces as you work
Rest a free hand lightly on the uncut area to stop the sheet shifting, keeping it well away from the blade. Avoid gripping a narrow strand to steady it. If a branch or other projection is already loose, leave the surrounding waste paper in place until nearby cuts are finished; it can provide temporary support. Move the work across the mat instead of reaching awkwardly over the design.
When cutting a long, thin gap, make short cuts and check your progress often. A blade that needs increasing force may be dull, or the paper may be moving beneath it. Replace the blade or secure the main sheet gently with low-tack tape on the waste area. Test the tape on a scrap first, and peel it back slowly so removing it does not lift the paper’s surface.
Release, inspect and display the silhouette
Once all lines are cut, lift the surrounding paper rather than pulling up the silhouette by a fine point. Use the tip of the knife to separate any missed fibers while the work is flat on the mat. Check for rough edges against a contrasting background. A few careful trimming cuts can tidy them; repeated scraping may weaken the shape.
If a small section tears, align its edges on the back and use a tiny amount of suitable paper glue on a narrow scrap as a support. Let it dry flat before moving the piece. For display, mount the silhouette on a contrasting sheet by applying small amounts of adhesive to its sturdier areas, not by brushing glue across every fine strand. The most reliable improvement for the next attempt is often simple: widen the detail that failed, then cut it again with a sharp blade and a lighter hand.


