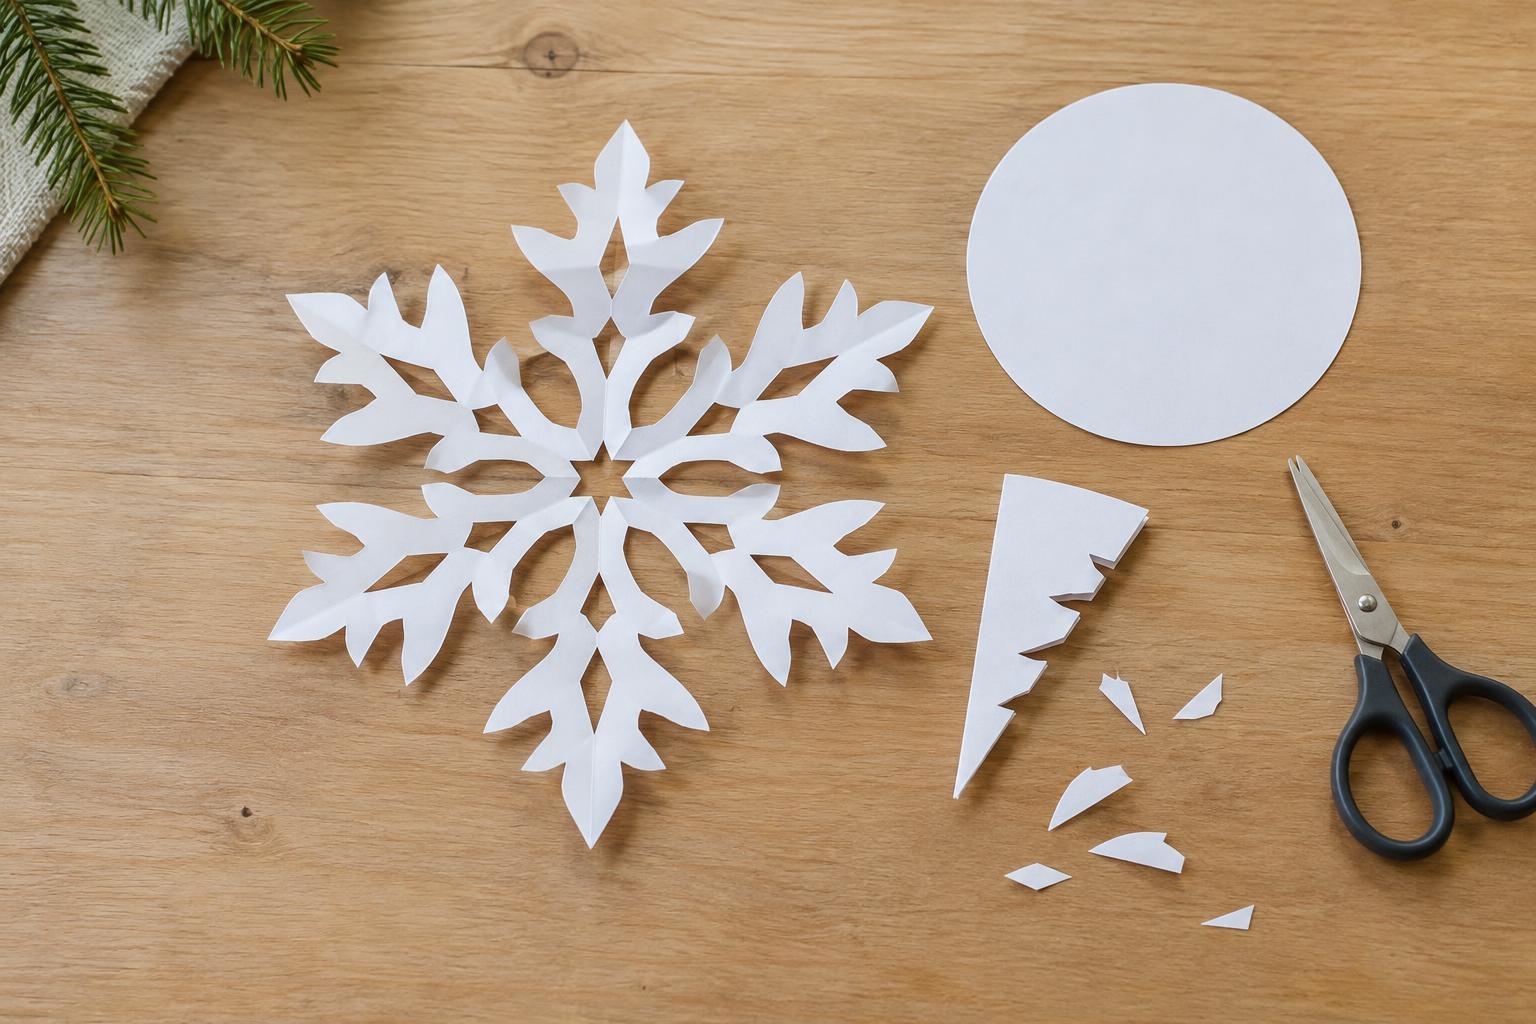
Choose paper and prepare a circle
A symmetrical paper snowflake starts with a shape that folds evenly. A paper circle makes a six-sided snowflake easier to plan than a square because every point on its outside edge is the same distance from the center. Use ordinary printer paper for a first attempt: it is easy to crease, and several folded layers are still manageable with scissors. Thin colored paper also works, but very soft paper may tear when you open it. Thick cardstock can be difficult to cut through neatly once folded.
Gather paper, a pencil, sharp scissors and a round object to trace, such as a plate or bowl. A protractor is helpful for marking an accurate folding guide, but you can make an approximate guide without one. Trace and cut out a circle. Small circles are quick to practice on; a larger circle gives you more room for detailed cuts. If you want several matching snowflakes, trace and cut the circles now, then use your first folded circle as a guide for folding the rest.
Fold a six-part template
Fold the circle exactly in half, matching the curved edges, and crease it. The midpoint of the straight folded edge is the center of the original circle. Keep that point in mind: every fold in the next step must begin there. Lay the semicircle flat with its straight edge facing you.
To make an accurate guide, place a protractor at the midpoint of the straight edge. Starting from the right-hand end of the semicircle, lightly mark positions at 60 and 120 degrees along the curved edge. Draw faint lines from the midpoint to those marks. These lines divide the semicircle into three equal wedge-shaped sections. Fold the right outer section over the middle section along the first line, then fold the left outer section over it along the second line. You should have a narrow wedge with three layers of folded semicircle, or six layers of the original circle. Press the creases firmly.
Without a protractor, first fold the two outer sides inward loosely, always pivoting at the midpoint of the straight edge. Adjust them until their curved edges and corners line up as closely as possible in a single narrow wedge. Crease only when you are satisfied. The result may not be perfectly even, but its cuts will still repeat around the center. Make a small pencil mark on this folded wedge to identify it as your template for future circles.
Plan cuts that stay connected
The folded wedge has a pointed tip at the snowflake’s center, a curved outer edge, and two folded sides. Draw a few simple shapes along the folded sides: a small triangle, a shallow curve or a narrow notch. When the paper opens, each cut repeats around the snowflake. Cutting a small shape from the curved edge changes the outline of its points. Snipping just the tip creates a central opening; for your first snowflake, keep that snip tiny.
Leave uncut paper between neighboring shapes. Most importantly, do not cut all the way across the wedge from one folded side to the other, or you may separate the snowflake into pieces. Start with two or three generous gaps rather than many tiny details. A pattern does not need to be complicated to look interesting: alternating a deep notch with a shallow one creates a clear rhythm when the paper is unfolded.
Cut, open and refine your snowflake
Hold the wedge firmly near the area you are cutting, but keep your fingers clear of the blades. Cut slowly through all the layers, following your pencil lines. If the scissors struggle, shorten the cut or try thinner paper next time; forcing the blades can bend the layers and produce uneven edges. Shake or brush away the scraps before opening the folds so they do not catch in the design.
Unfold one crease at a time. Support narrow bridges of paper with your fingers instead of pulling the circle open by its outer points. If the snowflake will not lie flat, place it under a clean, heavy book for a while. A little asymmetry is normal, especially with a hand-folded guide. For the next version, change just one feature—perhaps make the outer points longer or move a notch closer to the center—so you can see what that cut does to the finished pattern.


