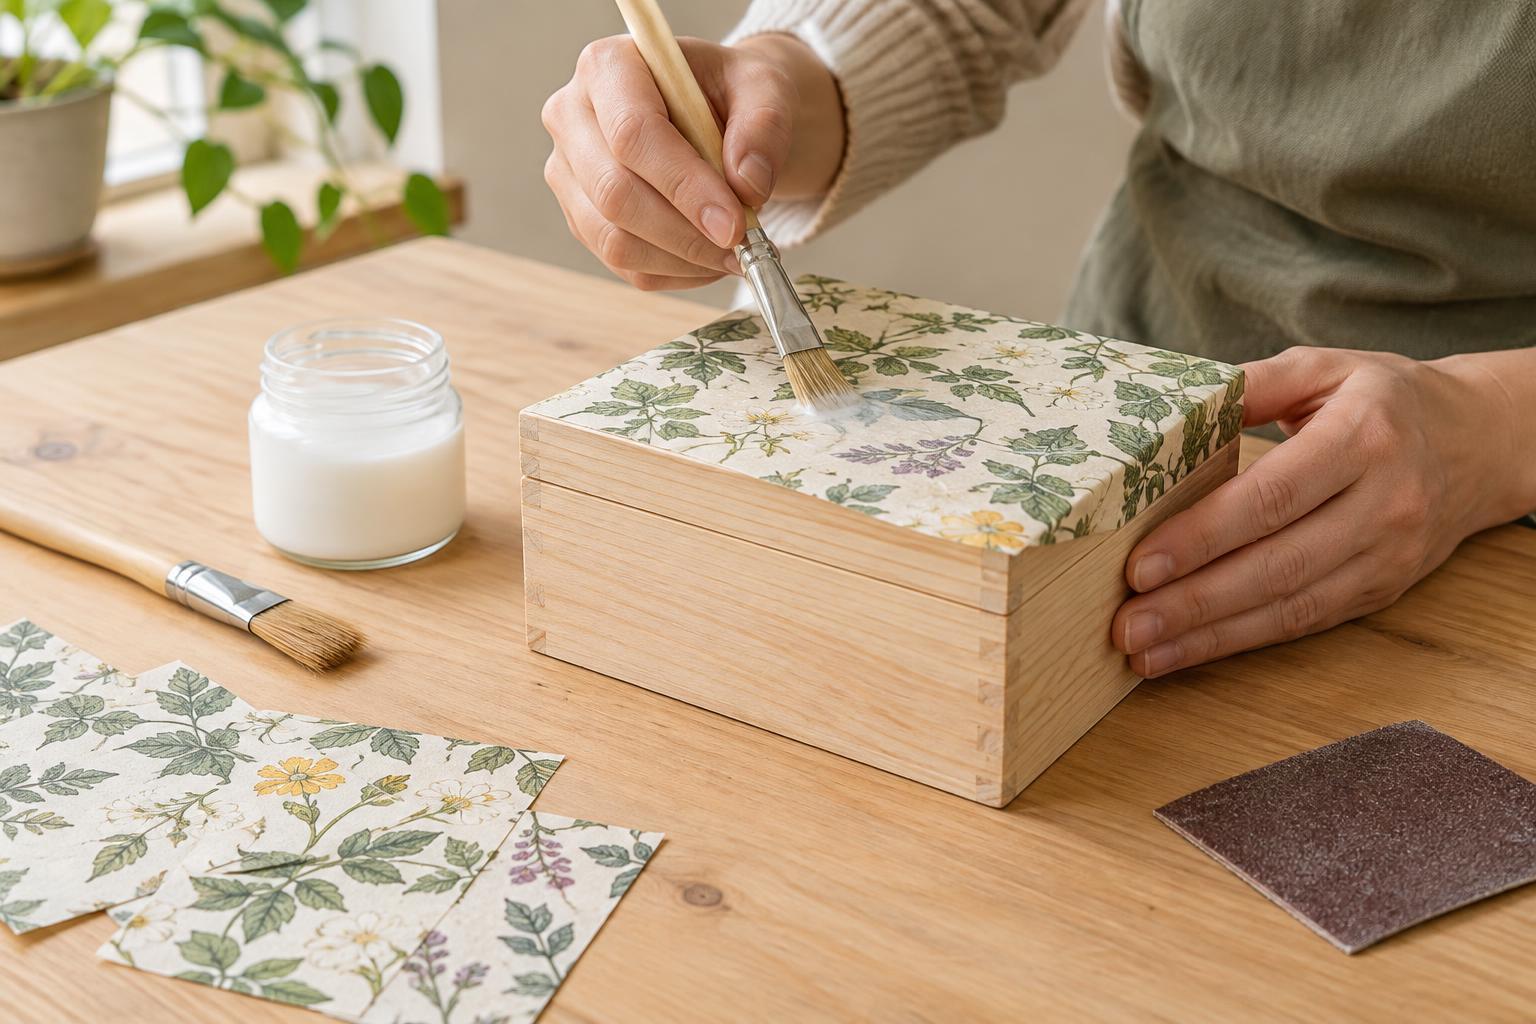
Choose a box, paper and design
Decoupage is the process of attaching paper to a surface and coating it to create a finished design. An unfinished wooden box is a good starting point because its flat lid and sides give you room to practice. Choose a box that opens and closes easily before decorating it; coatings are unlikely to fix a lid that already sticks.
Gather decorative paper, scissors, a soft brush, fine-grit sandpaper, a clean cloth and a decoupage medium suitable for wood. A water-based medium is convenient for cleanup. Tissue paper, napkin layers and thin printed paper can follow the wood’s surface, but they wrinkle or tear easily. Thicker paper is easier to position, though its edges may remain visible. If you plan to use your own printout, test a scrap with the medium first: some inks can smudge when wet.
Decide whether to cover the whole lid or arrange smaller cutouts on exposed wood. Place the dry pieces on the box and take a photo or lightly mark their positions before you glue. A few well-spaced shapes are often easier to apply neatly than one large sheet, especially around corners. Keep the box’s hinges, clasp and the edges where the lid meets the base free of paper.
Prepare the wood for a smooth finish
Work on a protected, well-lit surface. Remove any loose hardware if it is easy to do so, or cover it carefully while you work. Sand rough areas lightly, following the direction of the wood grain where possible. Pay attention to the lid edges and corners, where raised fibers could catch the paper. Wipe away all sanding dust with a clean, slightly damp cloth, then let the box dry completely.
Bare wood can absorb medium unevenly, which may make paper harder to move into place. If the surface feels especially porous, apply a thin coat of the medium to the areas you plan to decorate and allow it to dry according to the product directions. You can also paint the box first if you want a colored background. Let the paint dry fully and check that your decoupage medium is suitable for use over it. Try the combination on the underside of the box or a spare piece of wood if you are unsure.
Apply the paper without trapping bubbles
Start with one small piece rather than coating the entire box at once. Brush a thin, even layer of decoupage medium onto an area slightly larger than the paper. Set the paper down gently, then smooth it from the center toward the edges with clean fingers or a soft brush. Use light pressure: rubbing wet paper can stretch or tear it. Lift and reposition a piece promptly if it lands crooked, before the medium begins to grab.
Continue one piece at a time, working across the lid and then the sides. For a design that wraps around an outside corner, make small cuts in any excess paper so it can lie flat instead of bunching up. Avoid folding paper across the seam between the lid and base. If a bubble appears, ease it toward the nearest edge while the paper is still workable. If the paper is delicate, stop brushing as soon as it lies flat; repeated strokes often make wrinkles worse.
Let the glued paper dry as directed on the medium’s label. Trim overhanging paper with sharp scissors or a craft knife only after it has set enough to resist shifting. If you use a knife, place the box on a cutting mat and cut away from your hands. Check that the lid still opens freely before adding a top coat.
Seal the design and avoid common mistakes
Brush a thin coat of compatible decoupage medium over the paper, extending slightly onto the surrounding wood. Allow it to dry before adding another thin coat if the finish needs more coverage. Thick coats can leave ridges or soften the paper underneath, so build the finish gradually. Keep medium out of the hinges and away from the surfaces that touch when the box closes. Leave the lid open while the coating dries.
Small wrinkles or visible paper edges can be part of a handmade finish. To reduce them on a future project, use smaller pieces, apply less medium beneath the paper and smooth each piece only until it is secure. If you notice a dry, lifted edge after the first coat, brush a little medium underneath it, press it down gently and let it dry before sealing again. Do not try to sand delicate paper while it is damp.
Let the box cure before using it
Dry to the touch does not always mean ready for use. Follow the product’s guidance for full drying or curing, and wait before closing the lid or putting items inside. Once finished, the box can hold lightweight keepsakes or craft supplies. Wipe it gently with a dry or slightly damp cloth rather than soaking it. Treat it as a decorative storage item unless the products you used specifically say they are suitable for another purpose.


