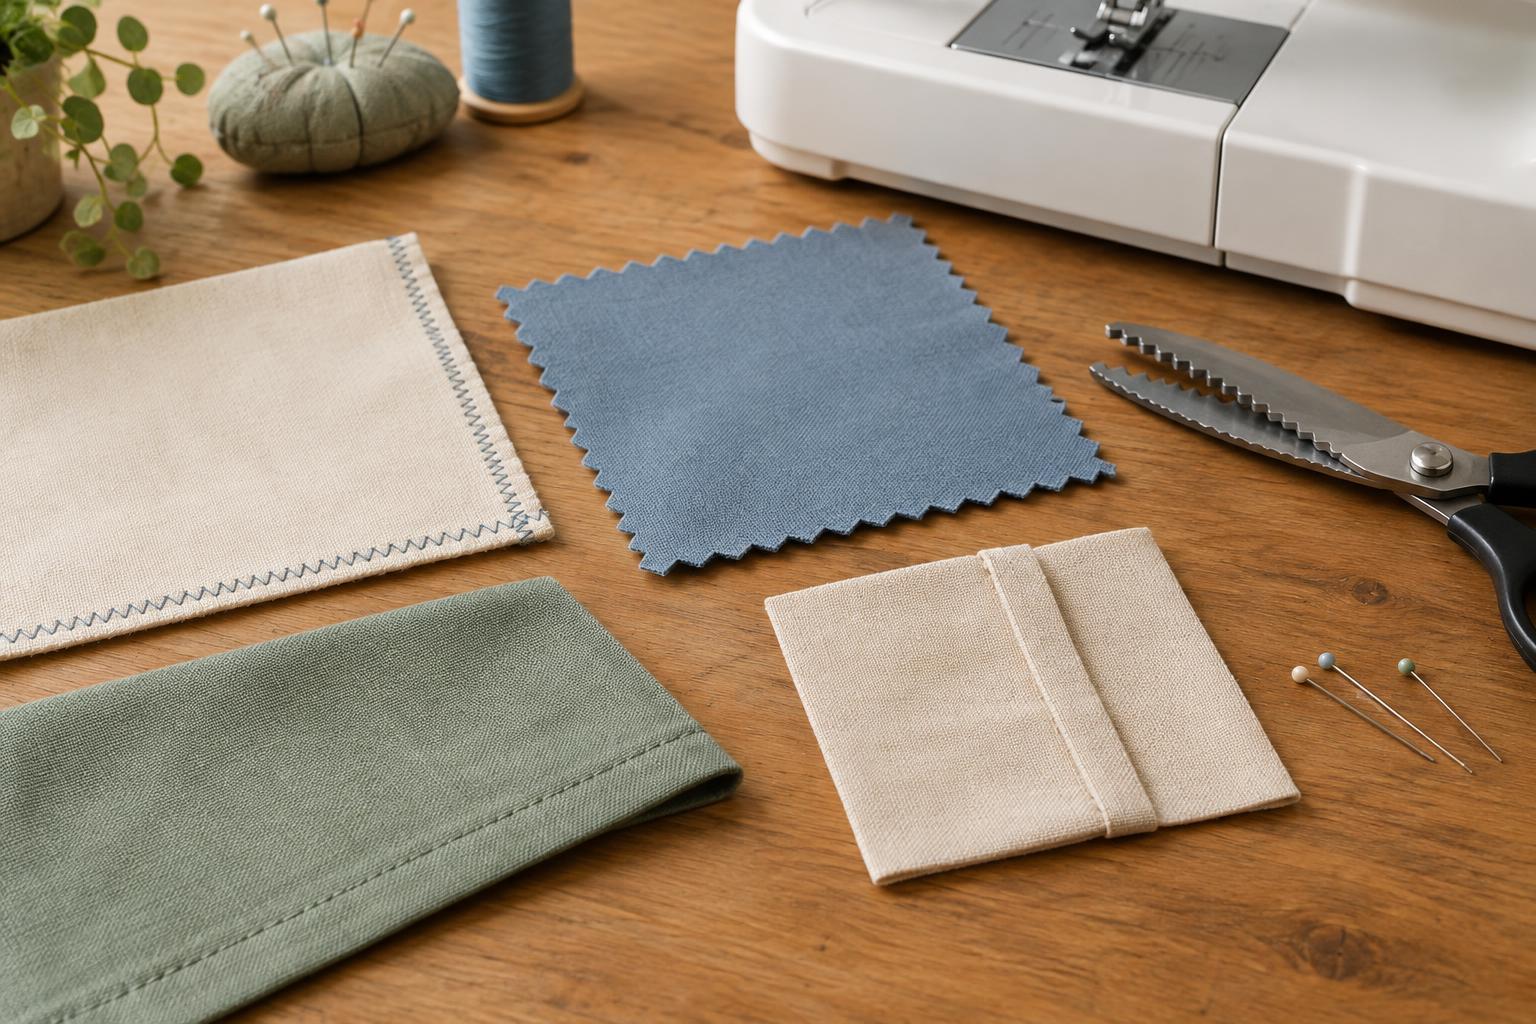
Start with the fabric and the project
A raw edge is the cut edge of fabric. On many woven fabrics, threads can work loose from that edge as the project is handled or washed. Finishing the edge helps keep a seam tidy and durable. Knit fabrics often fray less, but an unfinished edge can still curl or look untidy. You do not need a serger to deal with either problem: a basic sewing machine, a needle and thread, or a pair of pinking shears can give you useful options.
Before choosing a finish, look at where the edge will sit. A seam allowance hidden inside a bag needs a different treatment from an exposed edge on a decorative piece. Check how readily a small fabric offcut frays when rubbed between your fingers. Also consider thickness: a folded finish that looks crisp on light cotton may make heavy canvas bulky. If the project will be washed, test your chosen finish on a scrap and wash that scrap as you plan to wash the finished item.
Use a zigzag or overcast stitch for everyday seams
A zigzag stitch is a flexible choice for many woven fabrics. Sew the main seam first and press its seam allowances as the pattern directs. Then stitch along each allowance separately, placing one side of the zigzag close to the cut edge. Alternatively, if the allowances will be pressed together, finish them together. Keep the fabric flat as it feeds under the presser foot; pulling it can stretch or pucker the edge.
If your machine has an overcast stitch and an overcast foot, try them on a scrap. The foot helps guide the cut edge while the stitch wraps thread around it. Use the stitch and foot pairing recommended in your machine manual so the needle does not strike the foot. Whichever machine finish you choose, trim stray threads afterward rather than cutting so close to the stitches that the edge becomes weak. For knits, test a stretch-friendly stitch on a scrap and check that the seam can still stretch without thread breaking.
Choose pinking shears for a quick, low-bulk finish
Pinking shears cut a zigzag edge that can slow fraying on some woven fabrics. After sewing the seam, trim the allowance with the shears, leaving enough fabric beside the stitching to support the seam. This method is quick and adds no thread or extra folds, making it handy for a lightly used decorative item or a fabric that frays only a little.
Pinking is not a reliable substitute for stitching on every fabric. Loosely woven material may continue to shed threads, and an item that gets frequent washing may need a more secure finish. Test an offcut by handling it and, if appropriate, washing it. Cut with the full length of the shears where possible; short, overlapping snips can leave an uneven edge.
Enclose edges with French seams or folded finishes
A French seam hides the raw edges inside a second line of stitching. It works especially well on light to medium woven fabrics and looks neat where the inside of a project might show. First, sew the pieces wrong sides together with a narrow seam allowance. Trim that allowance, then press it open and fold the pieces right sides together. Sew a second seam wide enough to enclose the trimmed edges completely, and press the finished seam to one side. Plan the two stitching widths so their total matches the seam allowance in your pattern.
French seams are less convenient around tight curves or in thick fabric. For a straight exposed edge, such as the opening of a simple bag, a double-fold hem may be easier: press the edge to the wrong side, fold it again to hide the cut edge, then stitch near the inner fold. If a double fold would be too bulky, cover the edge with bias binding instead. Stitch the binding in place carefully so it catches both sides of the fabric edge.
Get a cleaner result with a few simple checks
Cut accurately before you start. A ragged cut makes it harder to place stitches consistently, while trimming too much seam allowance can leave too little fabric to hold a finish. Press each seam before and after finishing it; pressing settles the stitches and makes it easier to see whether the edge is enclosed. Test stitch width, length and thread tension on a scrap of the same fabric, especially if it is thin, stretchy or prone to fraying.
If an edge puckers, try a less dense stitch and avoid stretching the fabric as you sew. If threads escape a French seam, trim the first allowance more evenly or make the enclosing seam slightly wider, provided the planned seam allowance allows it. There is no single best finish for every project. Choose the simplest method that suits the fabric, the edge’s visibility and the wear the finished item will receive.


