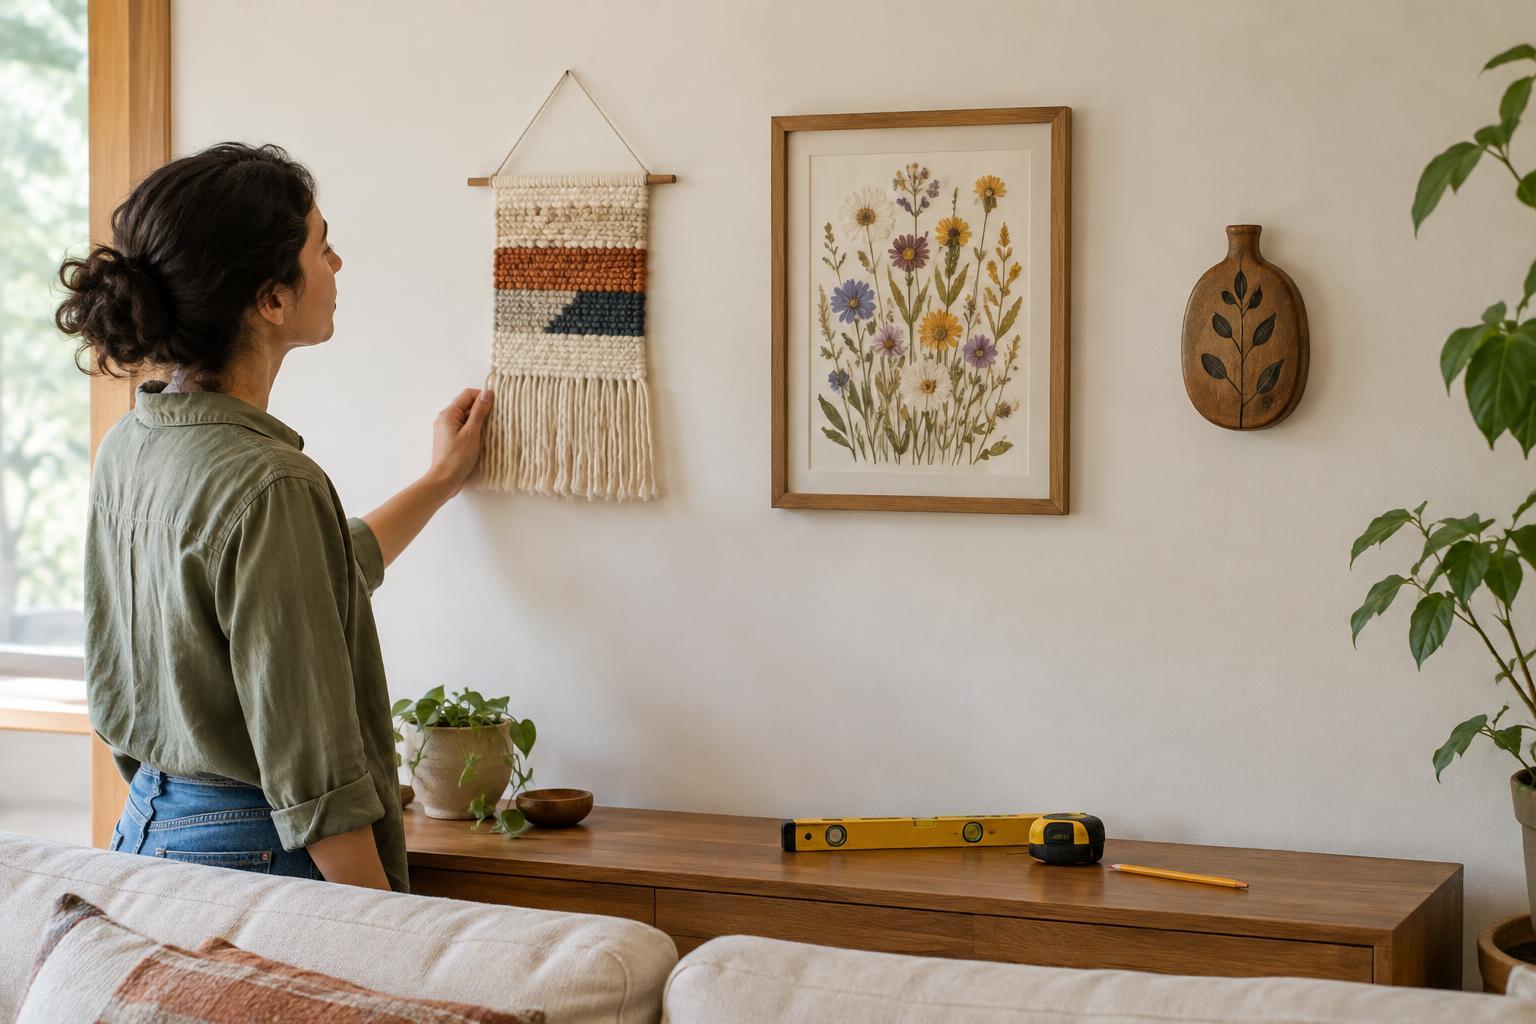
Start with the room, not a fixed measurement
A handmade decoration looks best when its position relates to what is around it. Before reaching for a hook, decide where the piece will be seen: from a doorway, while standing in a hallway, or while sitting on a sofa. A small embroidered hoop that looks balanced in a narrow entryway may seem lost on a wide wall above a couch.
For a single piece on an open wall, a useful starting point is to place its visual center near standing eye level, roughly 145–155 cm from the floor. This is a guide, not a rule. A long textile, a tall room or a wall mostly viewed from a chair may call for a different height. Step back and check whether you can look at the decoration comfortably without craning your neck.
Above furniture, treat the decoration and the furniture as a pair. Try positioning the bottom of the piece about 15–25 cm above a sofa or sideboard, then adjust for its size and shape. Too much empty wall between them can make the decoration feel disconnected; too little may leave it vulnerable to bumps or make the arrangement feel crowded.
Plan spacing before making holes
For two or more pieces, lay them out on the floor first. Keep a consistent gap between neighboring edges as a starting point: about 5–10 cm often works for small framed crafts or embroidery hoops. Larger pieces may need more space. Measure between their visible edges rather than between hanging points, which may sit in different places on each item.
Choose one organizing line for the group. You might align the centers of pieces at the same height, line up their top edges, or build around one larger decoration. A mixed collection of paper art, woven pieces and painted objects often looks more intentional when one of these relationships repeats. Uniform spacing can bring order even when the materials and shapes differ.
For an arrangement above furniture, consider its overall width as well as the individual gaps. A group that is much wider than the table beneath it may feel unbalanced, while a tiny cluster can seem stranded. If the pieces have irregular outlines, use their apparent visual weight rather than forcing every edge into a rigid grid.
Test the layout on the wall
Cut scrap paper to the outline of each decoration and label the templates. Attach them to the wall with tape suitable for the surface, pressing lightly and testing an inconspicuous spot first. Move the templates until the height and spacing work from several viewpoints. This is especially helpful with handmade objects, whose hanging loops may not be perfectly centered.
Once you like the arrangement, mark where each hanging point needs to go. Do not assume it is at the top of the object. Measure from the object’s top edge down to its wire, loop or hanger while it is held as it will hang. Transfer that distance to the template, mark the wall through the paper, then remove the templates before installing hardware.
Check the result with a tape measure or level, but also trust what you see. An unevenly shaped wreath or fabric piece may look tilted even when its hanger is level. Adjust the support or add a second attachment point if needed rather than repeatedly moving a single hook.
Match the hanger to the decoration and wall
Weigh the finished decoration, including its frame or backing, before choosing a hanger. Follow the hardware maker’s stated weight limit and surface instructions. Lightweight paper decorations may suit removable hanging products on compatible, clean surfaces; heavier framed or dimensional pieces usually need suitable mechanical fixings. Adhesive products can fail on textured, dusty or unsuitable paint, so do not rely on them for anything fragile or hazardous if it falls.
Wall construction matters. Plasterboard, solid masonry and other surfaces need different fixings, and a screw suitable for one may not hold securely in another. If you are unsure what the wall is made of or what lies behind it, get appropriate guidance before drilling. In a rental, check what alterations are permitted and test removable products carefully.
Consider how the handmade piece itself is attached. Reinforce a stitched fabric hanging where a dowel passes through, use a sturdy backing for layered paper art, and make sure knots or loops cannot slip. Keep breakable or heavy decorations out of places where people might brush against them, especially above beds and busy walkways.
Finish with a viewing and stability check
Hang the pieces and step back to view them from the places you normally use the room. Look for an awkward gap, a group that seems too high, or a decoration that competes with a nearby shelf or lamp. Small adjustments can make more difference than trying to achieve a perfect number on the tape measure.
Finally, gently check that each piece sits securely and cannot slide off its support. If a textile curls or a light object twists, two discreet points of support may hold it straighter. Keep a note of the final measurements if you expect to swap decorations later; you can reuse the layout while making room for new projects.


