Gather the right materials and set up your space
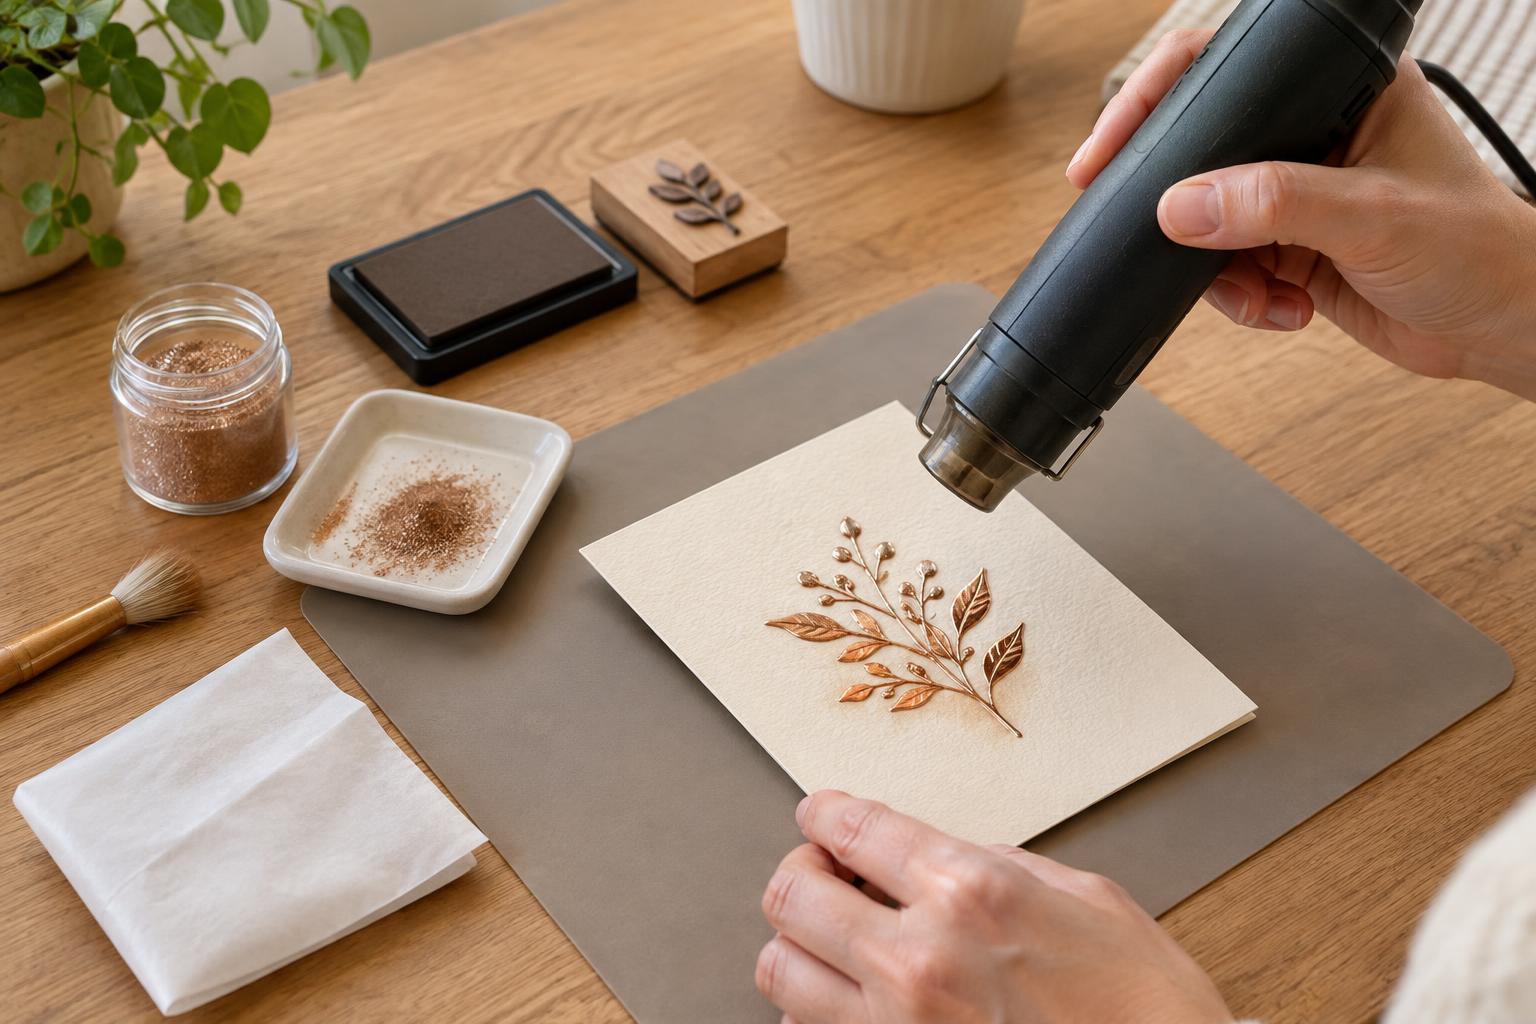
Heat embossing works by sticking embossing powder to wet ink, then melting the powder with a craft heat tool. For a first card, choose smooth, sturdy cardstock rather than thin printer paper. You will also need an embossing ink pad or slow-drying pigment ink, a stamp, embossing powder, scrap paper to catch the excess, and a heat tool intended for crafts. A small, simple stamp is easier to coat and inspect than a large design with fine details.
Work on a clear, heat-resistant surface away from loose paper, fabric, and anything else that could be damaged by heat. Follow the heat tool’s instructions, keep its hot nozzle away from your fingers and the tabletop, and unplug it when you finish. Good airflow is helpful, but avoid a draft that could scatter loose powder. Children should use the heat tool only with close adult supervision.
Prepare the card for a crisp impression
Cut and fold your card before embossing so you can place the design where you want it. If the cardstock has been handled a lot, lightly wipe the stamping area with a clean, dry cloth. Fingerprints and moisture can make powder cling where it does not belong. An anti-static pouch made for embossing can help, especially with dark cardstock or fine powder; brush away any visible residue before stamping.
Put a sheet of scrap paper beneath the card, then test the stamp on an offcut of the same cardstock. Ink the stamp evenly without pressing so hard that ink pools around its edges. Set it down straight, apply gentle, even pressure, and lift it straight up. If the impression looks patchy, adjust your inking or pressure on the offcut rather than trying to stamp over the mark on your finished card.
Apply powder and remove the excess
While the ink is still tacky, cover the entire stamped design with embossing powder. Tip the card over the scrap paper and tap its back gently so excess powder falls away. Fold the scrap paper into a shallow channel to pour the unused powder back into its container. Keep the lid on the container whenever you are not pouring; a small spill can spread surprisingly far.
Inspect the card before heating it. A few loose grains outside the stamped design can melt into permanent specks. Dislodge them with a small, dry paintbrush, taking care not to brush powder off the inked lines. If large areas of the design are bare, it is usually cleaner to start again on a fresh piece of cardstock. Adding more powder will not help if the ink beneath it has already dried.
Melt the design without scorching the paper
Place the powdered card on your heat-resistant surface. Hold the heat tool at the distance recommended by its maker and keep the airflow directed at one area until the powder changes from grainy to smooth and shiny. Move steadily across the design as each area melts. Avoid blowing directly at a pile of loose powder, and do not hold the tool over an already melted spot longer than needed.
The cardstock may curl slightly as one side warms. Let it cool, then check it before applying more heat. You can sometimes reduce curling by briefly warming the back of sturdy cardstock, but use caution and stop if the paper begins to discolor. Never press the hot nozzle onto the card to flatten it. Let the finished design cool before touching it or placing the card against other materials.
Fix common problems and build confidence
Stray shiny dots usually mean powder stuck to fingerprints, static, or ink outside the stamped image. Clean the stamping area and check for loose grains before heating your next card. Blurry edges can come from too much ink, a stamp that shifted, or powder with grains too coarse for a fine-lined design. Uneven shine often means a spot needs a little more heat; warm only that area and stop once the grains melt.
Scorching or severe curling is a sign to reduce heating time, adjust your technique, or try sturdier cardstock. Practice on scraps before embossing a finished card, particularly when using a new powder or tool. Once you can produce a clean impression, try embossing a short greeting or a simple border. Keeping the design modest makes it easier to control the ink, powder, and heat at every step.


