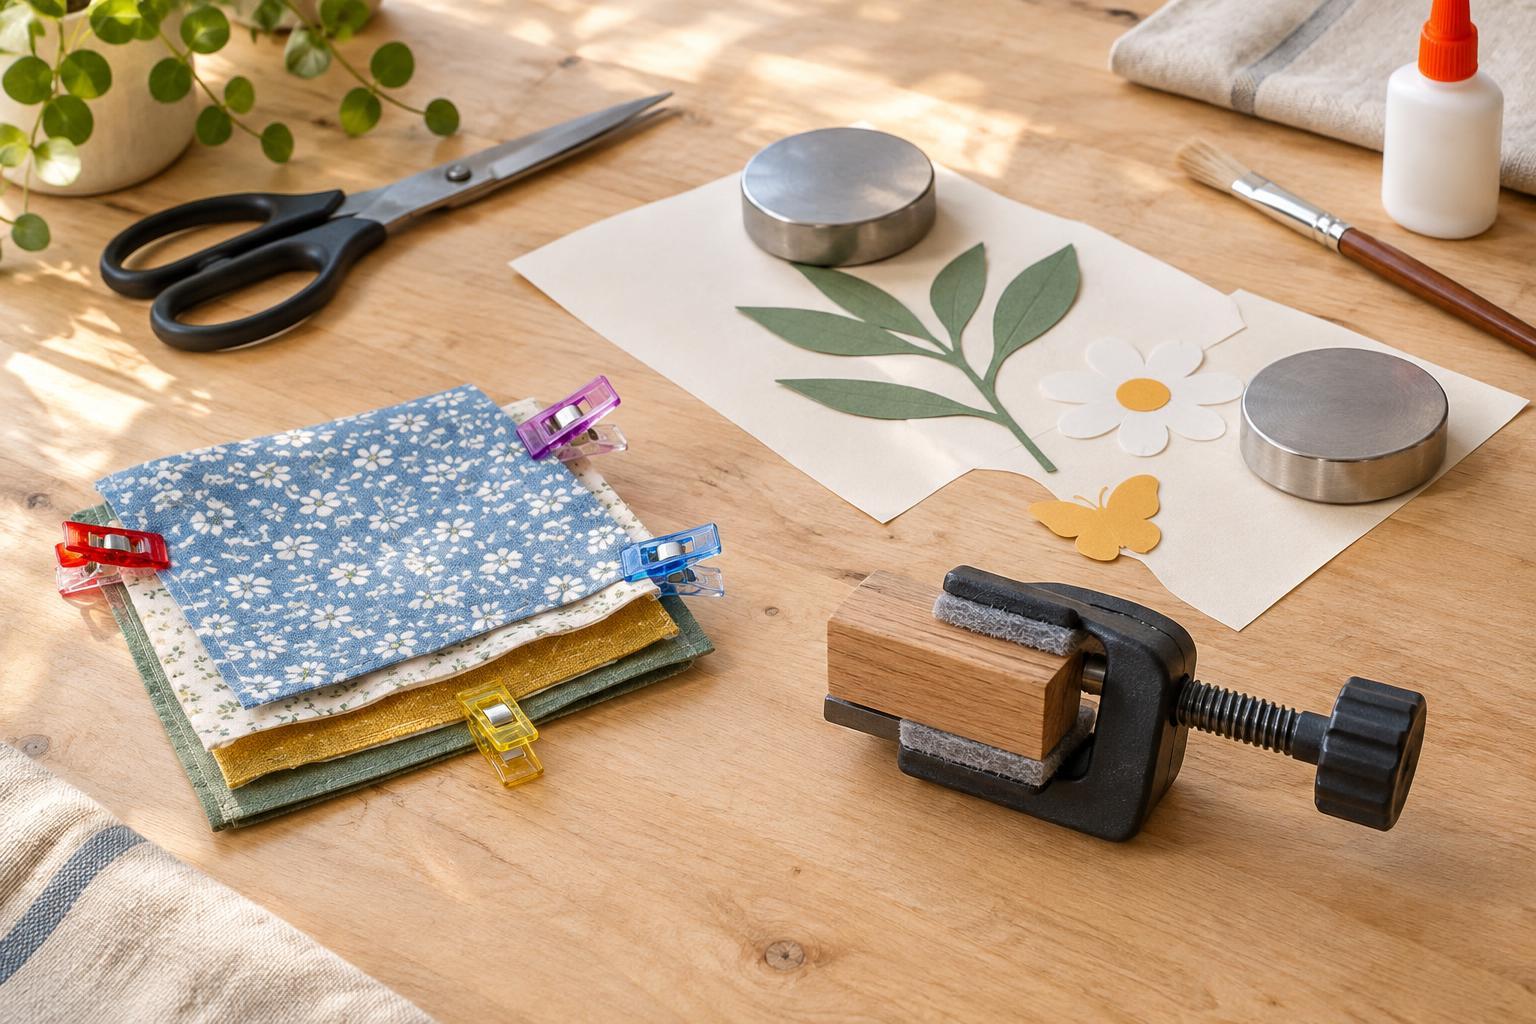
Match the holder to the job
Small pieces are difficult to manage because even a light touch can move them out of alignment. Before reaching for a holder, decide what needs to stay still: one edge, two layers pressed together, or an entire piece resting flat. Clips grip an edge and are useful when you need to reposition layers. Clamps apply firmer pressure to thicker objects. Weights hold a piece down without gripping it, making them useful for flat layouts.
Start with the least pressure that will do the job. A strong clamp may crush cardboard, dent soft wood or mark fabric, while a light clip may not hold a stiff piece securely. Consider where the holder will sit, too. It should keep your work steady without blocking a cutting line, seam, brushstroke or area that needs glue.
Prepare your work surface and test the grip
Work on a stable table with enough room to move the project without pulling against the holder. Use a cutting mat when cutting, and place a clean protective sheet under work that involves glue or paint. Remove scraps from beneath small pieces; a stray thread or paper offcut can make stacked layers sit unevenly.
Arrange the pieces in their final position before attaching any holders. If alignment matters, make small removable reference marks or use a ruler to check the edges. Test your chosen clip or clamp on an offcut of the same material, especially if the surface is painted, coated or easily creased. A scrap of plain paper, felt or smooth cardboard between the holder and the project can help prevent marks. Make sure this padding does not make the grip so loose that the pieces slide.
Use clips for edges and layered materials
Sewing clips are handy for holding fabric layers together near an edge, particularly when pins would leave holes or be awkward to use. Place a few clips around the work rather than crowding one spot, then remove each one before it reaches the sewing machine needle. For hand sewing, move the clips as you progress so they do not obstruct your stitch path.
Small binder clips can hold folded paper, thin cardboard or several sheets while you crease or assemble them. Their metal edges can leave impressions, so add a paper buffer when the finish matters. Clips are less useful in the middle of a large piece because they must reach in from an edge. If the layers pull out of line when clipped, hold them flat with one hand and attach clips from the center of the edge outward, checking alignment after each one.
Choose clamps for firm, controlled pressure
A small spring clamp can steady a wooden shape or keep a thicker stack together while an adhesive sets. A screw clamp gives more control over pressure when you need a snug fit. Put scrap wood or another firm, clean pad between the clamp jaws and any surface you want to protect. Tighten only until the parts stop shifting; extra force rarely improves alignment and can squeeze out too much glue or damage the material.
For a glued joint, dry-fit the pieces first: assemble them without adhesive, clamp them, and see whether they remain square and accessible. Then take them apart, apply adhesive as directed on its packaging, and clamp them again. Leave the joint undisturbed for the recommended setting time. Keep fingers clear of the jaws when attaching or releasing a clamp, and avoid placing a clamp where a tool could strike it.
Use weights for flat layouts and fix shifting early
Weights are useful when a clip would crease the edge or a clamp cannot reach the area you need to hold. Smooth, clean objects such as pattern weights can keep fabric in place for marking or cutting. For paper or a flat decorative piece, a weight can steady one section while you work on another. Keep the weight away from wet paint or exposed adhesive, and avoid putting a heavy object directly onto a raised embellishment.
If a piece still moves, do not immediately add more pressure. Check whether the table is slippery, the layers are misaligned, or the holder is too far from the area being worked. A nonslip mat beneath the project may help. If the holder leaves dents, add padding or switch to weights; if layers buckle, use fewer holding points or reposition them. The best setup keeps the work steady while remaining easy to adjust.


