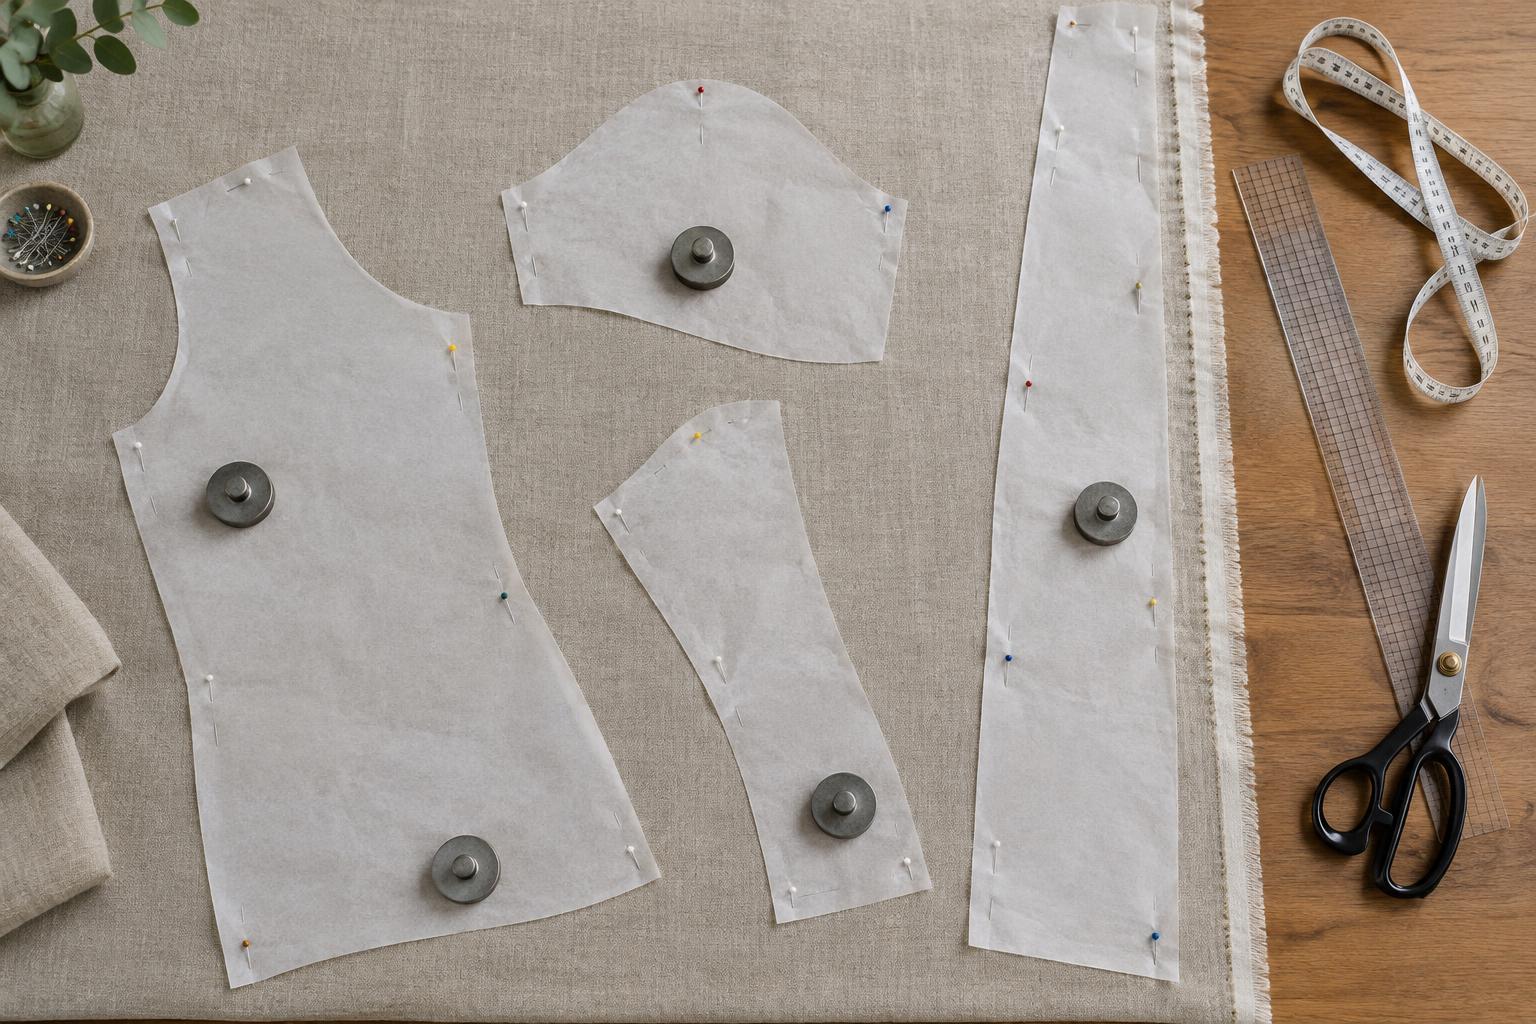
Understand what fabric grain means
On woven fabric, grain describes the direction of the threads. Lengthwise grain runs parallel to the selvages, the finished edges of the fabric. Crosswise grain runs from selvage to selvage. The bias runs diagonally across both sets of threads, usually at a 45-degree angle. Fabric often stretches more on the bias than it does along either straight grain, which is why a bias-cut piece can drape differently.
Pattern pieces usually include a long grainline arrow. Unless the instructions say otherwise, this arrow should run parallel to the selvage. A piece cut off grain may twist, hang unevenly or behave differently from its matching piece. Grain also matters when making simple projects such as cushion covers or fabric bags: consistent cutting helps edges meet neatly.
Knit fabric is made differently, so the woven-fabric checks below do not always apply. For a knit pattern, follow its stretch and layout instructions, and check which direction has the stretch the project needs.
Find the grain before you begin
Start by locating the selvages. They are often firmer than the rest of the cloth and may have small holes, printed information or a different texture. On a flat piece of woven fabric, a line running parallel to either selvage follows the lengthwise grain. If the selvages have been removed, look closely for the threads running in two perpendicular directions; an existing straight cut edge is not necessarily a reliable guide.
A woven fabric may have been cut unevenly or pulled out of shape. If your fabric and project allow it, you can identify a crosswise line by carefully pulling out one crosswise thread near the cut end and trimming along the gap it leaves. On some fabrics, that thread will break or be difficult to see; do not force it. You can instead use the visible weave to establish a straight line.
After finding the grain, gently smooth the fabric on a large surface. If the cut ends do not line up when the selvages meet, avoid stretching one edge to make everything appear square. Check the weave and let the fabric lie naturally before deciding how much of the end needs trimming.
Prepare the fabric and pattern
Check the fabric’s care instructions and consider washing and drying it the way you expect to care for the finished item. This can help you account for any shrinkage before cutting. Press out creases using a setting suitable for the material, and let the fabric cool before arranging pieces. Keep the surface clean and wide enough to support the cloth without letting it hang heavily over an edge.
Read the pattern’s layout, cutting labels and symbols before placing anything. Note how many of each piece you need, which pieces go on a fold, and whether the fabric should be folded with right sides together or cut in a single layer. If your fabric has a pile, a one-way print or a noticeable sheen, plan to point all pieces in the same direction so their appearance is consistent. A large print or plaid may also need extra space for placing motifs or matching lines.
Position each pattern piece accurately
Fold the fabric as the pattern directs, matching the selvages without pulling them tight. Smooth both layers so the fold lies flat. Place a pattern piece with a “place on fold” marking directly against that fold; do not leave a gap or cut through the fold. Put the remaining pieces on the fabric according to the layout, allowing room around each for cutting.
To align a grainline arrow, measure from one end of the arrow to the nearest selvage or a straight fold. Measure from the other end to the same reference edge, then rotate the piece until the distances match. Secure it with pins or weights and check the measurements again. Matching just one end of the arrow is a common mistake: the piece can still sit at an angle.
For single-layer cutting, keep track of which side of the fabric faces up and whether a piece must be flipped to create a left and right pair. Check the pattern markings rather than assuming every piece can be cut twice in the same orientation. Arrange all the pieces before cutting; a small adjustment may save fabric without changing their required direction.
Cut without disturbing the layout
Before the first cut, make a final pass over the layout. Confirm grainline measurements, fold placements, piece counts and directional prints. Use sharp fabric shears or a rotary cutter suited to your surface, and keep the fabric flat as you work. Lift the fabric as little as possible, since lifting can shift layers or distort a bias edge.
Transfer the pattern’s notches and other useful markings before separating pieces. Mark them in a way that suits your fabric, and avoid deep cuts into a seam allowance. If a piece moves while you cut, stop and realign it rather than trying to correct the shape afterward. Taking a few minutes to check grain and placement makes the sewing stage easier and gives each piece a better chance of behaving as intended.


