Gather materials and plan the pouch
For a simple unlined pouch, you need two equal-sized fabric rectangles, a nylon-coil zipper, matching thread, pins or sewing clips, scissors, and an iron. A zipper foot makes it easier to stitch close to the zipper teeth. Medium-weight woven cotton is a manageable choice for a first attempt: it holds a crease and is less likely to stretch while you sew. If the fabric feels too floppy for the pouch you want, apply lightweight fusible interfacing to the wrong side before assembly, following the instructions supplied with it.
Choose a zipper whose teeth extend beyond both sides of your fabric panels when the zipper is centered along their top edges. That gives you room to sew the side seams without hitting a metal end stop. Use a nylon-coil zipper rather than a metal-tooth zipper for this method, because the side seams will cross the zipper teeth. Your finished pouch will be smaller than the cut rectangles by the width of the seam allowances; a consistent 1 cm seam allowance is a convenient starting point.
Wash and press the fabric first if you expect to wash the finished pouch. Cut both rectangles to the same size, with straight edges and square corners. Mark the top edge of each piece so you do not accidentally sew the zipper to a side edge. If the fabric frays easily, finish the raw edges with a zigzag stitch before attaching the zipper, or plan to finish the exposed seams after sewing the pouch.
Attach the first side of the zipper
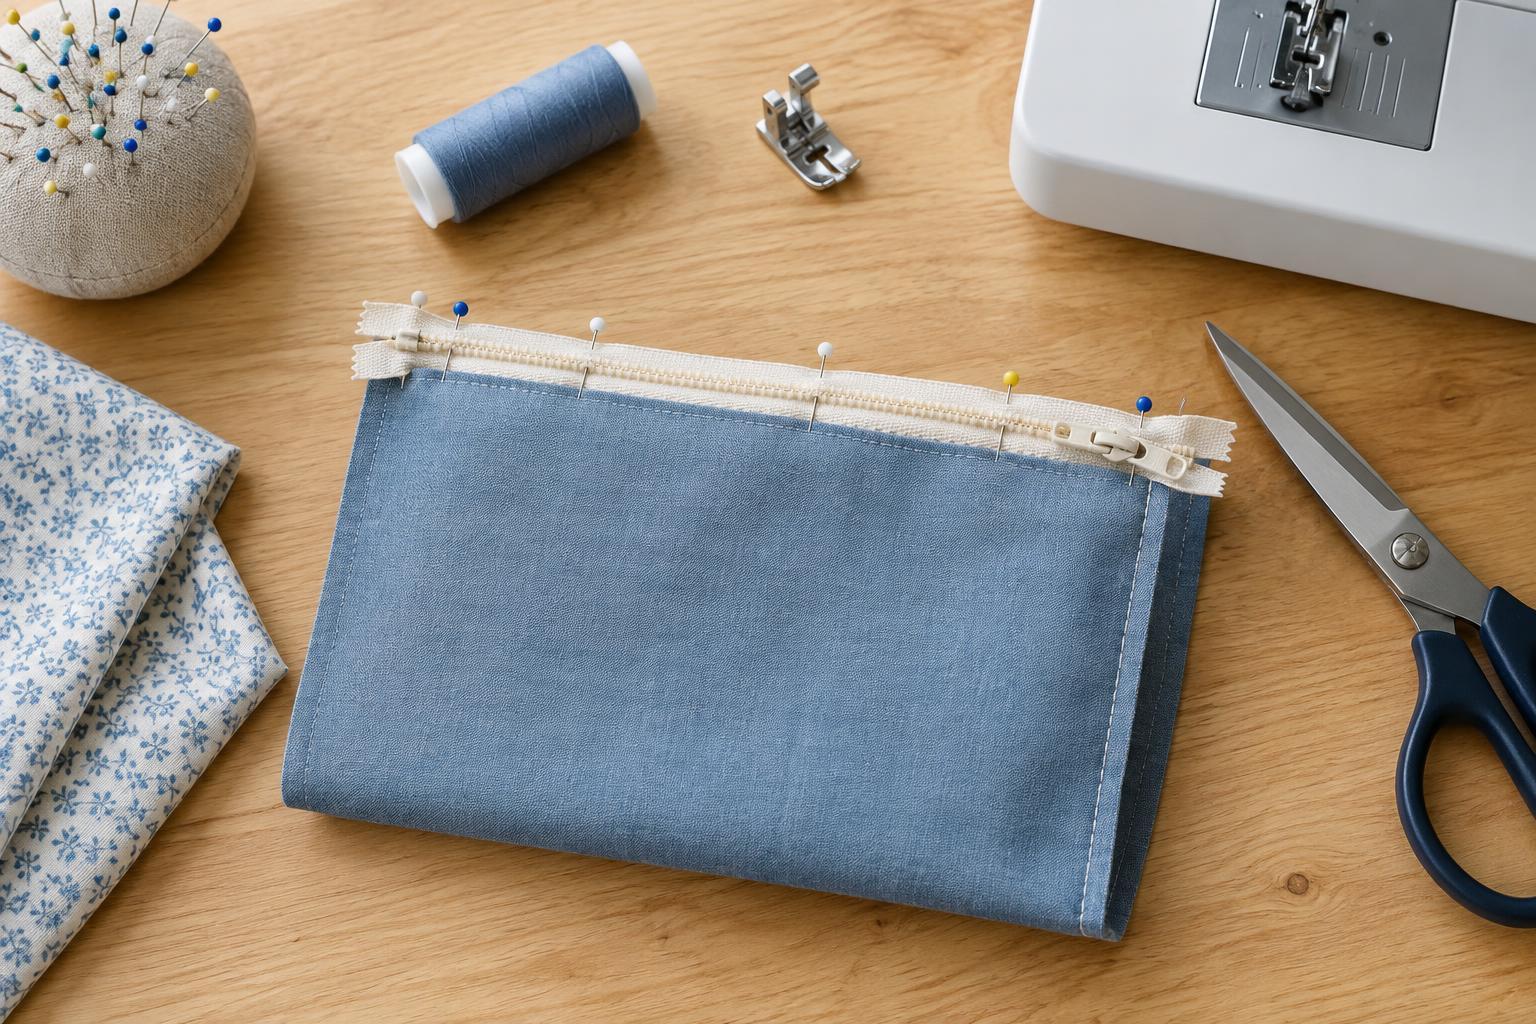
Place the first fabric rectangle right side up. Center the closed zipper along its top edge with the zipper face down against the fabric. Align the outer edge of one zipper tape with the fabric’s raw top edge; the teeth will sit farther in, toward the body of the fabric. Clip or pin the layers together, keeping pins clear of the needle path.
Fit the zipper foot and sew along the tape close to, but not on, the teeth. Keep the same distance from the teeth as you stitch. If the zipper pull gets in the way, stop with the needle lowered into the fabric, lift the presser foot, move the pull past the foot, and continue. Do not sew over the pull. Fold the fabric away from the zipper and press the fold gently, taking care not to press directly on nylon teeth with a hot iron.
Attach the second side and check the opening
Lay the second rectangle right side up. Position the free zipper tape face down along its marked top edge, aligning the tape’s outer edge with the fabric’s raw edge. Keep the first panel folded away so it cannot be caught in this seam. Before sewing, check that the two fabric panels will open away from the zipper and that their side edges line up. Stitch this tape in place as you did the first.
Open the panels so they lie flat on opposite sides of the zipper. Press the fabric folds away from the teeth. For a neater finish, topstitch through each fabric panel and its zipper tape, close to the folded edge. This helps keep loose fabric from rolling into the zipper. Open and close the zipper to check that it runs freely. If it catches, inspect the stitching: a seam placed too close to the teeth or an unpressed fold is often the cause.
Sew the pouch and finish the seams
Open the zipper halfway before sewing the pouch closed; this opening is how you will turn it right side out. Fold the pouch so the fabric panels are right sides together, matching the bottom corners and side edges. Arrange the zipper tape ends neatly at the top corners and clip the layers in place. Sew down one side, across the bottom, and up the other side using your planned seam allowance. Slow down at the zipper: turn the machine’s handwheel to guide the needle across nylon teeth, and never force it through a metal stop or the zipper pull. Backstitch at the beginning and end of the seam.
Check that both side seams are secure before trimming the zipper tape that extends beyond them. Trim the bottom corners diagonally without cutting the stitches; this reduces bulk when the pouch is turned. Finish any exposed raw seams with a zigzag stitch if you did not do so earlier. Reach through the half-open zipper, turn the pouch right side out, and ease the corners into shape with a blunt tool rather than a sharp point. Give the fabric a final press around the seams and test the zipper again.
If the pouch looks uneven, check whether the two panels were cut alike and whether both zipper seams were sewn at the same distance from the teeth. For the next pouch, you can change the size, fabric, or topstitching, but keeping the same sequence—prepare, attach, check, then close—will make the zipper easier to manage.


