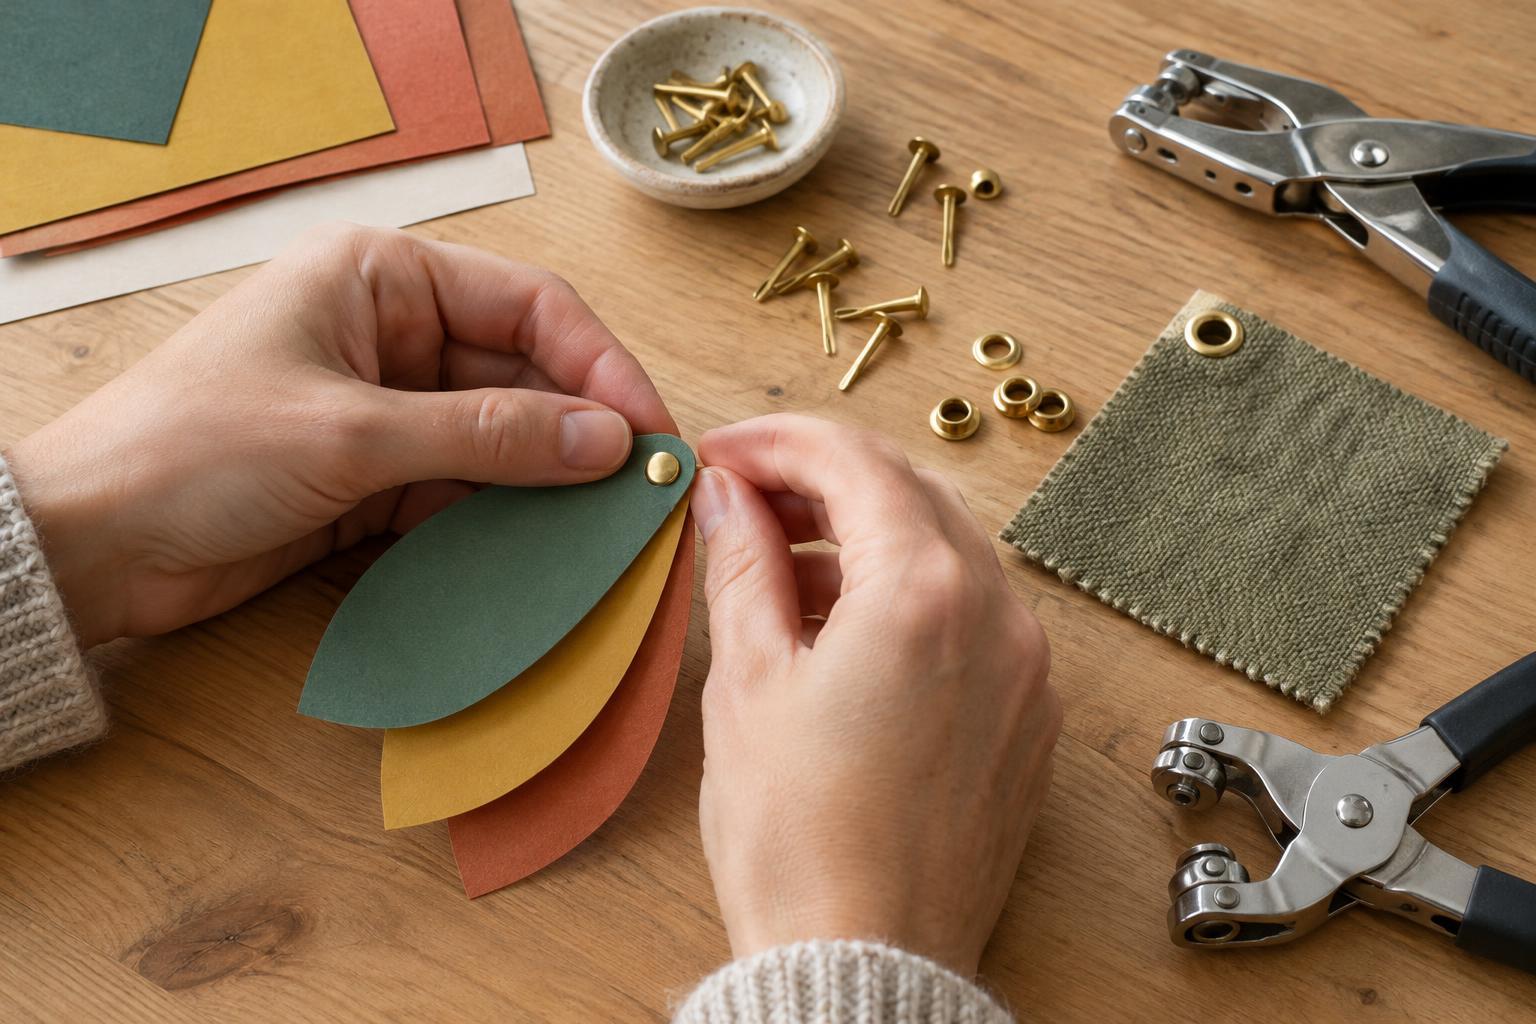
Choose a fastener for the job
Mechanical fasteners hold materials together by passing through them or gripping their edges. Unlike glue, they can add a visible detail or allow parts to move. The best choice depends on the material, the thickness of the layers and whether the join should stay fixed.
Brads are small metal fasteners with two legs. Push the legs through a hole and spread them apart on the back. They work well for layered paper shapes, tags and moving parts such as a paper dial. Eyelets are short metal tubes set into a hole; they reinforce an opening for ribbon, cord or a hanging loop. They do not usually hold two layers tightly together on their own. For a firm join, consider a snap, a two-part paper fastener or stitching instead. Clips and split rings are useful when you want a join that can be removed.
Prepare the materials and tools
Start with a small test piece made from the same materials and number of layers as your project. Paper and cardstock are easy to pierce, but thin sheets may tear around a fastener. A small reinforcing patch of cardstock can help support the back of a paper join. For fabric, consider a woven area with enough body to hold the hardware; a scrap of fabric or sew-in interfacing behind the opening may give a lightweight fabric more support.
Mark the position of each hole before making it. Leave enough space between the hole and the edge so the material will not rip when handled. Use an awl, hole punch or eyelet punch suited to the material, and protect the table with a cutting mat or firm scrap board. Match the hole to the fastener: forcing hardware through a tiny opening can distort the material, while an oversized hole can leave it loose. Keep sharp tools pointed away from your fingers, and follow the instructions for any setter or punch you use.
Make a brad join
Stack the pieces in their final order and check that they line up. Mark the pivot or joining point, then make a hole through each layer. Insert the brad from the front and turn the project over on a protected surface. Spread the legs outward so they lie reasonably flat against the back. If the brad is part of a moving mechanism, leave a little room for the top piece to rotate rather than pressing the layers tightly together.
A brad makes an accessible join for a paper flower with layered petals or a rotating pointer on an information wheel. Test the movement before finishing the project. If the paper bunches or catches, the hole may be too tight or the layers may be compressed. If the join wobbles, check that the brad suits the thickness of the stack. Cover exposed legs with another piece of material only if the project needs a smooth back; a cover is not necessary for every craft.
Set an eyelet and use other fasteners
For an eyelet, make a clean hole in the correct size and insert the eyelet from the visible side. Place its rim against the surface recommended for your setting tool, then use the setter to flare the tube on the back. Apply pressure gradually and inspect the result. The back should hold the eyelet in place without sharp edges or a crushed front. Thread ribbon or cord through the finished opening to make a tag, booklet tie or lightweight hanging decoration.
When an eyelet is not the right fit, try a different mechanical join. Hand stitches can secure fabric to fabric or attach a fabric panel to punched cardstock. A split ring can link punched tags, while a small clip can hold pieces together temporarily or let you change a display. Snaps can make fabric closures that open and close. Check that each fastener is suitable for the thickness and expected handling of the project; a decorative join may not withstand repeated pulling.
Check the finish and avoid common mistakes
Before making a row of holes, assemble the project without fastening it and confirm its orientation. It is easy to punch the wrong side of a folded card or place a closure where it cannot reach. Measure repeated positions from the same edge and test a single join before committing to the rest. When joining different materials, account for their different behavior: fabric can shift as you punch it, and paper can crease if a fastener is set too firmly.
Finally, look at both sides of every join. Make sure no metal edge will snag fabric or scratch a surface, and gently test parts that will move or hang. Keep small fasteners out of reach of young children and choose another method for projects where a loose piece would be a concern. A clean, reliable join begins with the right fastener, a well-placed hole and a test on scrap material.


