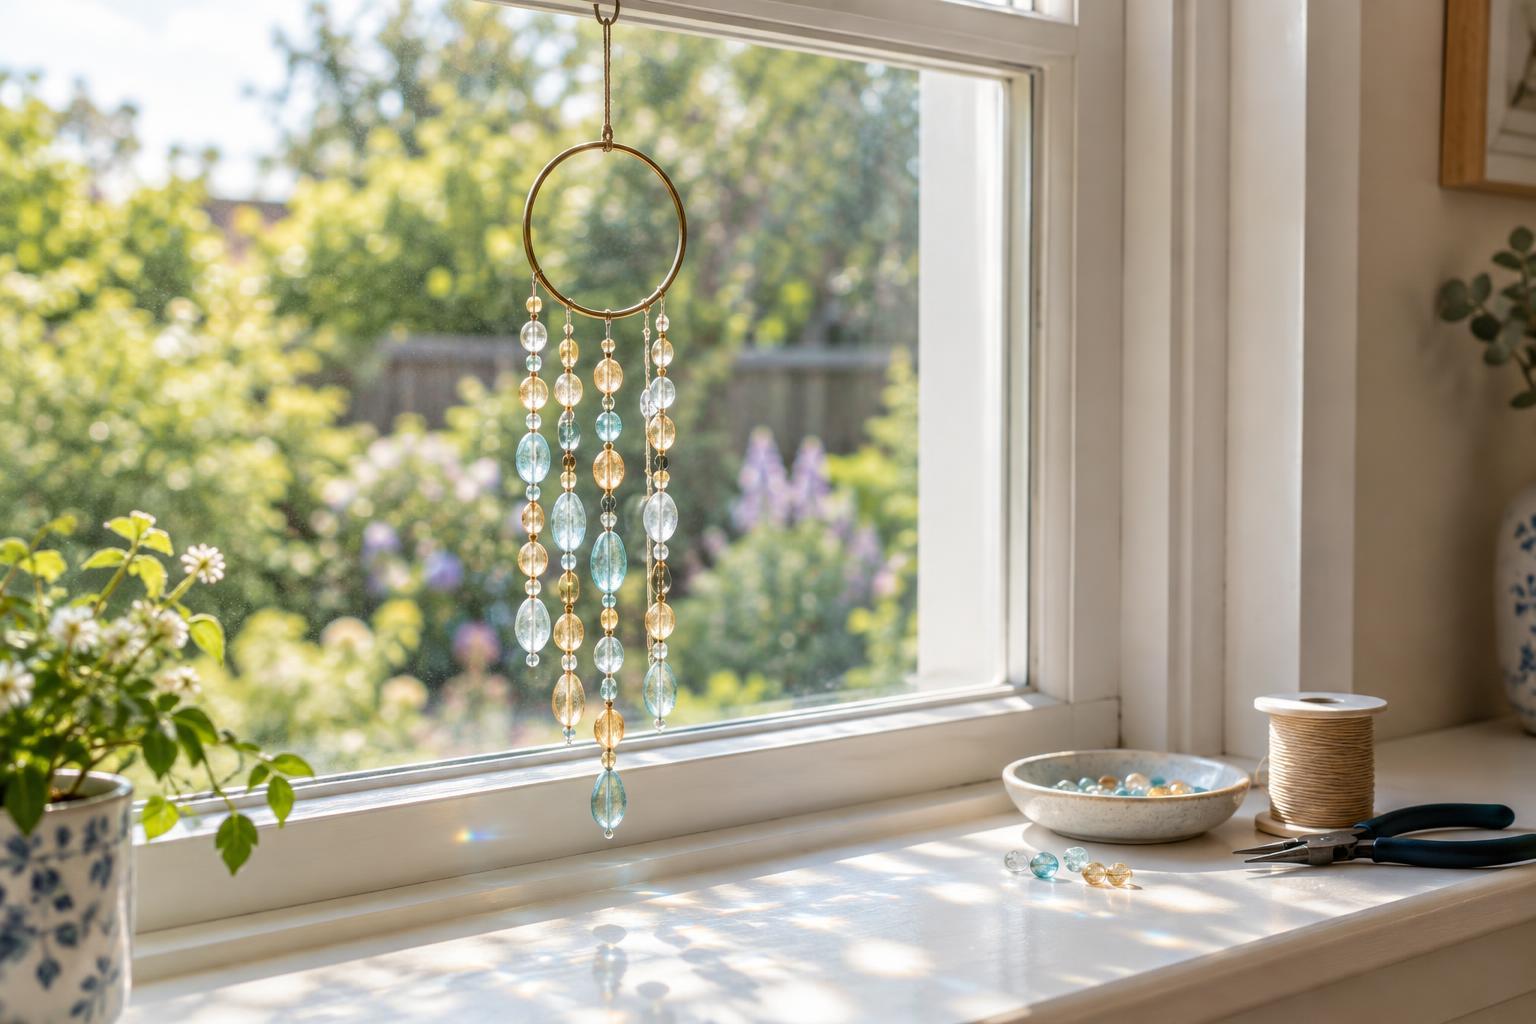
Choose materials that suit your window
A beaded sun catcher is a small hanging decoration that uses translucent beads to catch daylight. It does not need to be complicated: a ring with three short strands can look striking without becoming heavy or difficult to assemble. Before choosing colors, decide where it will hang. Pick a spot with daylight, enough space for the strands to move, and a secure place to attach the hanger. Keep the finished piece clear of a window’s opening mechanism, blinds, and anything it might knock against.
For a beginner-friendly version, gather a lightweight wooden or metal ring about 10 to 15 cm across, waxed polyester cord, and a selection of translucent acrylic beads. Faceted beads can create lively reflections; smooth beads give a quieter look. Check that every bead hole is wide enough for the cord to pass through easily. You will also need scissors, a ruler, and a small piece of tape to hold cord ends while you work. Glass beads are an option, but use them sparingly so the finished decoration stays light. Avoid lens-shaped or spherical glass pieces that could focus strong sunlight onto nearby surfaces.
Plan the design before cutting
Lay the ring flat and arrange three short rows of beads beneath it. A simple layout places the longest strand in the center and shorter strands on either side. Try repeating one color across all three strands, then add a second color in different positions. Leave small gaps between beads so each one remains visible. Planning the pattern on a table makes it easier to spot an uneven arrangement before anything is tied in place.
Cut three lengths of cord longer than the finished strands you want; roughly 30 to 40 cm per strand gives you room for knots and adjustments. Cut a separate length for the hanging loop. If the cord frays when cut, wrap a tiny piece of tape around its working end and remove the tape after threading. Test a knot beside one bead: if the bead slides over it, use a larger knot, a bead with a smaller hole, or a small spacer bead that cannot pass over the knot. This quick check prevents beads from slipping off later.
Thread and attach the bead strands
Start with the center strand. Tie a firm double knot at one end of the cord, leaving a short tail. Thread on the beads in your planned order, tying a knot between beads whenever you want to hold a gap in place. Do not pull every knot tight immediately; leave room to shift the beads until you like their spacing. Once the strand looks right, tie its upper end around the bottom of the ring with two snug knots. Pull gently to test it, then trim the tails, leaving a little cord beyond each knot.
Make the two side strands in the same way and attach them at evenly spaced points on either side of the center. Hold the ring upright as you work: a pattern that looks balanced on the table may need adjusting when it hangs. If one side pulls the ring noticeably off-center, move its attachment point slightly or remove a bead. Tie the hanging cord to the top of the ring, forming a loop large enough to fit over your chosen hook. Lift the sun catcher by this loop and gently tug each strand to check every knot before putting it in the window.
Hang it securely and make it your own
Hang the piece from a securely installed hook or other stable support suited to its weight. A suction cup can lose its grip, so avoid relying on one where a fall could break the decoration or damage something below. Position the sun catcher away from direct contact with the glass and out of reach of young children and pets; loose beads and cord can pose hazards. Check the knots and hanging point from time to time, particularly if the decoration gets moved when you open the window.
Once the basic design works, experiment with one change at a time. Try a single accent bead at the bottom of each strand, alternate clear and colored beads, or vary the strand lengths for an asymmetrical shape. If the sun catcher looks crowded, remove a few beads rather than adding more. If it hangs crooked, check the spacing of the strands and the position of the top loop. Small adjustments are part of the craft, and a lightweight design is easy to rearrange until it suits the window.


