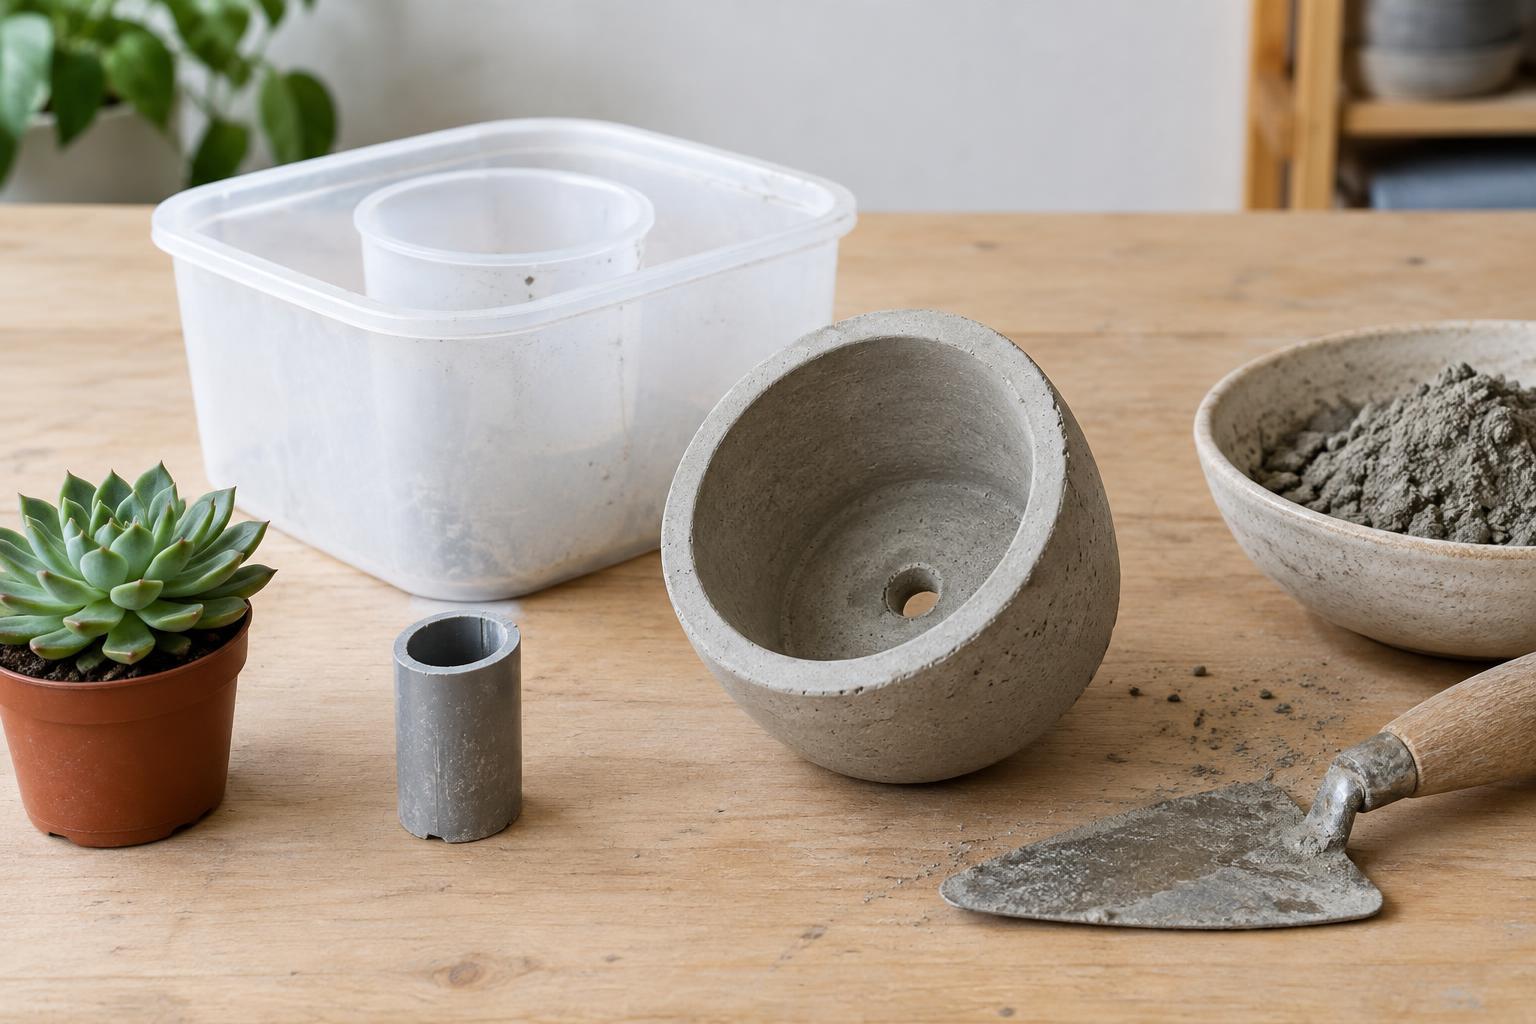
Choose molds and gather your materials
A small concrete planter is a manageable first casting project. You need two containers: a larger one for the outside and a smaller one to form the planting cavity. Smooth plastic containers are often easier to release than rigid, textured ones. Set the smaller container inside the larger one before mixing anything. Aim for an even gap around the sides and enough space beneath the smaller container to make a sturdy base. Avoid very thin walls, which can chip during removal or use.
Choose a concrete or cement-based casting mix suitable for small projects, and follow its package directions for water, mixing and curing. You will also need a mixing container, a stirrer or trowel, gloves, eye protection, tape, a short piece of plastic tubing or a sturdy straw, and something to weight the inner mold. A little mold-release product suitable for your containers may help. Work on a protected, level surface where the molds can remain undisturbed.
Set up the drainage hole before pouring
The simplest way to form the hole is to leave a hollow tube through the planter’s base. Choose tubing wide enough that soil is unlikely to block it easily; an opening around 6–10 mm is useful for a small pot. Cut the tube to match the planned base thickness. Position it upright near the center of the outer mold and secure its bottom end with tape. The tube’s top should touch the underside of the inner mold when that mold is in its final position. Keep both tube ends open, and check that the tape does not permanently seal the lower opening.
Test the arrangement while everything is dry. The inner mold should sit level, with the tube meeting its underside and a consistent space beneath the rest of its base. Use small spacers at the rims if needed to keep the sidewalls even. Plan how you will hold the inner mold down: it may rise when concrete is poured around it. A weight inside it, combined with tape across the rims, can help, provided the weight does not distort the mold.
Mix and pour without shifting the molds
Read the mix instructions before adding water. Wear gloves and eye protection, and avoid breathing dry mix dust. Add water as directed and stir until the mixture is workable, with no dry pockets. Do not make it excessively wet just to ease pouring; too much water can make a casting weaker and more prone to surface defects. Mix only what you can place before it begins to set.
Pour some mix into the outer mold around the drainage tube to form the base. Gently settle it, then lower the inner mold into position so its underside meets the tube. Secure and weight the inner mold, checking that it stays centered. Add concrete gradually around its sides, pressing the mix into the gaps with a narrow tool. Tap the outside of the mold lightly to help trapped air escape, but do not tap so hard that the tube or inner mold moves. Stop at the height you want for the rim and smooth the exposed top.
Let it cure, then remove the molds
Leave the casting level and undisturbed for the demolding period specified for your mix. Concrete may feel firm before it has developed enough strength to handle roughly, so resist pulling at a stubborn mold. Remove the weight and inner container first, flexing the plastic gently if possible. Then release the outer container. If a container cannot flex or separate easily, it may need to be cut away carefully rather than forced off.
Find the tube opening at the bottom and remove any tape covering it. If the tube pulls out cleanly, remove it; otherwise, trim it flush at the inside and outside of the base, leaving its channel clear. Check the opening by pouring a little water into the empty planter and watching it drain. Let the planter continue curing as directed by the mix maker before filling it with soil.
Finish the planter and put it to use
A rough edge can be smoothed gently after the planter is ready to handle. Take care not to create airborne dust; follow the mix maker’s safety guidance if sanding is needed. For an indoor planter, place a saucer beneath it and test the empty pot for leaks or marks before setting it on furniture. If you want a finish or sealer, choose one intended for concrete and follow its instructions, keeping the drainage channel unobstructed.
Fill the finished planter with suitable potting mix and a plant that fits its size. The hole gives excess water a way out, but it does not prevent overwatering on its own. If your first casting has uneven walls, the inner mold probably shifted; if the drainage hole is blocked, the tube may have moved or filled during the pour. A careful dry run of the mold setup is often the best improvement for the next planter.


