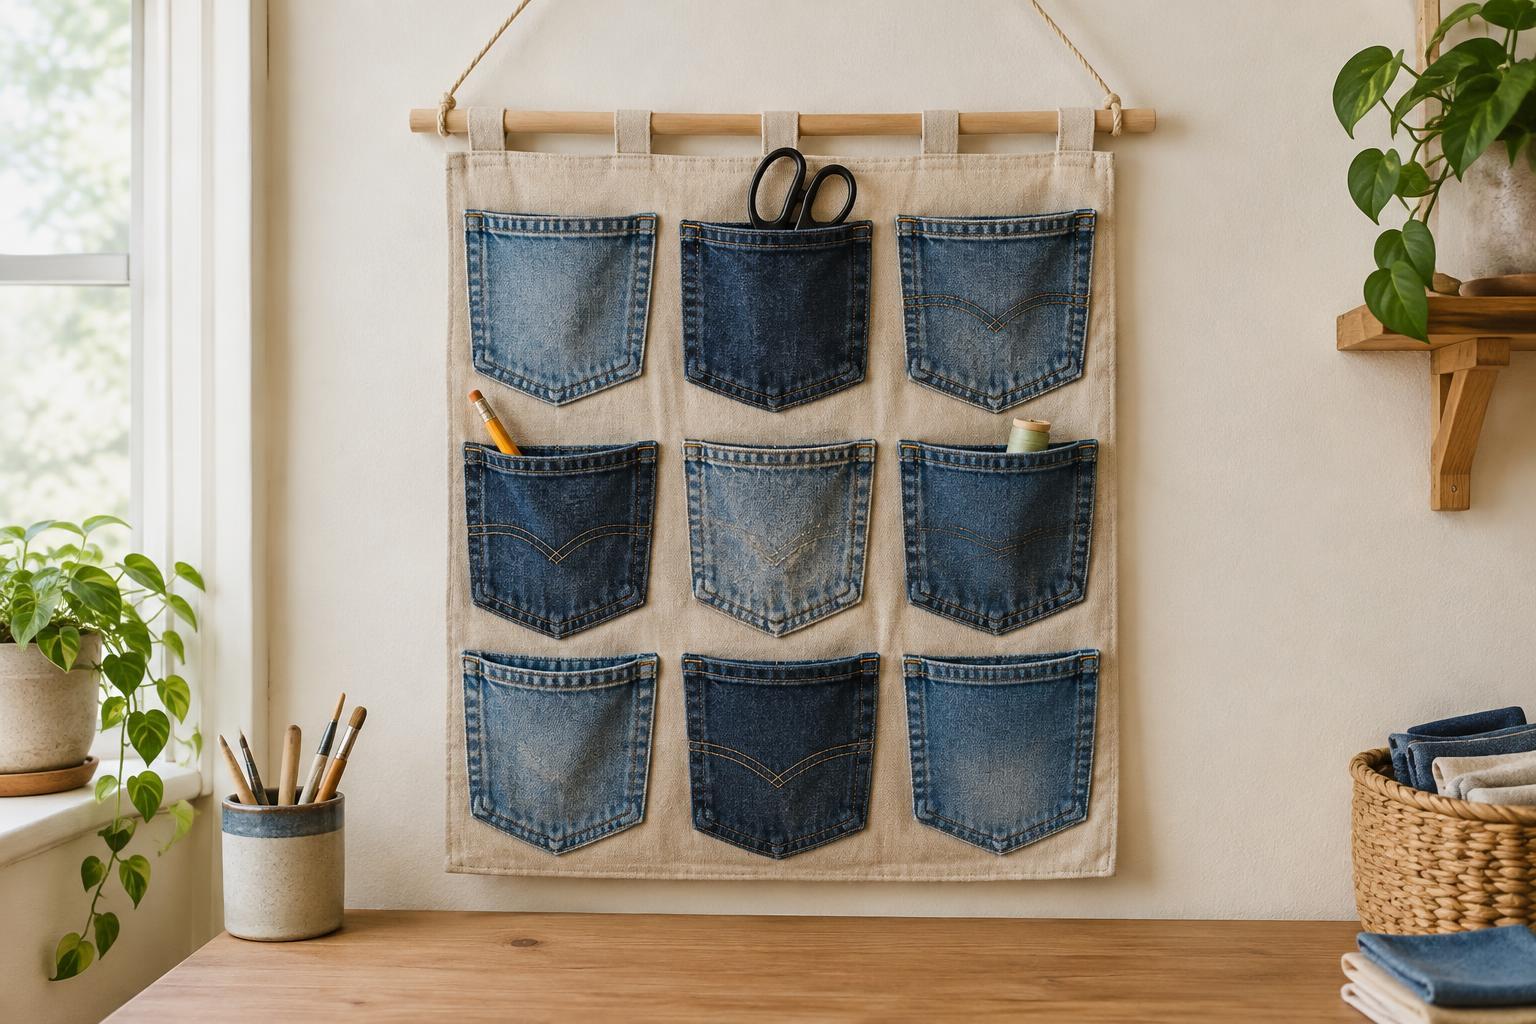
Choose pockets and plan the layout
Old jeans pockets are ready-made storage compartments, complete with finished openings and decorative stitching. For a small wall organizer, gather two or three back pockets from worn jeans, a sturdy piece of denim or canvas for the backing, thread, a needle or sewing machine, scissors, pins or clips, a seam ripper, and an iron. You will also need a short dowel and cord for hanging.
Wash and dry the jeans before cutting them. Check each pocket for holes, weak fabric, or seams that are coming loose. Choose a backing large enough to hold the pockets with space between them and room at the top for hanging loops. The exact size depends on your pockets: lay them out first, then add at least 2 cm around the outside for finishing the backing edges.
Remove the pockets without damaging them
For the neatest result, use a seam ripper to undo the stitching that attaches each pocket to the jeans. Work a few stitches at a time from the back of the fabric rather than pulling hard on the pocket. Leave its folded top edge intact; that edge keeps the opening strong and comfortable to use.
If removing a pocket would damage fragile denim, cut around its sides and bottom instead, leaving a narrow border of jeans fabric behind it. Trim away or fold back any extra fabric above the opening so it does not block access. Press the pockets flat and remove loose threads. Small marks left by the original stitching are usually less noticeable once you sew along the same lines.
Prepare a firm backing
Cut the backing to fit your planned layout. A single layer of sturdy denim or canvas works for light supplies; use two layers if the fabric feels floppy. Finish a single-layer backing by folding each raw edge to the wrong side twice, pressing the folds, and stitching them down. If you use two layers, place their right sides together, sew around the edges while leaving a gap, turn the panel right side out, press it, and stitch the gap closed.
Set the pockets on the finished panel and check the spacing again. Keep each pocket far enough from the edges that you can sew around it easily. If you want to store pencils or scissors, try putting them in the loose pockets now: this helps you judge whether the openings are accessible and whether a pocket needs to sit higher or lower.
Attach pockets and hanging loops
Pin or clip the pockets to the backing. Sew down one side, across the bottom, and up the other side of each pocket, following its original stitching line where possible. Do not sew across the opening. Reinforce the upper corners with a few extra stitches, since those points take strain when you reach into a pocket. If your machine struggles with thick seams, turn the handwheel slowly over bulky areas or hand-sew them with a sturdy needle.
Make two short loops from folded denim strips, stitching along their length to enclose the raw edges. Fold each strip into a loop around the dowel to check its size, then remove the dowel. Position the loops evenly on the back of the panel near its top edge. Sew each one securely to the backing, adding a small patch of scrap denim behind it if the panel needs reinforcement. Slide the dowel through the loops and tie cord to its ends.
Hang it and keep it useful
Hang the organizer from a secure hook and check that the panel sits level. Fill the pockets gradually with lightweight items such as craft brushes, fabric scraps, notes, or small tools. If it tilts, spread the contents more evenly or adjust the cord. Avoid overloading the pockets: even strong denim can sag when weight pulls on a few stitches.
Two common mistakes are crowding the pockets and sewing over their openings. Before making the final stitches, slip a hand into each pocket to confirm it still opens fully. If the backing wrinkles while you sew, remove a few stitches, smooth the layers, and reattach the pocket without stretching either fabric. The finished organizer makes use of the jeans’ strongest details while leaving plenty of room to adapt the layout to what you want to store.


