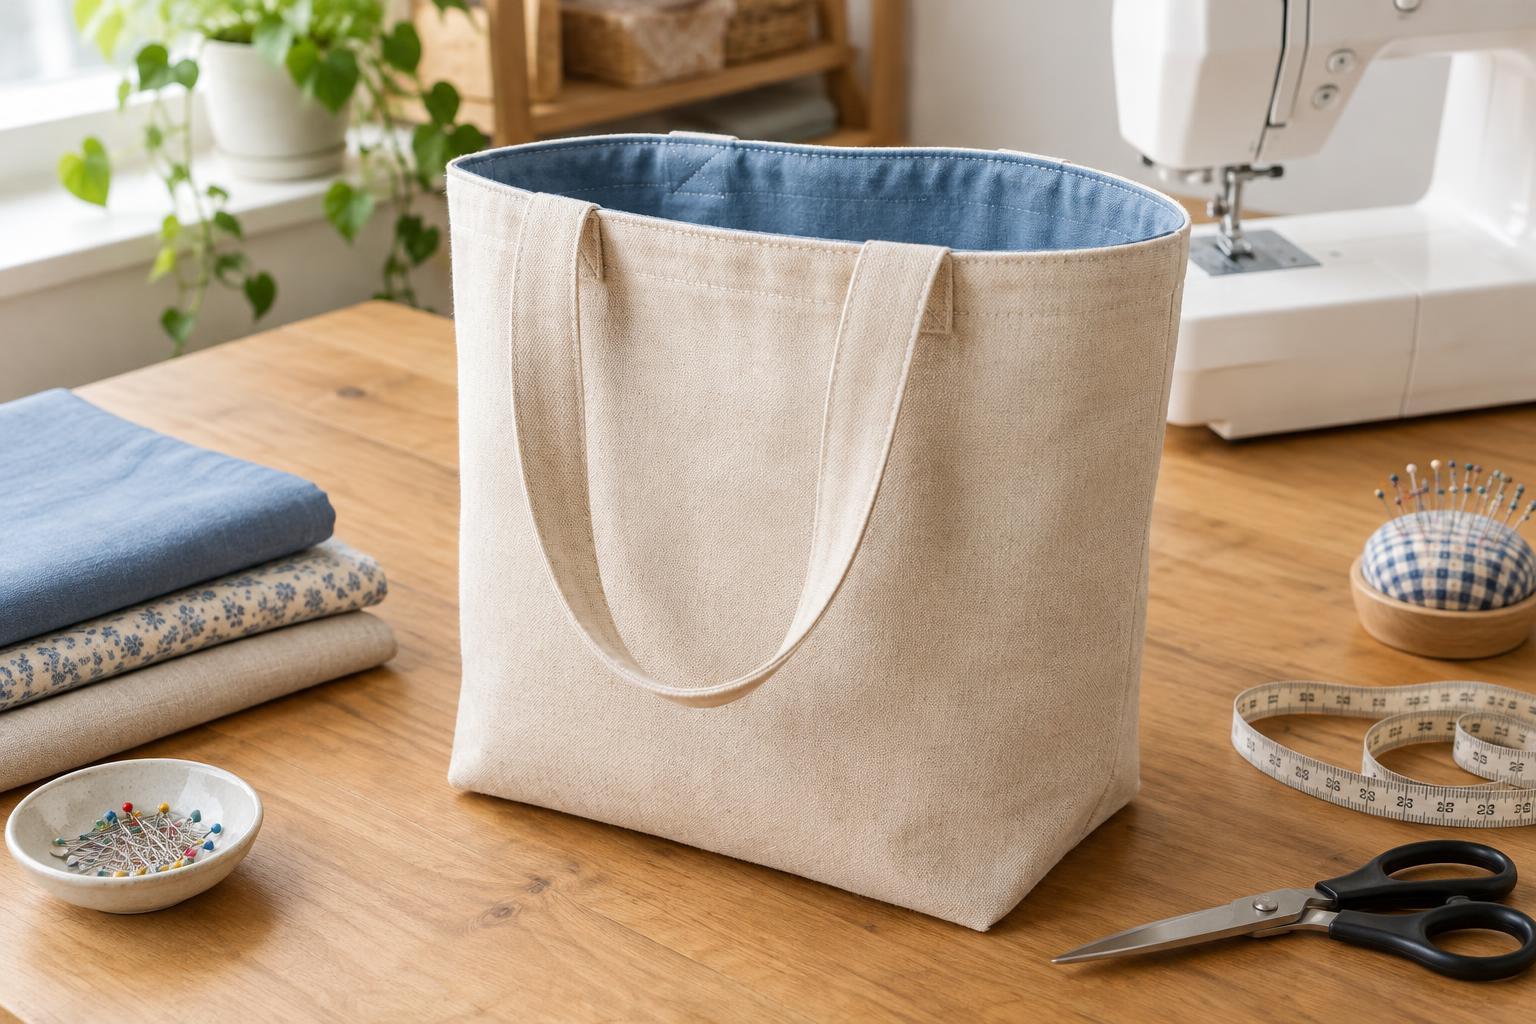
Choose fabric and gather your tools
A lined tote is a useful first bag project: the lining hides the interior seams, while a simple rectangular shape keeps the sewing manageable. For the outside, choose a stable, medium-weight fabric such as cotton canvas or sturdy quilting cotton. A lighter cotton works well for the lining. If your outer fabric is thin, fusible interfacing can add structure; follow its package directions and apply it before sewing.
You will need fabric scissors or a rotary cutter, a ruler, pins or clips, an iron, matching thread, and a sewing machine. Use a needle suited to your fabric’s weight, and test a few stitches on scraps before starting. This pattern uses a 1 cm seam allowance throughout and makes a flat tote approximately 36 cm wide and 40 cm tall.
Cut and prepare the pieces
Cut two outer rectangles and two lining rectangles, each 38 cm wide by 42 cm tall. For fabric handles, cut two strips measuring 10 cm by 60 cm. If your fabric has a directional print, check that it faces the same way on both bag panels before cutting. Press all pieces flat; accurate cutting and pressing make the edges much easier to match.
To make each handle, press the strip in half lengthwise to mark its center, then open it. Fold both long raw edges to that center crease and press again. Fold the strip in half along the original crease, enclosing the raw edges. Stitch close to each long edge. The finished handle will be about 2.5 cm wide. Keep the handles untwisted and set them aside.
Sew the outer bag and lining
Place the outer panels right sides together. Pin the sides and bottom, then sew those three edges with a 1 cm seam allowance, leaving the top open. Sew the lining panels the same way, but leave a 10–12 cm opening in the middle of its bottom seam. You will use this gap to turn the bag right side out. Backstitch at both ends of the opening so the seam does not pull apart during turning.
Trim excess fabric from the bottom corners without cutting the stitches, and press the seams. Finish the raw seam allowances with a zigzag stitch if your fabric frays easily. The lining will cover these seams, but finishing them can help the bag hold up to repeated use.
Attach the handles and join the layers
Turn the outer bag right side out and leave the lining wrong side out. On one outer panel, place a handle end about 9 cm in from each side edge, aligning its raw ends with the bag’s top raw edge. The handle loop should hang down against the right side of the panel. Pin it in place, checking that it is not twisted. Repeat with the second handle on the other outer panel. Baste across each handle end within the seam allowance to keep it from shifting.
Slip the outer bag inside the lining so their right sides face each other. Match the side seams and top raw edges, keeping the handles tucked between the layers and away from the stitching path. Pin or clip around the top, then sew all the way around with a 1 cm seam allowance. Sew a second short line across each handle end, close to the first seam, for extra security. Work slowly over the thicker handle areas rather than pulling the fabric through the machine.
Turn, finish, and check the bag
Pull the outer bag and handles through the opening in the lining. Gently ease out the top edge and check that all four handle ends are securely caught in the seam. Close the lining opening with a narrow machine seam or small hand stitches. Push the lining into the outer bag, then press the top edge so the lining sits just inside and does not show from the outside.
For a crisp finish, topstitch around the rim about 3–5 mm from the edge. Keep the handles pointing upward as you sew so this stitching also helps hold them in place. If the top edge looks wavy, press it again rather than trying to correct it by pulling as you stitch. Give the tote a final press and inspect the corners, lining, and handle attachments before using it. Avoid carrying very heavy items unless your fabric and handle stitching are suited to the load.


