Choose paper and prepare your workspace
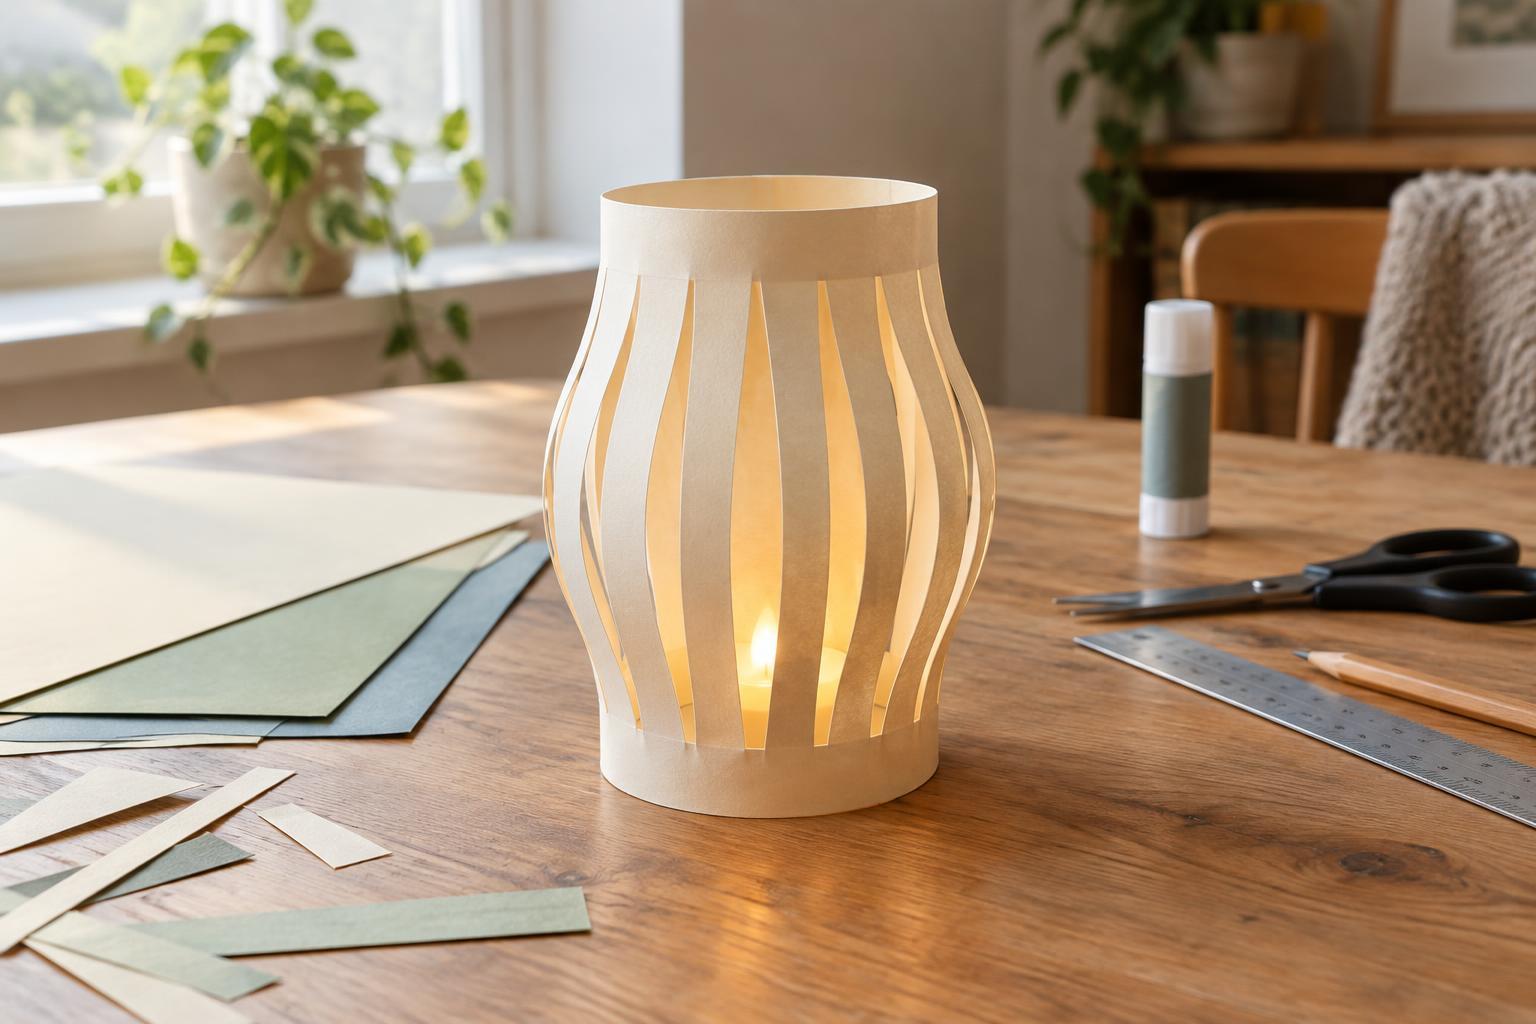
A slotted paper lantern is made from one sheet with a series of parallel cuts. When you join the ends and gently bring the top and bottom closer together, the strips curve outward. It is a useful first paper-craft project because the pattern is simple, but measuring and cutting neatly make a visible difference.
For one lantern, gather an A4 sheet of construction paper or lightweight cardstock, a ruler, pencil, scissors, and a glue stick or double-sided tape. You will also need a battery-powered LED tea light for display. Construction paper is easy to fold and cut; lightweight cardstock holds its shape a little better. Very thin paper can tear where the cuts end, while heavy card may resist curving. If you want a handle, set aside a narrow strip of matching paper.
Work on a clear, dry table with enough room to turn the sheet as you cut. Decide which side of the paper should face outward. If children are helping, an adult can mark the cutting lines and assist with scissors as needed. Keep small batteries, especially button batteries, away from young children and pets, and use a light with a securely closed battery compartment.
Fold, mark and cut the lantern
Place the A4 sheet in landscape orientation, with its long edges at the top and bottom. Bring those long edges together and crease the fold. You now have a long, narrow folded rectangle. Along the open edge, draw a guideline about 2 cm from the edge. Leave about 2 cm uncut at both short ends as well. These uncut areas will help hold the lantern together when you form the cylinder.
Starting at one short end, mark points about 1.5 to 2 cm apart along the fold. From each point, draw a straight line toward the guideline at the open edge. Cut along each line, starting at the fold and stopping at the guideline. Do not cut through the open edge: it needs to remain an intact band. Try to keep the cuts evenly spaced rather than making them as close together as possible. Wider strips are less prone to tearing.
Unfold the sheet carefully and check for any cuts that end unevenly or have torn past the guideline. A small variation will usually disappear once the lantern is shaped, but a torn band may need reinforcing with a little tape on the inside. Avoid pulling on individual strips while the paper is flat; they are easier to shape after the ends are joined.
Join the ends and shape the lantern
Curl the sheet so its two short ends overlap by about 2 cm, with the decorated side facing outward. Apply double-sided tape or glue along one overlapping end, then press the ends together. Align the top and bottom edges before pressing firmly; a crooked seam can make the lantern lean. If using a glue stick, allow the seam to set before shaping the paper. You should now have a tall cylinder with vertical slits.
Hold the top and bottom bands and gently move them toward each other. The cut strips will bow outward to create the familiar lantern shape. Work slowly around the cylinder so the curve develops evenly. If one strip folds sharply instead of curving, ease it back into shape with your fingers. You can leave the lantern tall or compress it slightly more for a rounder profile, provided the strips are not under strain.
A paper handle is optional and best used as decoration rather than for carrying a lit display. Tape the ends of a narrow paper strip to opposite sides of the upper band, placing the tape inside the lantern. For more detail, add pencil patterns, stamps or small paper shapes before assembly. Keep embellishments light: bulky decorations can weigh down the strips or interfere with the seam.
Display it with an LED light
Set a battery-powered LED tea light on a flat, stable surface and place the lantern around it. A small, dry glass jar can hold the LED light and provide a firm barrier between the light and the paper shell, as long as the lantern sits freely around the jar. Leave the top open, keep the paper from resting on the light, and make sure you can reach the switch and battery compartment without damaging the lantern. Follow the light maker’s instructions, including any guidance about heat or enclosed use.
Use only a battery-powered LED light for this paper project. Never substitute a flame candle: paper can catch fire, and the lantern’s open slits do not make a flame safe. Keep the display away from water, drafts that could knock it over, and places where it might be crushed or pulled down. When you are finished, switch off the light and store the paper lantern somewhere dry. If the strips become bent, gently reshape them rather than pressing the lantern flat.


