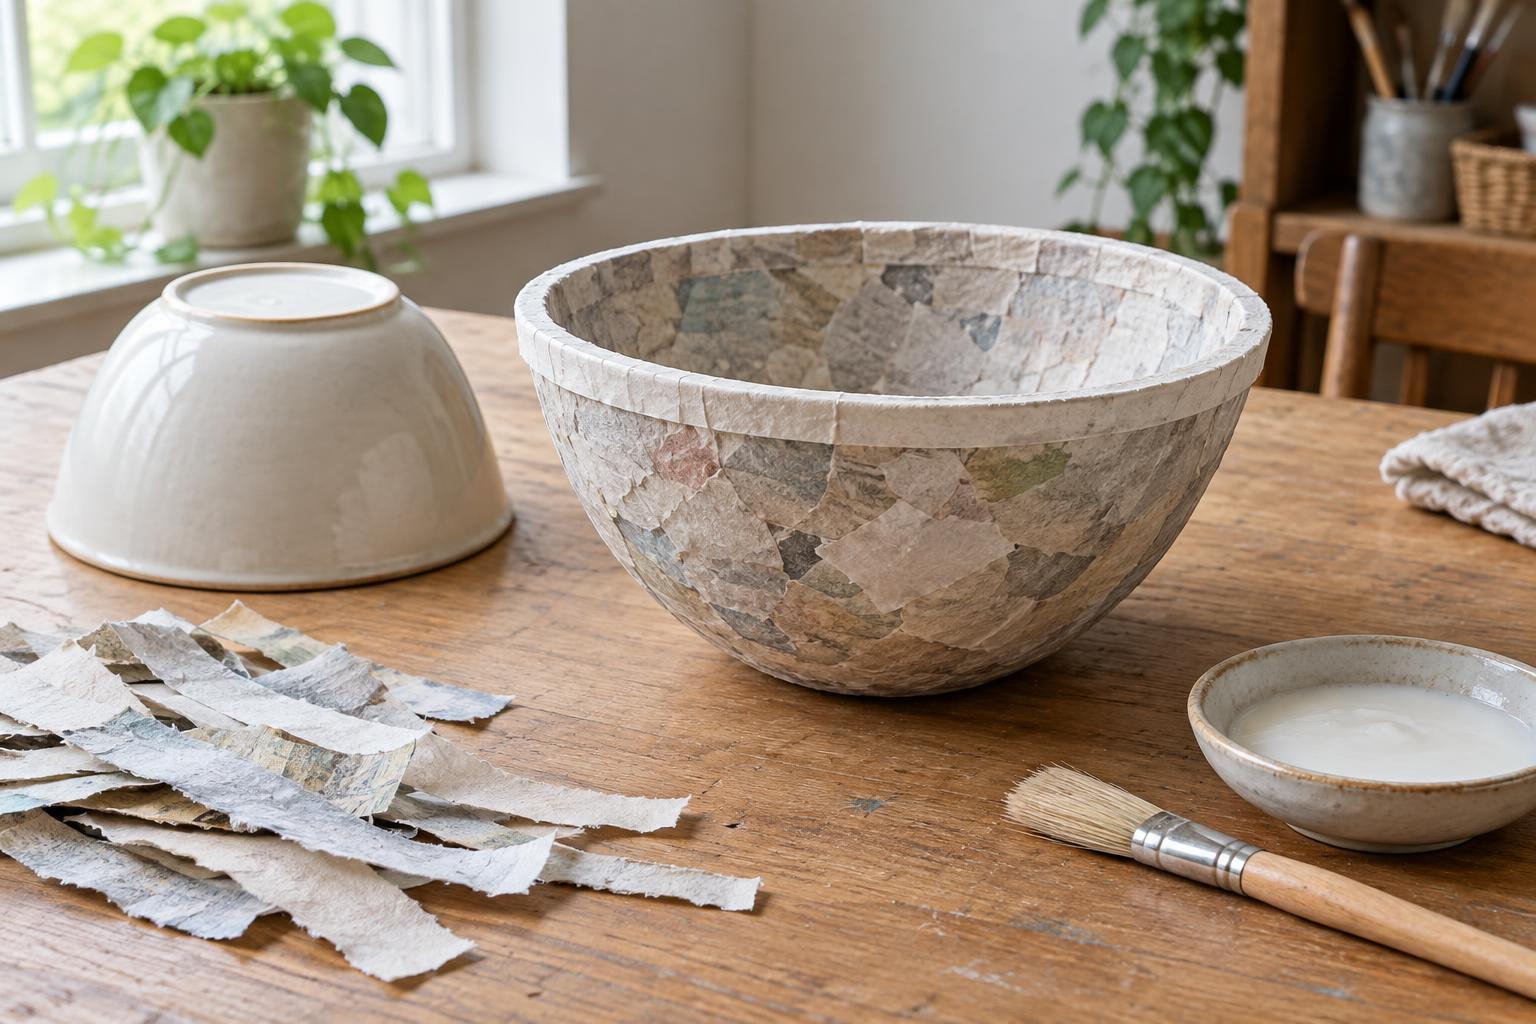
Choose a mold and prepare your materials
An upside-down bowl makes a dependable mold because it gives the paper a firm, even surface to follow. Choose a smooth bowl with a shape that widens toward the rim; a narrow opening or deep grooves can make the finished shell difficult to remove. Cover the outside with plastic wrap, smoothing out large wrinkles and extending the wrap beyond where you want the papier-mâché rim to end. Set the mold upside down on a steady work surface protected with scrap paper.
You will need plain newspaper or other absorbent, uncoated paper, white craft glue, water, a small bowl for paste, and a brush or your fingers for applying it. Tear the paper into strips about a finger’s width. Torn edges blend more easily than sharply cut ones. Avoid thick cardboard for the main layers: it resists curves and can leave gaps.
Build thin, even layers
Mix roughly two parts white craft glue with one part water. The paste should spread easily without running off the paper. Coat a strip lightly, pull it between your fingers to remove excess paste, and lay it over the top of the wrapped mold. Add more strips, overlapping their edges and working down toward the intended rim. Smooth each strip as you go so air pockets do not become weak spots.
Cover the mold with a complete first layer, then add another layer with strips running in a different direction. Keep the thickness reasonably even, especially where the sides meet the base. If the paper starts sliding or the surface feels soggy, stop and let it firm up before continuing. Several thin applications are easier to shape and dry than one heavy application.
Aim for around six to eight complete layers for a small decorative bowl, adjusting for the thickness of your paper and the size of the mold. To strengthen the opening, add a few strips around the circumference near the rim. Keep that edge level rather than letting stray strips extend far down one side.
Dry the bowl before removing the mold
Let the shell dry in a well-ventilated place, away from direct heat that could dry the outside while leaving damp paper underneath. Drying time varies with the paste, paper, room conditions, and number of layers. The bowl is ready to release when it feels firm and no area feels cool, soft, or tacky. If you are unsure, give it more time.
Lift the shell gently at the rim and ease it away from the plastic wrap a little at a time. Do not pull hard on one spot: that can crease a wall that is still flexible. Once the mold is out, peel away any wrap that remains inside. Leave the bowl open-side up until the inside is fully dry. If it softens or bends during removal, place it back on the mold and allow it to dry longer.
Refine the rim and finish the surface
Trim an uneven rim with scissors after the shell is dry. For a tidier, stronger edge, apply narrow paper strips over the cut edge so each strip folds a short distance down both the inside and outside. Let this reinforcement dry completely. Small dents can be covered with another thin layer of paper; avoid adding a thick patch that will dry at a different rate from the surrounding shell.
Paint the bowl only after it is thoroughly dry. A light base coat can make print on newspaper less visible, followed by your chosen colors or pattern. Apply thin coats and let each one dry before adding the next. A clear craft sealer can help protect the finish from light handling, but it does not make a papier-mâché bowl waterproof or food-safe. Use it for dry decorative items rather than food, liquids, candles, or hot objects.
Troubleshoot a bowl that loses its shape
A sagging bowl usually needs less moisture, more complete drying, or more evenly distributed layers. If one side is thin, support the shell on its mold and add a few strips to that area and its neighboring sections. A wavy rim may come from strips extending to different heights; mark a level guide on the plastic wrap before you begin the next bowl.
If the shell sticks to the mold, check whether an uncovered patch let paste touch the bowl beneath the wrap. Work slowly around the edge rather than forcing it free. Taking time with mold preparation and drying may feel less exciting than painting, but those steps do the most to help a papier-mâché bowl hold its shape.


