Choose a can that is safe to reuse
A tin-can desk caddy is a useful first upcycling project: the container already has a sturdy shape, and you can finish it with paper, fabric or paint. The important part is choosing a can whose opening can be made comfortable to handle. A decorative wrap does not make a sharp metal edge safe.
Start with an empty food can that has a sound base, straight sides and no deep dents or rust. Wash it with warm, soapy water and let it dry completely. Remove the paper label and any loose adhesive. If the can smells strongly after washing, choose another one. Keep the loose lid away from your work area; it may be sharp even when the can’s rim feels smooth.
Inspect the opening before decorating. If a nail or a bit of cloth snags as you draw it gently around the rim, treat that spot as sharp. Do not test the edge with your fingertip. A smooth-edge can opener may produce a more comfortable opening, but its results vary, so check every can. If the rim is jagged, split or too sharp to cover securely, recycle the can and use a different one.
Gather materials and plan the layout
For one caddy, gather a cleaned can, a ruler, a pencil, scissors, sturdy decorative paper or fabric, and an adhesive suited to your covering. You will also need a way to enclose the rim, such as flexible plastic edge trim sized to grip the metal, or a strip of sturdy fabric secured over the edge. Optional additions include acrylic paint, a brush, felt for the base and small jars or boxes to divide the contents.
Decide what the caddy will hold before choosing its height. A short can works well for clips and erasers; a taller one supports pens and pencils. Check that the base sits flat and that the can does not tip easily when filled with your intended supplies. For a more stable arrangement, group several cans on a broad, sturdy base rather than relying on one narrow can to hold heavy tools.
Cover your work surface and make sure the can is fully dry. If children are helping, have an adult handle the can inspection and any work close to the metal rim. Plan the decoration so it stops below the rim covering; paper or fabric placed under a loose edge trim can prevent the trim from gripping properly.
Enclose the rim before decorating
The rim is the first part to finish because you need to know it is secure before spending time on the outside. If using edge trim, follow the product’s fitting instructions. Press it evenly around the entire opening, cut it to length as directed and check that its ends meet without leaving exposed metal. A trim that slips off when you pull it lightly is not suitable for this can.
For a fabric-covered rim, cut a strip wide enough to fold over the edge and extend down both the inside and outside walls. Apply adhesive appropriate for fabric and metal in small sections, then press the fabric into place without stretching it thin. Overlap and secure the strip ends neatly. Hold the covering in place until it sets, and allow the adhesive to cure according to its instructions before using the caddy. Fabric alone will not reliably protect a jagged edge; start with a can that has an even rim.
Once the covering is secure, use a scrap of cloth to check the full circumference for snags, gaps and exposed metal. Inspect the inner edge too, since hands and supplies will brush against it. If you cannot get a firm, continuous covering, set the can aside rather than putting it on a desk.
Add a finish that suits your desk
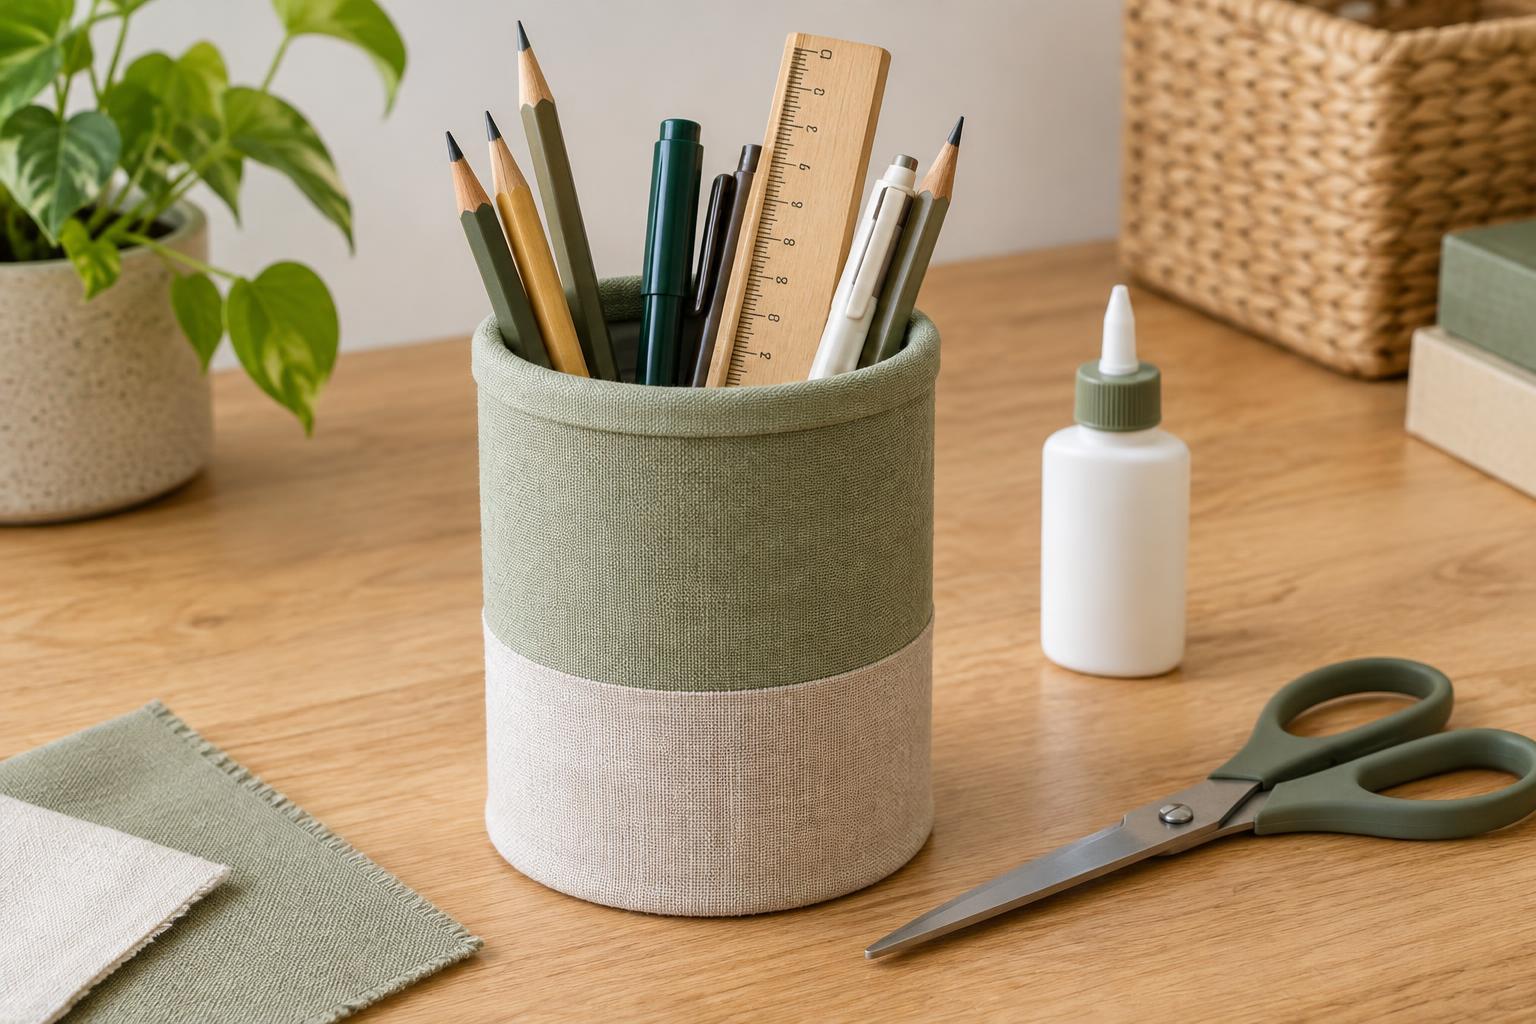
For a paper wrap, measure the can’s height below the covered rim and its circumference. Cut a rectangle with a small overlap at the back. Spread adhesive evenly, wrap the paper around the can and smooth from the center toward the edges to push out air bubbles. Keep excess glue away from the top opening. Sturdy paper is easier to position neatly than thin paper, which may wrinkle when wet.
Fabric gives a softer finish and can hide small marks on the outside of the can. Cut it to size, test-wrap it before gluing and turn under one vertical edge for a tidy seam. If painting, follow the paint maker’s directions for preparing metal and use several light coats rather than one heavy coat that can drip. Let every finish dry fully before filling the caddy. A circle of felt fixed to the base can help prevent scratches on a desk.
Check it before putting it to work
Run the cloth test around the rim again after decorating, and make sure no glue has lifted the covering. Set the caddy on a level surface, add the items you plan to store and check for tipping. Keep heavy or long tools low and avoid overfilling it. If you have joined several cans, check that each one remains firmly attached to the base when you remove an item.
Over time, look for a lifting rim cover, rust or damage to the base. Empty the caddy and repair a loose decorative wrap, but stop using a can whose rim covering no longer stays secure. With a sound container and a carefully checked edge, an ordinary food tin can become a desk organizer that is both useful and satisfying to make.


