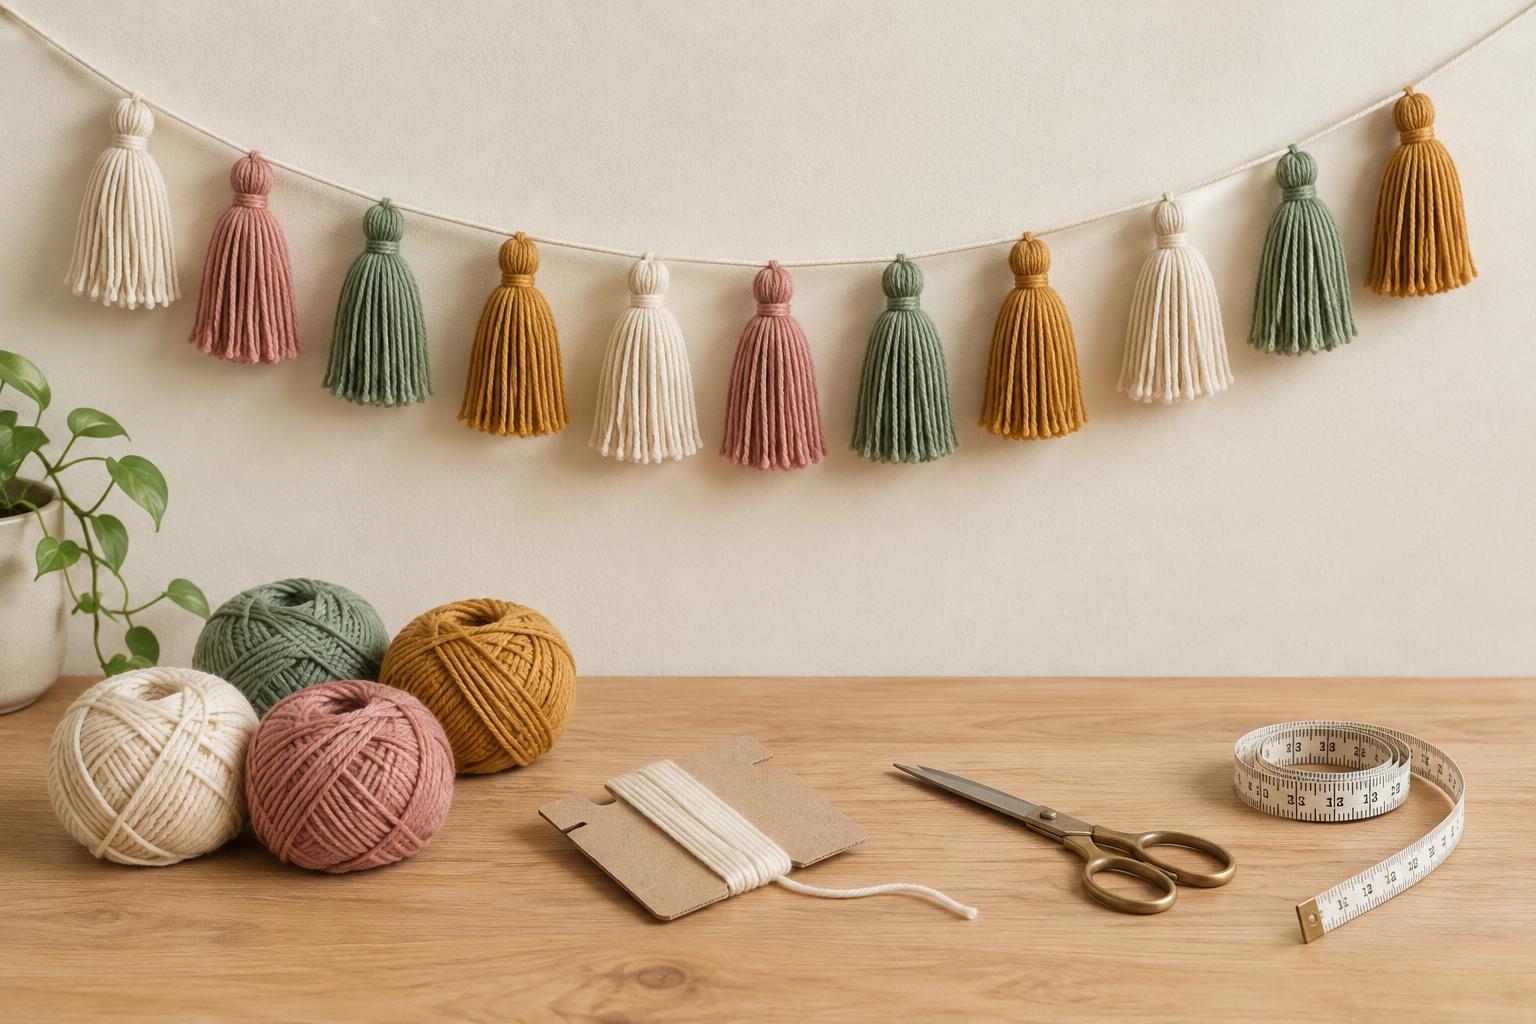
Gather materials and plan the length
A tassel garland is a useful project for leftover yarn because it needs only a few basic supplies. Choose yarn in one weight for the most uniform result, or mix textures if you want a looser, more varied look. You will also need sturdy cardboard, scissors, a ruler or tape measure, and a length of cord or strong yarn for the garland. A pencil and a few removable pieces of tape are helpful for marking positions.
Decide where the garland will hang before cutting the cord. Measure the space, allow extra length for a gentle dip, and leave enough at both ends for tying or hanging loops. Next, decide how many tassels you want. For example, seven tassels across 90 cm of decorated cord can sit at 15 cm intervals: the first and last go at the ends of that 90 cm span, with five evenly spaced between them. The hanging ties sit outside the decorated span. Write down your measurements so you can use them again while attaching the tassels.
Make a cardboard template for matching tassels
Cut a rectangle of cardboard slightly longer than the finished tassel length you want. Yarn wrapped around the card will form a loop, and the cut strands will hang at roughly the card’s length. Try one sample tassel before making the full set; trimming and tying the top can change its final appearance. If the sample is too long, shorten the card. A stiff card is easier to use than thin cardboard that bends as you wrap.
Wrap yarn around the card the same number of times for every tassel. Count each complete turn and keep the tension comfortable rather than pulling hard. More wraps make a fuller tassel, but thick yarn needs fewer turns than fine yarn. Slide a separate strand under the wraps at one edge of the card, tie it tightly to gather them, and leave its ends long. These ends can later attach the tassel to the garland cord.
Slide the bundle off the card, then cut through the loops opposite the tied top. Smooth the strands downward. Use another short piece of yarn to tie firmly around the bundle a little below the top, forming the tassel head. Knot it securely and tuck or trim the ends. Make the rest of the tassels using the same wrap count and head position. Lay them side by side and trim their bottoms only after they are all made.
Mark equal positions on the garland cord
Lay the cord on a flat surface without stretching it. Mark the start and end of the decorated span with small pieces of tape. For a straight row, divide the distance between those marks by one less than your number of tassels. With seven tassels across 90 cm, that gives six gaps of 15 cm. Measure from the first mark and place tape at each position. This method gives equal center-to-center spacing, even if the tassels vary slightly in width.
If you prefer blank cord at both ends, measure those margins first, then calculate positions within the remaining span. Avoid estimating gaps by eye as you work from one end: small differences can add up. Before tying anything, place a tassel at each mark and step back to check the arrangement. This is also the time to adjust color order or change the span if the tassels look crowded.
Attach the tassels without losing the spacing
At each mark, use the long ends from the tassel’s top tie to knot it around the cord. Hold the tassel at the mark as you tighten, then add a second knot to help keep it in place. If the cord is smooth and a tassel slides, tie the ends around it once more before making the final knot, or use a small stitch through the cord if its material allows it. Keep the attachment method consistent so the tassels hang at the same height.
Work from the center outward if you are using a symmetrical color pattern; otherwise, start at one end and check each mark before tightening. Lift the garland gently after attaching a few tassels. The cord may curve when hung, but the knots should remain at the measured positions along it. Adjust any tassel that twists or sits higher than its neighbors before cutting off the long tie ends.
Finish and hang your garland
Hang the garland temporarily and let the tassels settle. Trim uneven strands with sharp scissors, cutting a little at a time rather than trying to level each tassel in one snip. A gentle shake can separate strands that have clumped together. Check that the hanging loops are secure and that the weight is supported at both ends.
If the tassels bunch together, the cord may be too slack, the knots may be sliding, or the spacing may be too narrow for the tassel width. Shorten the decorated span only if there is room to move every tassel evenly; otherwise, remove one or two tassels and recalculate the gaps. Keep the finished garland away from flames, and hang it where small children or pets cannot pull on the strands.


