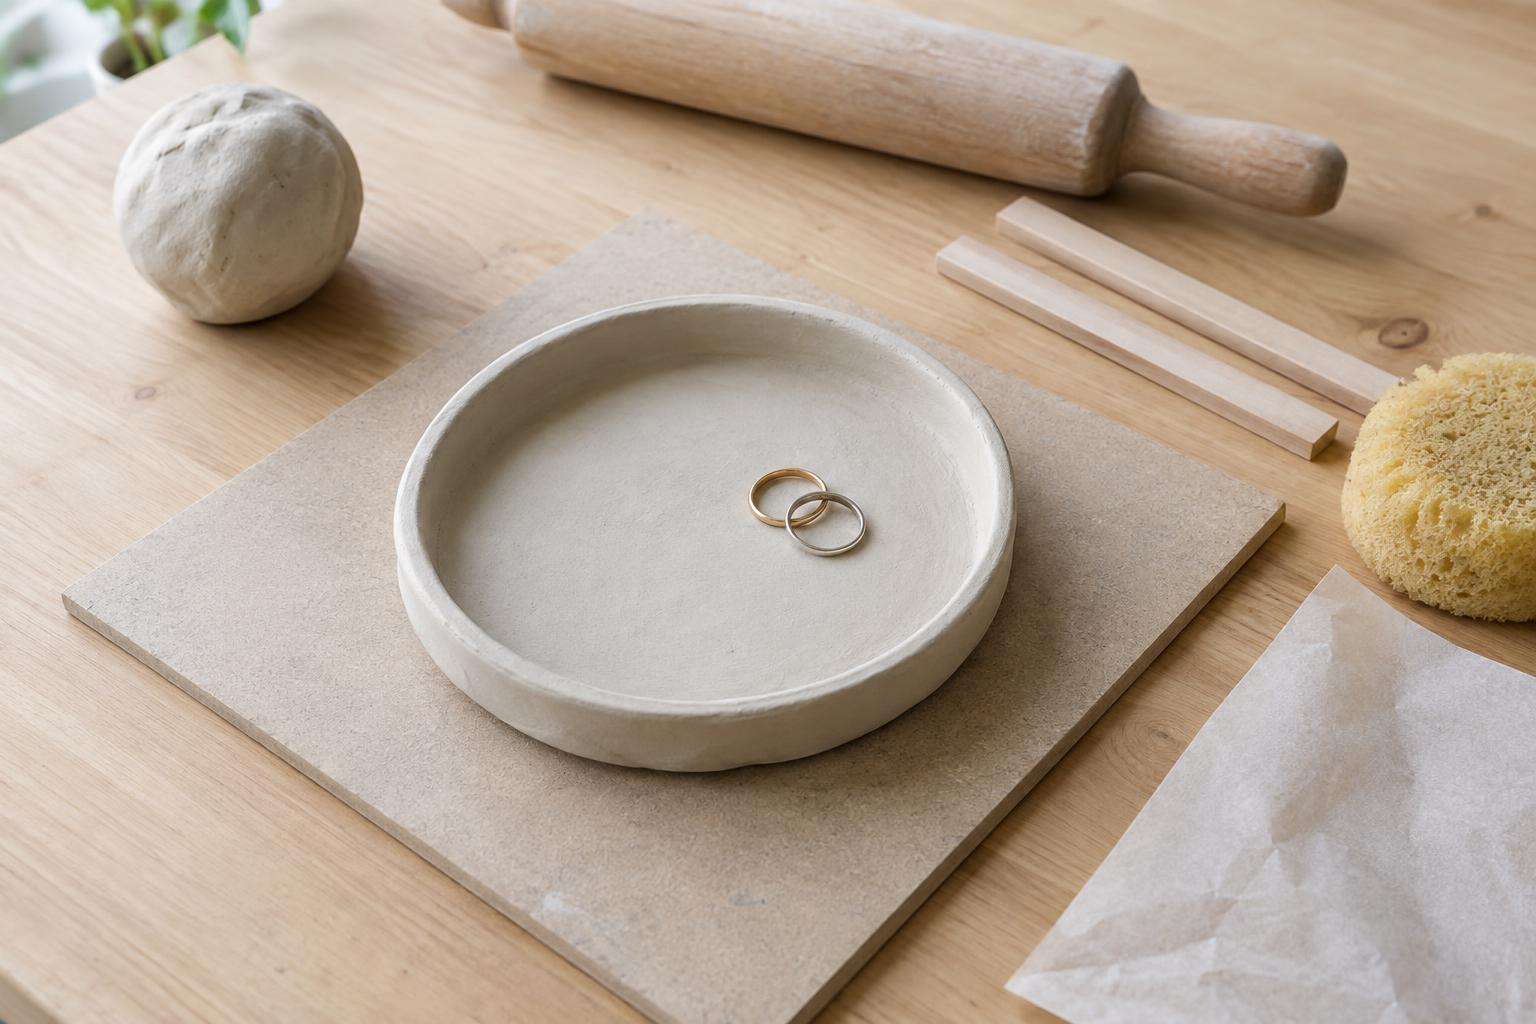
Gather materials and prepare your work area
You will need air-dry clay, a rolling pin, two equal-thickness guides, a small bowl or round template, a blunt knife or clay tool, and a little water. Parchment paper, a shallow bowl for shaping, and fine sandpaper for finishing are also useful. Choose a clay sold for craft projects and follow any handling or drying directions on its package; different clays can behave differently.
Cover a flat work surface with a smooth mat or sheet of parchment. Keep the clay you are not using wrapped so it does not begin to dry while you work. For a first dish, aim for a modest size: a circle about 10 to 12 cm (4 to 5 inches) across is easier to support than a wide, thin plate. Decide where the dish will dry before you start, because moving soft clay repeatedly can distort it.
Roll an even base
Knead the clay briefly until it feels pliable, then press it into a thick disk. Place your thickness guides on either side and roll between them, turning the clay occasionally so it does not stretch more in one direction. A thickness of roughly 5 to 7 mm (about ¼ inch) provides a sturdy starting point for a small dish. Very thin areas dry faster than thick ones, making an uneven base more likely to curl.
Lay your bowl or template over the rolled clay and cut around it without pulling the edge. Lift away the offcuts, then smooth the cut edge with a fingertip dipped in a small amount of water. Avoid soaking the clay: excess water can turn the surface muddy and may make shaping harder. If you see an air pocket or a deep crease, gently compress and smooth it now rather than hoping it will disappear during drying.
Shape a shallow, supported rim
Transfer the circle onto a smooth piece of parchment, then set it into a shallow bowl. Press gently from the center outward so the base stays supported and the rim rises evenly. You want a low curve, not a steep wall; a sharp bend between the base and rim is more prone to cracking. Check the dish from above and adjust any uneven spots while the clay is still soft.
Smooth the inside with your fingers or a slightly damp sponge, using light pressure. Run a fingertip around the rim to remove roughness without thinning it. If you want a stamped pattern, test it on a scrap first and press lightly: a deep impression can leave a weak spot in the dish. Keep decoration away from the bend where the base meets the rim.
Dry gradually and check both sides
Leave the dish supported in its shallow bowl at room temperature, away from direct sun, heaters, and strong drafts. These conditions can dry the exposed surface much faster than the underside. Do not cover the dish with an airtight lid: moisture still needs a way to escape. Drying time varies with the clay, thickness, and room conditions, so use the package guidance and the feel of the piece rather than a fixed deadline.
Once the clay is firm enough to hold its shape without sagging, lift it carefully from the bowl and remove the parchment. Place it on a clean, flat surface where air can reach it, and turn it occasionally if it is sturdy enough to handle. Do not force it free if it sticks or flexes; give it more time first. If an edge begins to lift while the clay is still workable, gently support it in the intended curve rather than pressing a partly dry dish flat. Even careful drying cannot guarantee a perfectly flat result, but even thickness, gentle shaping, and gradual airflow reduce the risk of warping.
Finish and use your dish
When the dish feels dry throughout and no longer has cool or darker patches, smooth rough edges with fine sandpaper. Work gently and wipe away the dust with a dry cloth. If you plan to paint it, let the paint dry fully before applying a sealer compatible with your clay and paint, following the product directions. A finish may help protect the surface from everyday handling, but it does not make ordinary air-dry clay waterproof.
Use your finished dish for rings, keys, or other dry, lightweight items. Avoid food, standing water, and damp rooms unless your specific clay and finish are rated for those uses. For a future version, change just one feature at a time—such as the rim height or clay thickness—so you can see which adjustments help your dish keep its shape.


