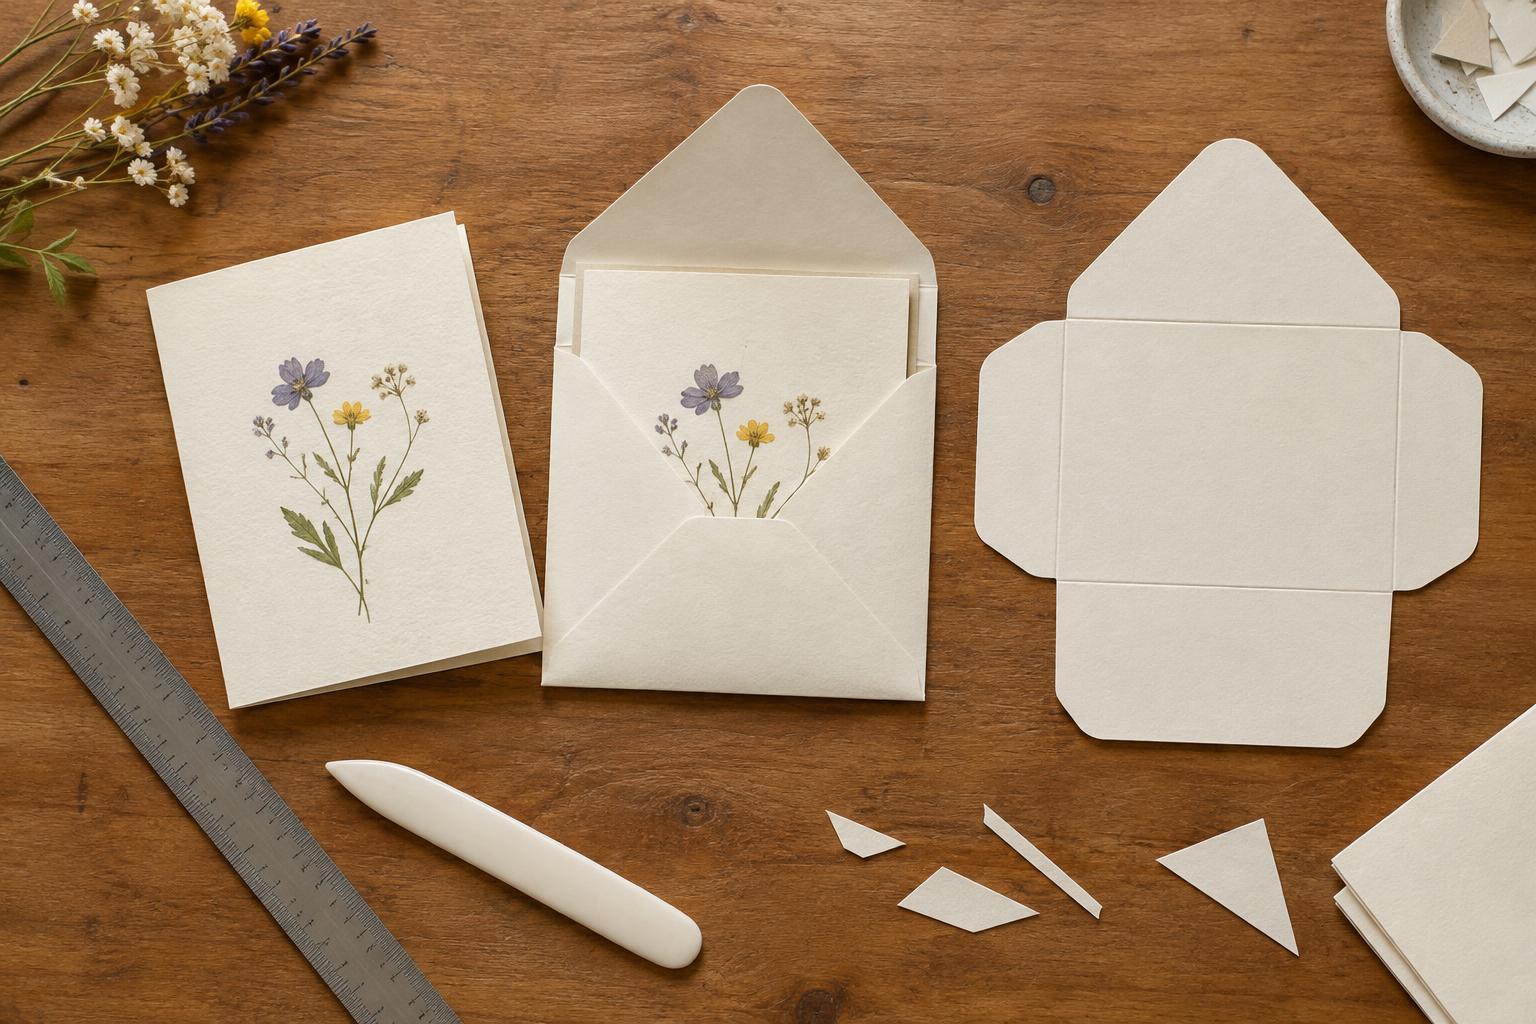
Measure the finished card first
Measure your card when it is folded and fully decorated, not before you add layers or embellishments. Note its width and height in the direction it will sit inside the envelope. If a decoration sticks up from the surface, check the card’s thickness too: a flat paper card and one with foam pads or a fabric bow need different amounts of room.
For a mostly flat card, make the envelope’s central panel about 6–10 mm wider and taller than the card. That leaves a little space on every side so the card can slide in without catching. Increase the allowance for a thicker card, then test it with a paper mock-up. The goal is a comfortable fit, not an oversized pocket that lets the card move around excessively.
Gather materials and plan the layout
You will need a sheet of paper larger than the finished envelope, a ruler, pencil, scissors, and a glue stick or narrow double-sided tape. A scoring tool and cutting mat are helpful but optional. Choose paper that folds without cracking and is sturdy enough to protect the card. Very stiff cardstock can be difficult to fold cleanly, while thin paper may show glue marks or strain around bulky decorations.
Draw a central rectangle using your envelope measurements. This is the back of the finished envelope, where the card will rest. Add a side flap to each long side, each roughly one-third of the central panel’s width. Add a bottom flap about two-thirds of the panel’s height and a top flap about half its height. The top and bottom flaps should overlap when folded. These proportions are a starting point, so check them against the sheet you have before cutting.
If your sheet is too small, do not shrink the central panel to make the layout fit: that can leave no room for the card. Use a larger sheet or simplify the flap proportions while keeping enough overlap to close the envelope. Mark the fold lines lightly on the inside face of the paper so any pencil marks are hidden.
Cut, score and fold the flaps
Cut around the outside of your layout. At each corner of the central panel, cut away the excess paper between adjacent flaps so they can fold independently. You can trim the side flaps into gentle points or angles and round the corners of the top flap for a softer finish. Avoid cutting into the central panel or making the side flaps so narrow that the bottom flap cannot attach to them.
Score along the four sides of the central panel before folding. To score without a dedicated tool, place a ruler on the line and run the blunt edge of a butter knife or an empty ballpoint pen gently beside it. Use light pressure so you crease the paper rather than tear it. Fold each flap inward along its scored line, pressing the folds flat with your fingers or the ruler’s smooth edge.
Assemble and check the envelope
Fold both side flaps in, then fold the bottom flap up over them. Put glue or tape only where the bottom flap meets the side flaps; keep adhesive away from the central pocket so the card will not stick. Press the joins until secure, then let any wet glue dry before inserting the card. Leave the top flap unglued until you are ready to seal the envelope.
Slide the card in gently and fold the top flap down. If the card catches at the sides, check for stray adhesive or folds that lean inward before making another envelope with more clearance. If the top flap barely reaches the bottom flap, lengthen it on the next template; if the pocket feels loose, reduce the allowance slightly. A quick test with scrap paper is especially useful when making several matching envelopes.
For a card you plan to hand over unsealed, a small removable sticker can hold the flap closed. If the card has a raised decoration, place a piece of plain paper over it while testing the fit to see whether it snags on a fold. Small adjustments at the mock-up stage will give your finished card an envelope that looks intentional and is easy to open.


