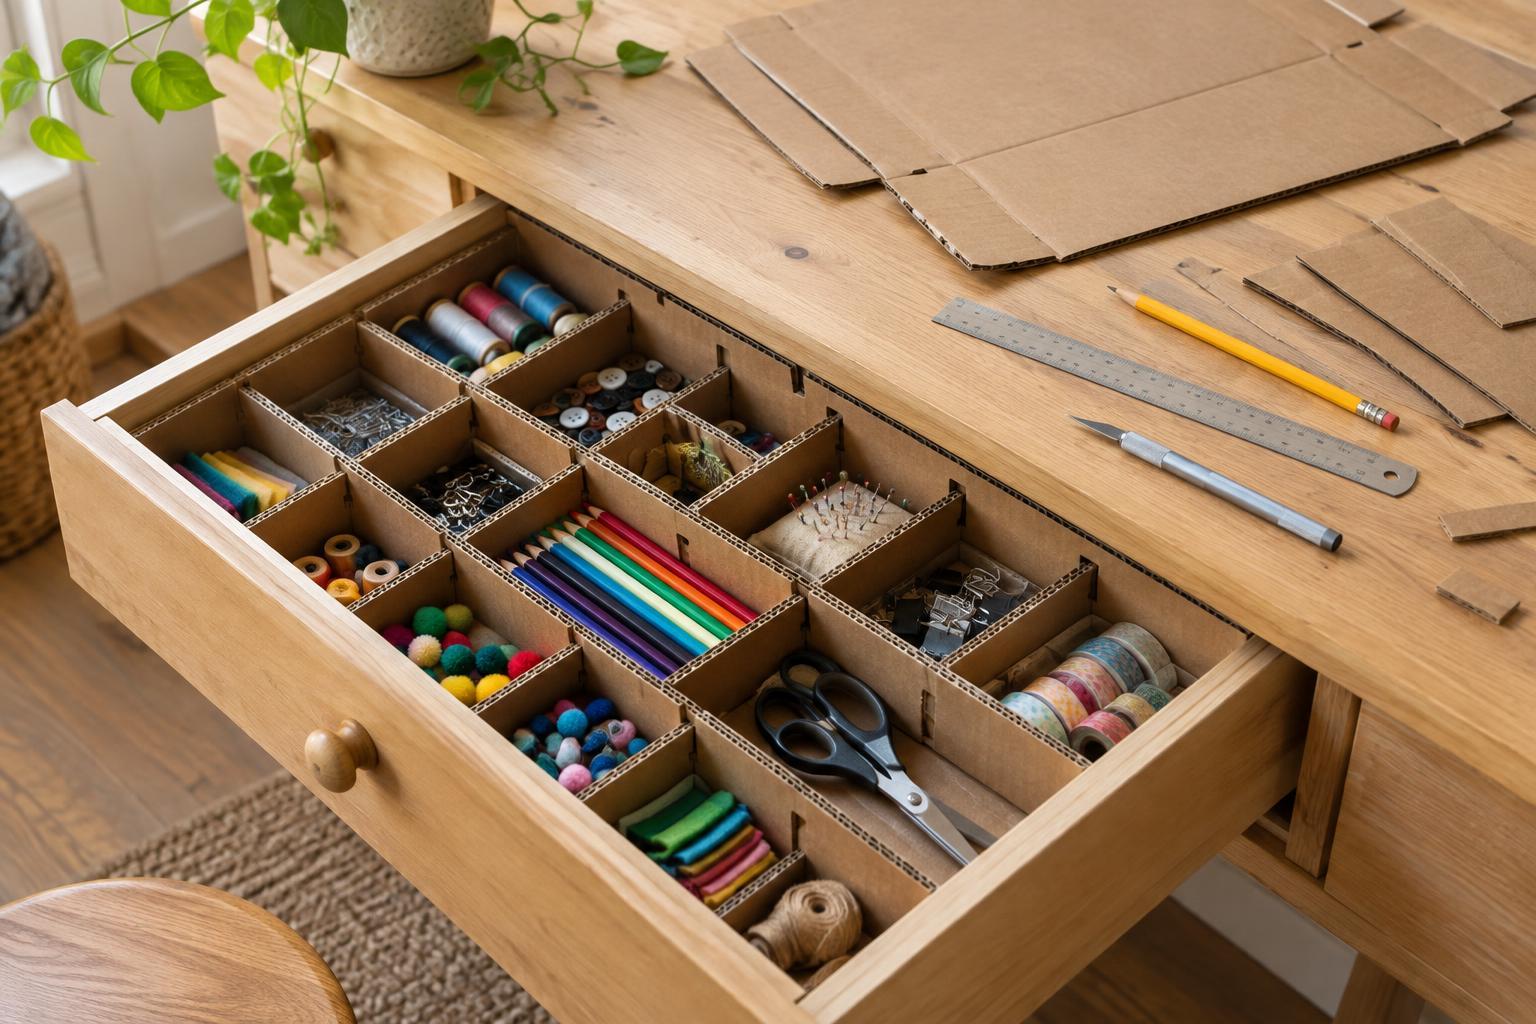
Plan the compartments before cutting
Shipping boxes can become useful dividers for drawers that hold craft supplies, stationery or other lightweight, dry items. Corrugated cardboard is easy to cut and inexpensive to replace when your storage needs change. Choose a clean, dry box with flat panels that have not been crushed or bent. Avoid cardboard with stains, damp patches or strong odors.
Empty the drawer and measure its inside width, front-to-back depth and usable height. Check the width and depth in more than one place, since drawers are not always perfectly square. Allow a little space beneath the top edge so the drawer closes freely. Sketch the compartments you want around the objects you actually store: long spaces for rulers or brushes, smaller ones for tape or clips. A few well-sized sections are often more useful than a dense grid of tiny spaces.
Gather tools and prepare the box
You will need a pencil, ruler, cutting mat and either a craft knife or sturdy scissors. A metal ruler helps guide straight knife cuts. Keep fingers clear of the cutting line, use light passes rather than forcing the blade through, and cut on a protected surface. If a child is helping, an adult should handle the craft knife.
Open the box along its seams and lay the panels flat. Remove loose tape and staples. Mark out strips whose height matches your planned divider height. Strips running from front to back should fit the drawer’s inside depth; strips running side to side should fit its inside width. Cut one test strip first and place it in the drawer. It should stand upright without bowing against the walls. Trim it if needed, then use that fit to guide the remaining strips.
Cut slots for an interlocking grid
An interlocking grid holds its shape without requiring glue at every crossing. Lay your strips out on a table in the arrangement you sketched. Mark each point where a front-to-back strip crosses a side-to-side strip. At each mark, draw a slot about as wide as the cardboard is thick. Cut slots from the top edge to halfway down on one set of strips. On the crossing set, cut from the bottom edge to halfway up.
Slide the opposing slots together until the top edges sit at roughly the same height. Test one crossing before cutting every slot: a slot that is too narrow can crush the cardboard, while one that is too wide may wobble. Widen tight slots gradually. To keep compartments straight, measure slot positions from the same end of each parallel strip rather than estimating each position by eye.
Fit and strengthen the dividers
Place the assembled grid in the empty drawer and close it slowly. If an outer strip bows, remove the grid and trim that strip slightly. If a crossing lifts, check that both slots reach halfway and that no torn cardboard is caught inside. It is easier to make small adjustments now than after filling the drawer.
For a grid that shifts during use, add a small piece of paper tape at selected crossings or along an outer edge. You can also place a flat cardboard liner beneath the grid and tape the dividers to it; this lets you lift the whole organizer out together. For taller compartments, glue a second strip to a weak wall, but let it dry flat before installation. Cardboard is best suited to lighter contents, not heavy tools that could bend the walls.
Finish it for everyday use
The dividers can stay plain, or you can cover their visible edges with decorative paper or washi tape. Apply coverings after checking the fit, since extra layers can make the grid too tight. Keep tape smooth around the slots so the pieces still interlock, and allow any glue to dry completely before putting supplies away.
Sort items into the compartments and notice what is awkward to reach. One advantage of a slotted grid is that you can take it apart, shorten a strip or cut a new one if your supplies change. Keep the organizer in a dry drawer and replace any piece that becomes soft or badly creased. A careful fit and simple layout will do more for daily usefulness than an elaborate finish.


