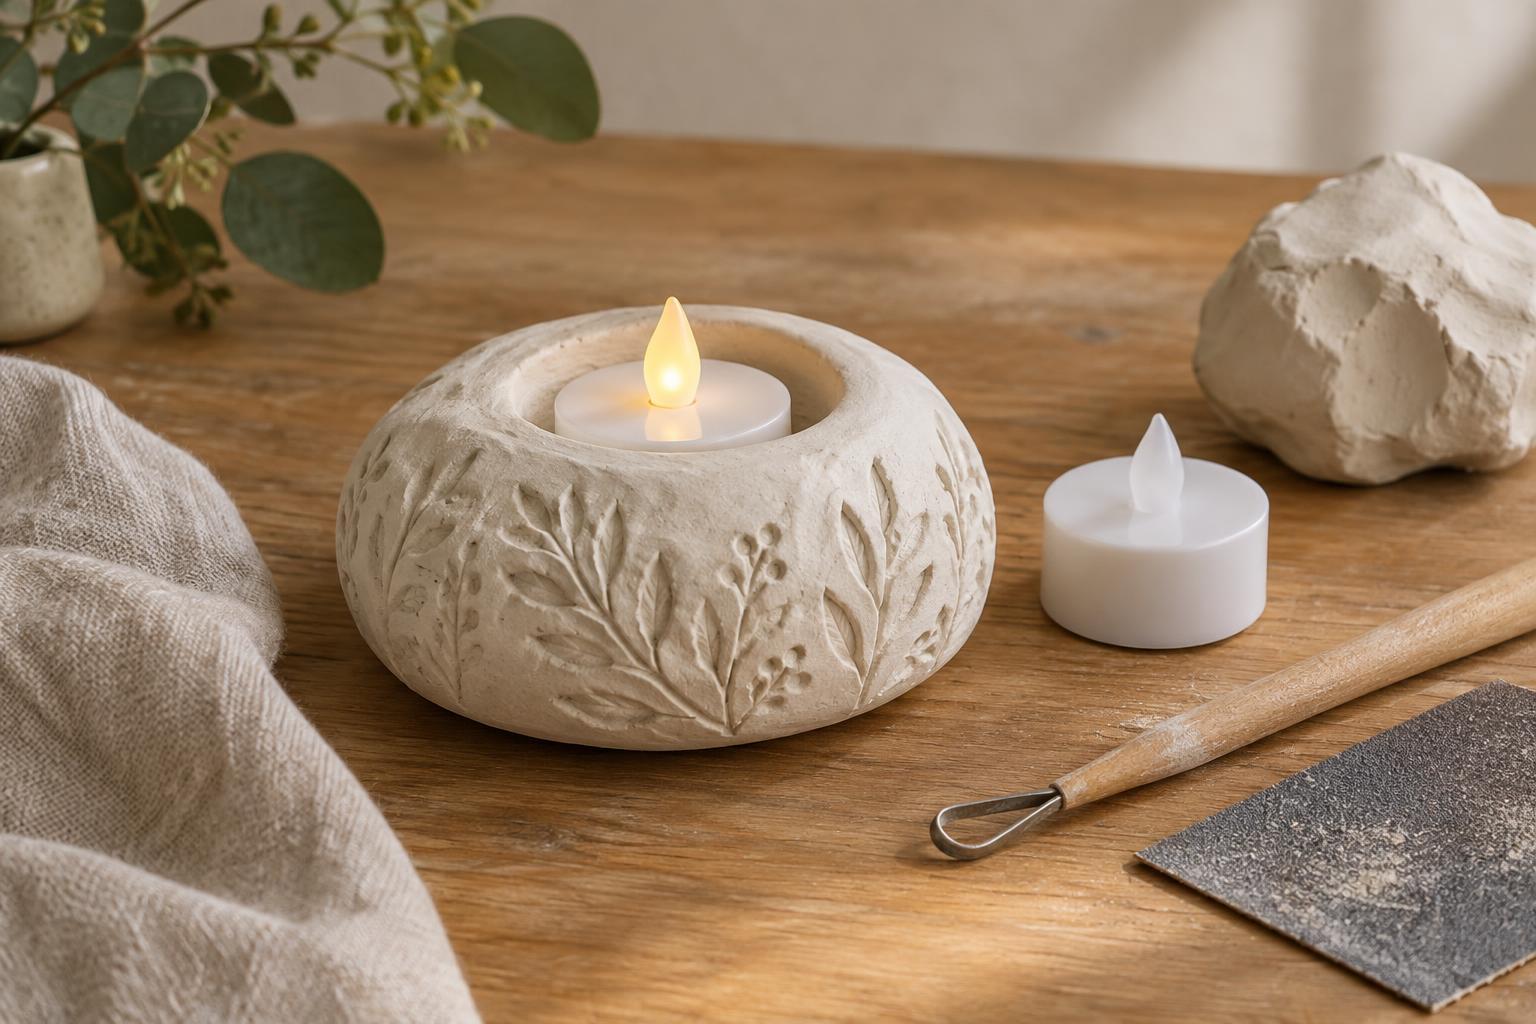
Choose a flameless design
Air-dry clay makes an appealing decorative holder, but it should not be treated as a heat-resistant candle container. Use a battery-operated LED tealight or another flameless light rather than a lit candle. Do not place a real tealight in the clay, even if the candle has a metal cup or a glass insert: heat can still reach the surrounding material. The finished object is a decorative holder for a light, not a vessel for burning wax.
A shallow dish with a raised rim is a good first project. It gives the light a defined place to sit and leaves the top open so you can lift it out to reach its switch and battery compartment. Choose your LED light before shaping the clay. Check its dimensions and any placement instructions from its maker; avoid a tight enclosure if the light requires ventilation.
Gather materials and prepare the shape
You will need air-dry clay, a smooth work surface, a rolling pin or smooth bottle, a small bowl or round template, a blunt modeling tool, water, and the LED tealight. A scrap of baking paper can help keep the clay from sticking to your work surface. Have a ruler handy, along with a slightly damp sponge for smoothing. For finishing, you may want fine sandpaper and a paint or sealer labeled as suitable for your clay.
Sketch a simple dish or low pedestal before you begin. Measure the widest part of the LED light and make its resting area a little larger, allowing room for slight changes in the clay as it dries. Keep the base broad enough that the holder will not tip when the light is removed or replaced. If you want a patterned rim, plan it around the light rather than across the area where the light needs to stand flat.
Knead the clay as directed on its package, then roll it to an even thickness. Very thin areas can be fragile, while thick, uneven areas may dry more slowly and be more prone to cracking. Cut a circle for the base using a template. Shape the edge upward gently with your fingers, or add a low coil to form a rim. Smooth any join with a small amount of water and light pressure; soaking the clay can make it difficult to handle.
Add details without losing stability
Press texture into the outside of the rim with a clean stamp, the end of a blunt tool, or a piece of textured fabric. Keep impressions shallow near joins and narrow edges. If you add raised dots or other small details, score both surfaces lightly, attach them with a little clay slip made from clay and water, and blend the join. These details are more likely to stay attached when they do not have to bear the weight of the holder.
Test the shape with the LED light while the clay is still workable, then remove it. The light should sit level, with enough space to lift it out easily. Do not leave the light in place during drying: it can mark the soft clay or become difficult to remove. Check the base from several angles and gently flatten any wobble against your work surface before the clay begins to firm up.
Dry, finish and use your holder
Let the holder dry according to the clay maker’s directions on a clean, level surface. Drying time varies with the product, thickness and room conditions. Avoid trying to speed the process with an oven, heater or direct flame. If the maker recommends turning the piece, do so carefully once it is firm enough to handle. Wait until it is completely dry before painting or sealing; a surface that feels dry may still have moisture inside.
Once dry, smooth rough spots gently with fine sandpaper, keeping dust away from your face and cleaning the work area afterward. Brush off the dust before applying paint. Follow the product directions for coats and drying time, especially if you use a sealer. Decoration can bring out the texture, but leave the resting area smooth so the LED light does not rock.
Set the finished holder on a stable, dry surface and place the switched-on LED tealight inside. Keep the light removable for battery changes, and follow its instructions for use. If the clay develops a crack or the base no longer sits securely, repair or retire the holder rather than balancing a light on an unstable surface. With a simple shape and a flameless light, you can enjoy the look of a candle holder without exposing the clay to a flame.


