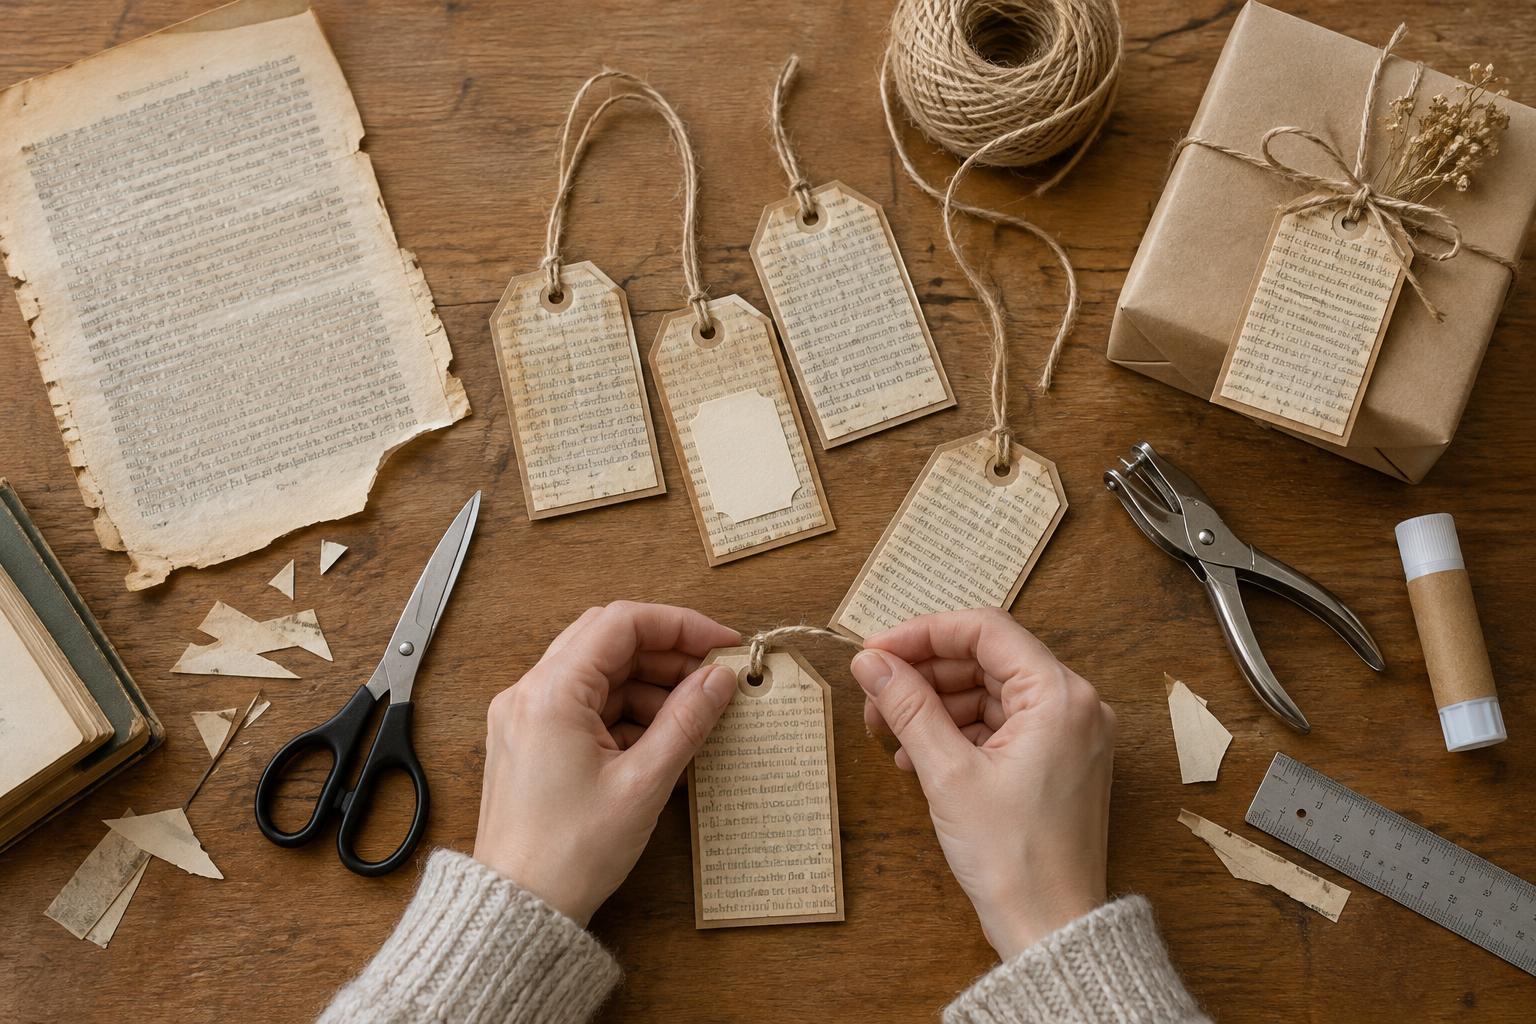
Choose pages that are ready for a second use
A loose page, a torn corner or a book that can no longer be repaired can provide enough paper for several gift tags. Use a book you own and are comfortable taking apart. Check whether it could be repaired, donated or kept for reference before cutting it up. Pages with interesting type, illustrations or generous margins work especially well.
Avoid paper that is damp, moldy or crumbling when handled. A slightly yellowed page can add character, but it still needs to survive cutting and tying. If a page is wrinkled, place it between clean sheets of paper under a stack of books for a day or two. This may flatten mild creases, though deep folds can remain visible. Decide which words or pictures you want to show before marking any cuts.
Gather materials and plan your tag shape
You will need book pages, scissors or a craft knife, a pencil, a ruler, a hole punch and string or ribbon. Keep scrap card or sturdy packaging nearby for backing, along with a glue stick or a thin layer of suitable craft glue. A cutting mat helps protect your table if you use a knife. Optional extras include stamps, colored paper, ink pads and small pieces of fabric.
Start with a simple rectangle or a rectangle with its top corners trimmed. Make a template from scrap card so tags in a set come out the same size. Before cutting, hold the template over the page and check where the hole and any message will go. A line of print can serve as a decorative feature, but leave enough clear space to write the recipient’s name. If the page is covered in text, plan to add a small blank label later.
Cut and reinforce the paper
Trace your template lightly on the back of the page, then cut just inside the pencil line. For straight edges, use a ruler and craft knife on a cutting mat, or cut slowly with scissors. Try one tag first rather than cutting the whole page at once; it is easier to adjust the size or placement after seeing a finished piece.
Thin book paper may tear where the string passes through. To strengthen it, glue the cut page to a piece of card and let it dry flat before trimming the card to match. Spread glue evenly, paying attention to the edges, and press the pieces together gently to avoid bubbles. You can also use a small card circle or a scrap of sturdy paper around the hole. Punch the hole away from the tag’s edge, leaving enough paper around it to resist tearing.
Add a message and simple decoration
Test your pen on an offcut before writing on the tag. Some old paper absorbs ink unevenly, while coated or glossy paper may make it slow to dry. If the print is too busy for a readable message, glue a small piece of plain paper to the front or use the card backing as the writing side. Write the name before attaching the tag so you have a firm surface beneath it.
Let the original page do most of the decorative work. You might frame a small illustration by trimming around it, add a narrow strip of colored paper or stamp a modest border. Keep embellishments clear of the hole and avoid piling heavy items onto a fragile page. Thread string or ribbon through the hole, then tie it to a gift bag handle or around a wrapped parcel. Check that the knot is secure without pulling hard against the paper.
Fix common problems and use the leftovers
If a tag curls after gluing, it may have absorbed too much moisture. Next time, use less glue and dry the tag under a light weight between clean sheets of paper. If the hole starts to split, add reinforcement to both sides or make the next tag from thicker backing card. Uneven edges can often be neatened by trimming a little from each side, provided you leave enough room for the message.
Save narrow offcuts for layered borders, tiny labels or a patchwork-style tag. Store finished tags flat and dry until you need them. Making a few at once lets you test different page layouts without needing every piece to match. The aim is not to hide the paper’s previous life, but to turn a page that could no longer serve its original purpose into a useful detail for a gift.


