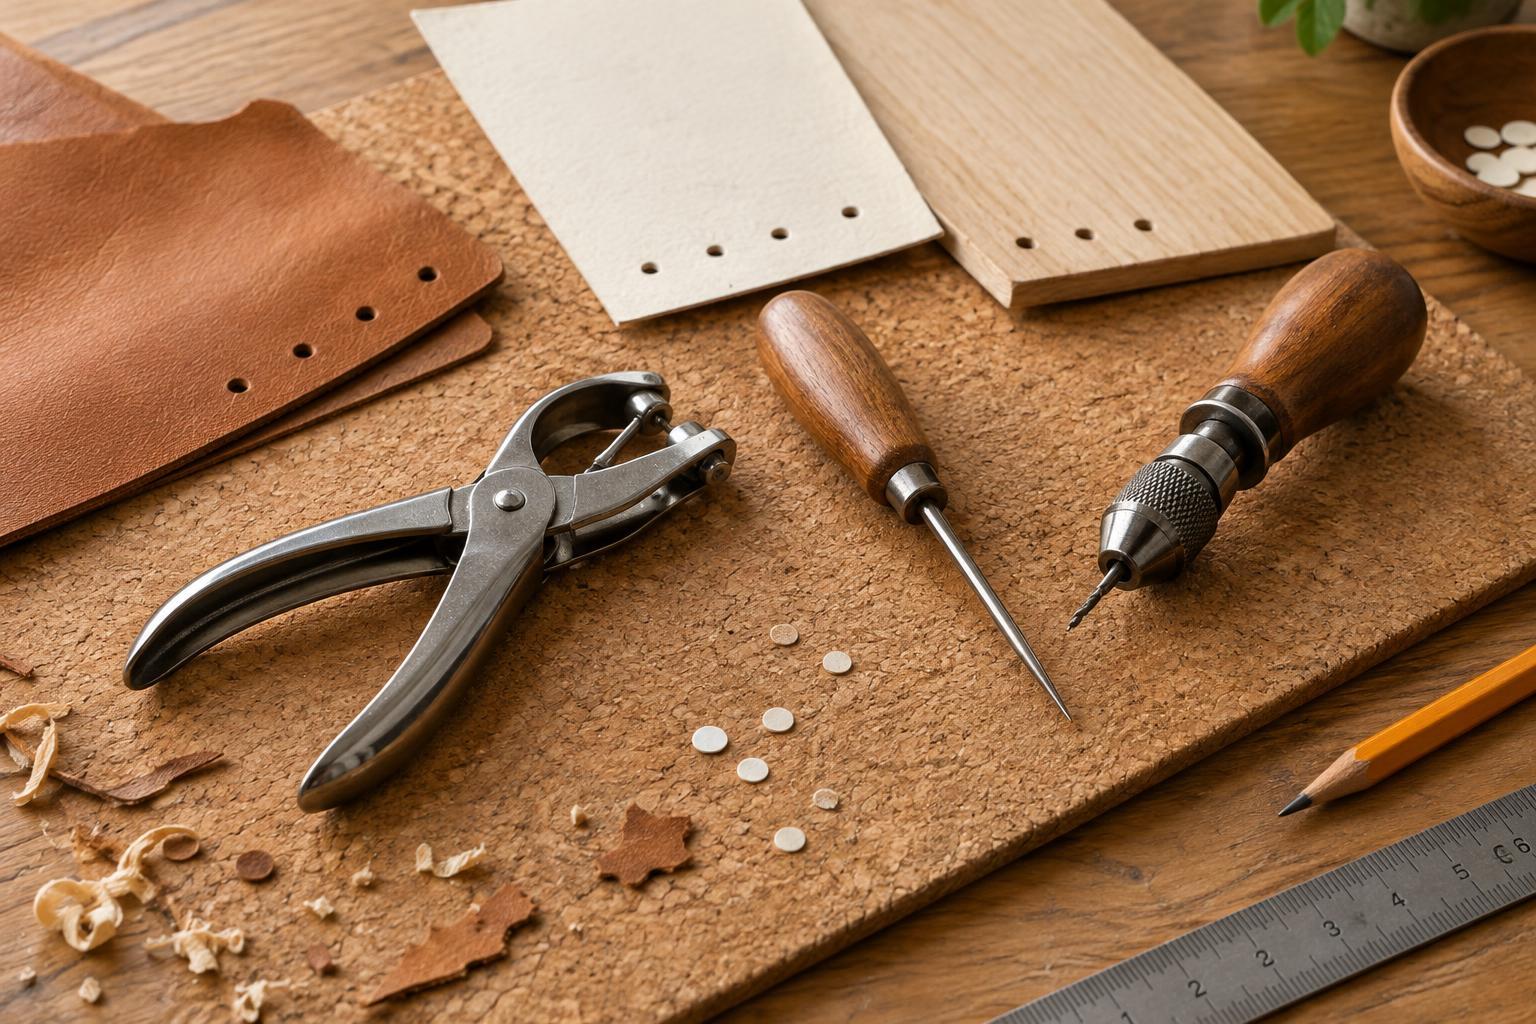
Choose a tool that suits the material
A neat hole is not just a matter of pressing harder. The tool needs to suit the material and the kind of opening you want. A paper punch cuts away a small piece, making it useful for tags, cards and binder holes. Decorative punches can make shaped openings, but they work best within the material thickness recommended for the tool. Forcing a thick stack through a small punch can jam it or leave ragged edges.
An awl makes a hole by pushing material aside rather than removing a plug. It is useful for starting a sewing hole in cardstock or marking the center of a hole to be drilled. A hand drill removes material with a rotating bit and is usually the better choice for a controlled hole in wood or another firm material suited to drilling. For fabric, consider whether you need a permanent cut hole at all: a stitching needle may be enough, while a cut opening may need reinforcement to prevent fraying.
Mark and support the work before you start
Decide where the holes belong before picking up a tool. For a row of holes, mark the first and last positions, then measure the spaces between them. A paper template can help you repeat the pattern on multiple pieces. Check that each mark is far enough from the edge to leave a sturdy border, especially on a tag that will hang from a cord or a card that will be bound.
Put a suitable backing under the work. A self-healing cutting mat protects a table when piercing paper with an awl; scrap wood supports a piece you intend to drill. Support also helps prevent the material from bending as the tool goes through it. Secure small or slippery pieces so they cannot shift, and keep your holding hand clear of the tool’s path. Try the complete setup on an offcut first, particularly when working with a finished or decorated piece.
Use steady, controlled pressure
With a paper punch, slide the material fully into place and align your mark with the punch opening or guide. Press in one firm motion rather than squeezing halfway, repositioning and pressing again; a double cut can leave an uneven edge. If the punch resists, remove the material and try fewer layers. Emptying accumulated punched pieces can also help a punch operate smoothly.
To use an awl, place its point on the mark and press straight down into the backing with controlled pressure. Start small: you can enlarge the opening gradually if the project needs it. For a hand drill, select a bit that matches the hole size, make a small starting mark if the bit tends to wander, and turn the drill steadily while keeping it upright. Do not force the bit. If drilling becomes difficult, pause and check whether the bit is clogged or the work has moved.
Prevent tears, splinters and uneven holes
Different materials fail in different ways. Paper can tear when it is unsupported, damp or pulled away from an awl too quickly. Thin paper may also crease under a punch that is difficult to operate. Keep sheets flat, test the punch on one layer and lift pierced paper gently from the awl. If a hanging hole needs to withstand repeated use, a reinforcement ring or a stronger backing can help.
Wood may splinter where a drill bit exits. Place scrap wood firmly against the back of the piece and continue drilling into it to support the exit side. A bit that wanders can produce an off-center hole, so take time to establish its starting point and secure the work before turning. When making holes in fabric, test an offcut first: an awl can shift woven threads, while a cut hole can fray. Choose the method based on how the finished opening will be used.
Check the result and make a useful test piece
Before assembling a project, check each hole for size, position and rough edges. Brush away paper scraps and drilling dust. A lightly rough wood edge can often be smoothed with fine sandpaper; work gently so you do not widen the hole or scuff the visible surface. If a cord, fastener or needle must pass through, test its fit now rather than after the pieces are joined.
Save a few offcuts as a reference for future projects. Mark and make holes using different tools, then note which combination gives a clean opening without weakening the material. This small practice step is especially helpful when changing cardstock, wood thickness or fastener size. The goal is not to make every hole the same way, but to choose a method you can repeat accurately on the finished piece.


