Choose stones and plan the display
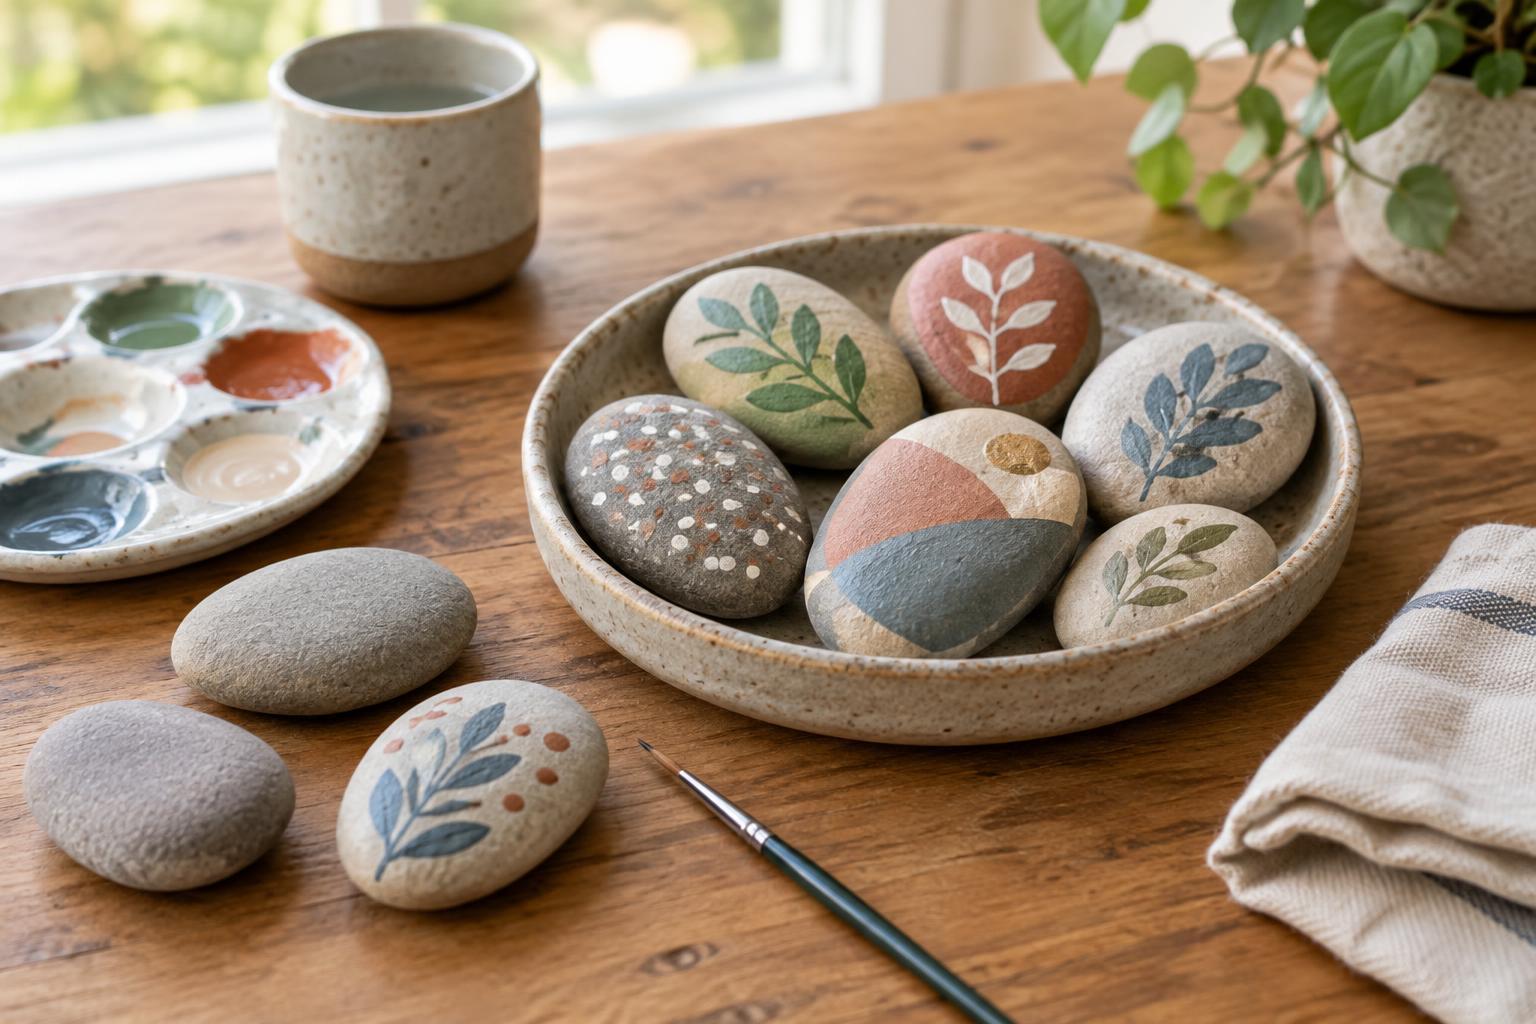
Painted stones work well on a shelf, in a shallow dish, or beside a houseplant. Before picking up a brush, decide where they will go. A narrow shelf may suit a row of small stones with related colors, while a wide bowl can hold a mix of shapes and patterns. Planning the display first helps you choose stones that fit the space and designs that look good together.
Look for stones with stable bases and surfaces that are reasonably smooth. Flat stones are easiest for lettering and detailed pictures; rounded ones suit stripes, dots, and simple shapes. You can use stones you already have or buy craft stones. If collecting them, take them only where collection is permitted. Avoid stones that crumble, shed grit, or have sharp edges. Very small stones can be a choking hazard, so keep them out of reach of young children and pets.
Clean and prepare the surface
Dirt and loose grit can prevent paint from sticking. Wash each stone with water and a little mild soap, using a soft brush to reach shallow grooves. Rinse thoroughly, then let the stones dry completely. A stone may feel dry on the outside while moisture remains in its pores, so give thicker or more porous pieces extra time. Set them on a towel rather than a surface that could be stained.
Cover your work area with scrap paper or a washable mat. Useful supplies include acrylic craft paint, small brushes, a pencil, a water cup, and a cloth for wiping brushes. A dotting tool is optional; the end of a clean paintbrush handle can make simple dots. If a stone is dark and you want bright colors, apply a thin coat of white acrylic paint first. Let that base coat dry before adding your design.
Build the design in thin layers
Start with a design that suits the stone’s shape. A long stone might become a leaf, a round one a flower, and an irregular one an abstract pattern. Sketch lightly with pencil if you need a guide. For a coordinated display, limit yourself to a small palette and repeat one detail, such as a line color or dot pattern, across several stones.
Apply acrylic paint in thin coats rather than one thick layer. Thin coats are easier to control and less likely to show brush ridges. Paint the main shapes first, let them dry, then add outlines, dots, or other small details. Turn the stone only when the painted side is dry enough to handle. If you make a mistake while the paint is wet, wipe it away gently with a damp cloth; once it has dried, you can usually cover it with another thin coat.
For crisp dots, load the tool lightly, press straight down, and lift it straight up. Reload when the marks begin to fade. For stripes, rest your painting hand on the table and rotate the stone as you work. These small adjustments often give more control than trying to move the brush around a stationary stone. Wash brushes before acrylic paint dries in the bristles.
Finish the stones without rushing
Let the completed paintings dry according to the paint label before handling them extensively. An optional clear, water-based craft varnish can help protect the artwork from light handling and make the finish more consistent. Choose a finish intended for use over acrylic paint, follow its label, and work in a ventilated area. Brush on light, even coats, allowing each coat to dry as directed. Test the finish on one stone first if you are unsure how it will affect the colors.
A sealant does not make a painted stone suitable for every setting. For an indoor display, keep finished stones away from standing water, food-preparation surfaces, and places where they will be frequently knocked together. Avoid putting them directly on delicate furniture until the finish has fully dried. Felt pads beneath larger stones can protect both the display surface and the paint.
Arrange and care for your display
Try grouping stones in odd or even numbers, then judge the arrangement by how it fills the space rather than following a fixed rule. Varying height and shape adds interest; repeating colors gives the group a sense of order. A shallow tray makes a collection easy to move, while a small stand can show off a favorite stone. Check that each piece rests securely before placing it near an edge.
Dust the stones with a soft, dry cloth. If a painted stone needs more cleaning, wipe it gently with a barely damp cloth and dry it promptly; avoid soaking or scrubbing it. Save leftover paint for small touch-ups. As you gain confidence, try a series of stones with one shared theme, changing just the pattern or color placement on each piece.


