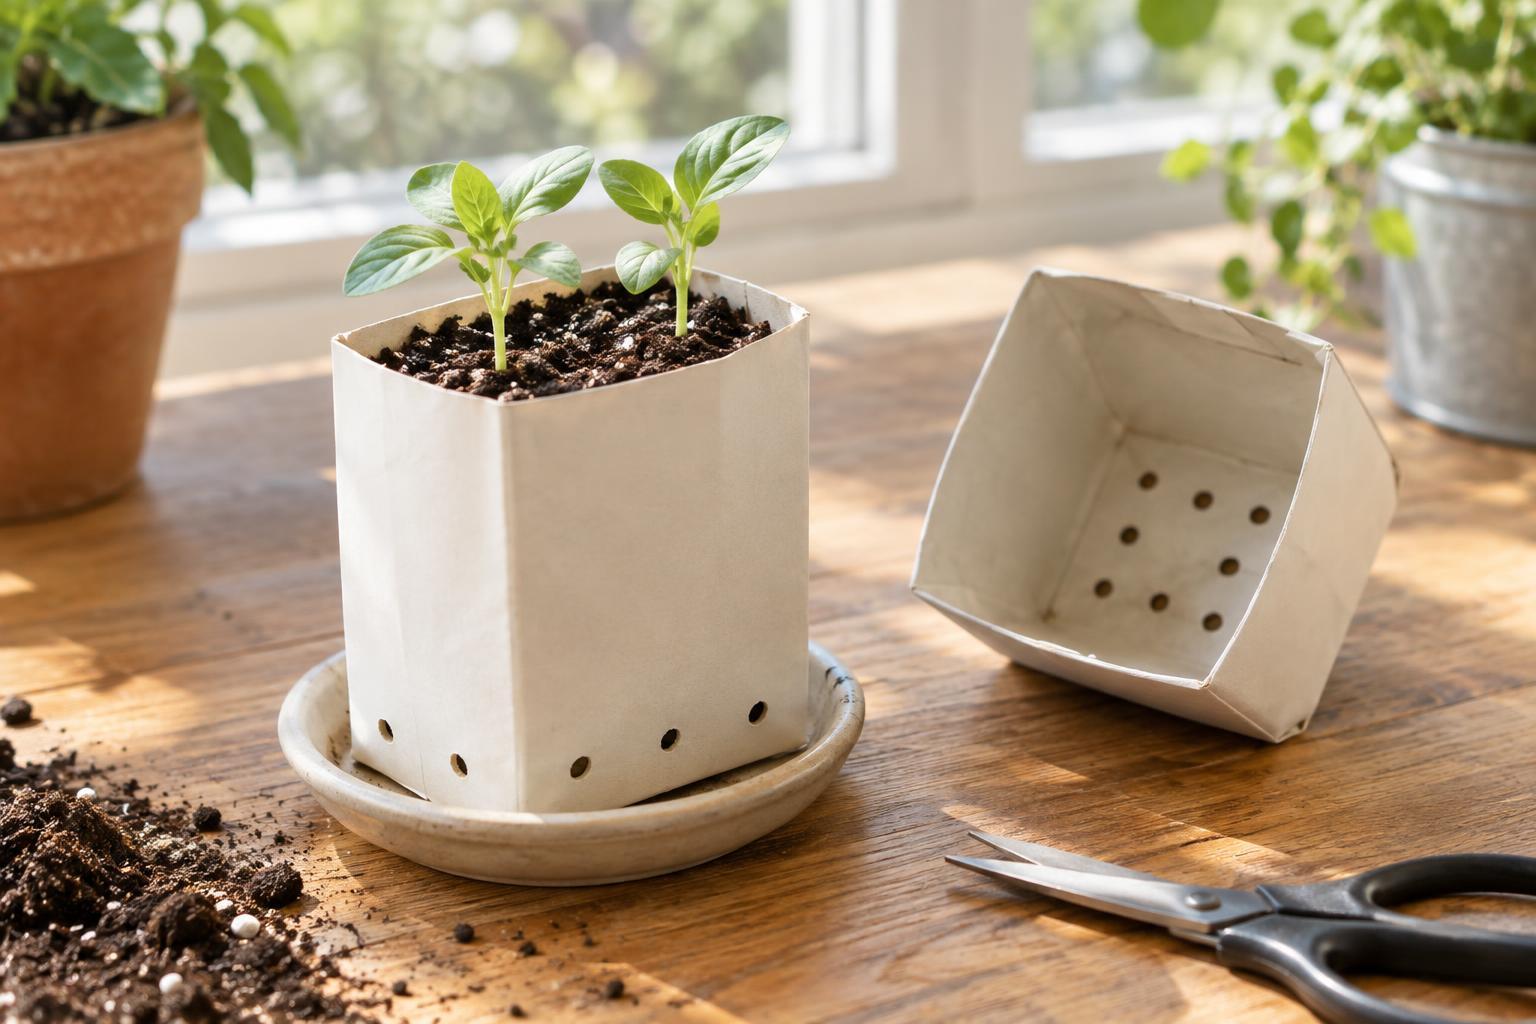
Choose and clean a suitable carton
An empty milk carton can give seedlings a temporary home before they move into a larger pot or garden bed. Paperboard cartons and plastic milk jugs both work, although they need slightly different cutting tools. Choose a container that is sturdy, free of damage, and large enough to hold several inches of potting mix. One carton can become a single roomy pot, or you can cut it into smaller sections if its shape allows.
Rinse the carton thoroughly with warm water and a little dish soap, paying attention to corners where milk may remain. Rinse away the soap and let the container dry. Cleaning helps prevent unpleasant smells and gives you a better view of any weak spots. If a carton has a lingering odor or soft, damaged areas, use another one.
Gather scissors or a craft knife, a marker, and a tray to catch water. An adult should handle sharp tools when children are helping. Work on a stable surface, and keep your free hand away from the cutting path.
Cut the pot and add drainage holes
For a simple upright pot, mark a line around the carton about four to six inches above its base. Cut along the line, then trim any uneven edges. A taller pot holds more mix and may suit seedlings that will stay indoors longer; a shorter pot uses less mix and is easier to fit under a grow light or near a bright window. Check that the finished pot sits flat without tipping.
Drainage is essential because a carton has no natural way to release excess water. Make several holes across the bottom rather than one hole in the center. Space them out so water can escape from different parts of the pot. For paperboard, the tip of sturdy scissors or a hole punch may work; for thicker plastic, carefully use a suitable sharp tool on a protected work surface. Make holes large enough for water to pass through but not so large that the potting mix spills out.
Set the pot on a shallow tray and test it with a little water before adding soil. Water should come through the holes promptly. If it pools inside, widen the holes or add another. If the carton sits flush against a flat tray and blocks the openings, raise it slightly on a reusable plant saucer with ridges or a few small, clean spacers.
Fill and plant without compacting the mix
Use a light potting mix suited to starting seeds rather than soil dug from the garden, which can pack down in a small container. Moisten the mix until it feels evenly damp but does not drip when gently squeezed. Fill the carton to about an inch below the rim. Settle the mix with a light tap instead of pressing it firmly; roots and water need room to move.
Sow seeds at the depth recommended on their packet, or move a small seedling into a hole that comfortably fits its roots. If planting several seeds in one carton, leave room to thin or separate the seedlings later. Label the carton with the plant name so similar-looking sprouts do not get mixed up. A marker may rub off a damp surface, so a separate plant label can be more reliable.
Water carefully and watch for problems
Place the pot where the seedlings will receive suitable light, then water gently until a little moisture drains into the tray. Empty standing water after the pot has had time to drain. Before watering again, check the mix with a finger rather than following a fixed schedule: the surface may look dry while the lower mix is still moist. Seedlings generally need consistent moisture, not a constantly soaked container.
A musty smell, persistently wet mix, or weak, leaning seedlings can signal that conditions need attention. Confirm that the holes are open, remove water from the tray, and improve airflow around the pots. If a paperboard carton becomes soft or begins to leak, place the root ball into a sturdier container with drainage. Avoid lining the carton with unperforated plastic, which defeats the purpose of the holes.
Move seedlings on and reuse what you can
When roots are filling the pot or the seedling has outgrown its space, plan its move to a suitable larger container or growing spot. Water lightly beforehand so the mix holds together. Tip or cut the carton away, support the root ball, and handle the plant by its leaves rather than pulling on its stem. Paperboard milk cartons often contain coatings, so do not assume they will break down if planted whole.
After transplanting, remove any remaining mix and check whether the carton is sturdy enough for another round. Clean it, let it dry, and replace it if the sides or drainage holes have weakened. The goal is not to make a carton last forever, but to give it a useful second job while providing seedlings with a container that drains well.


