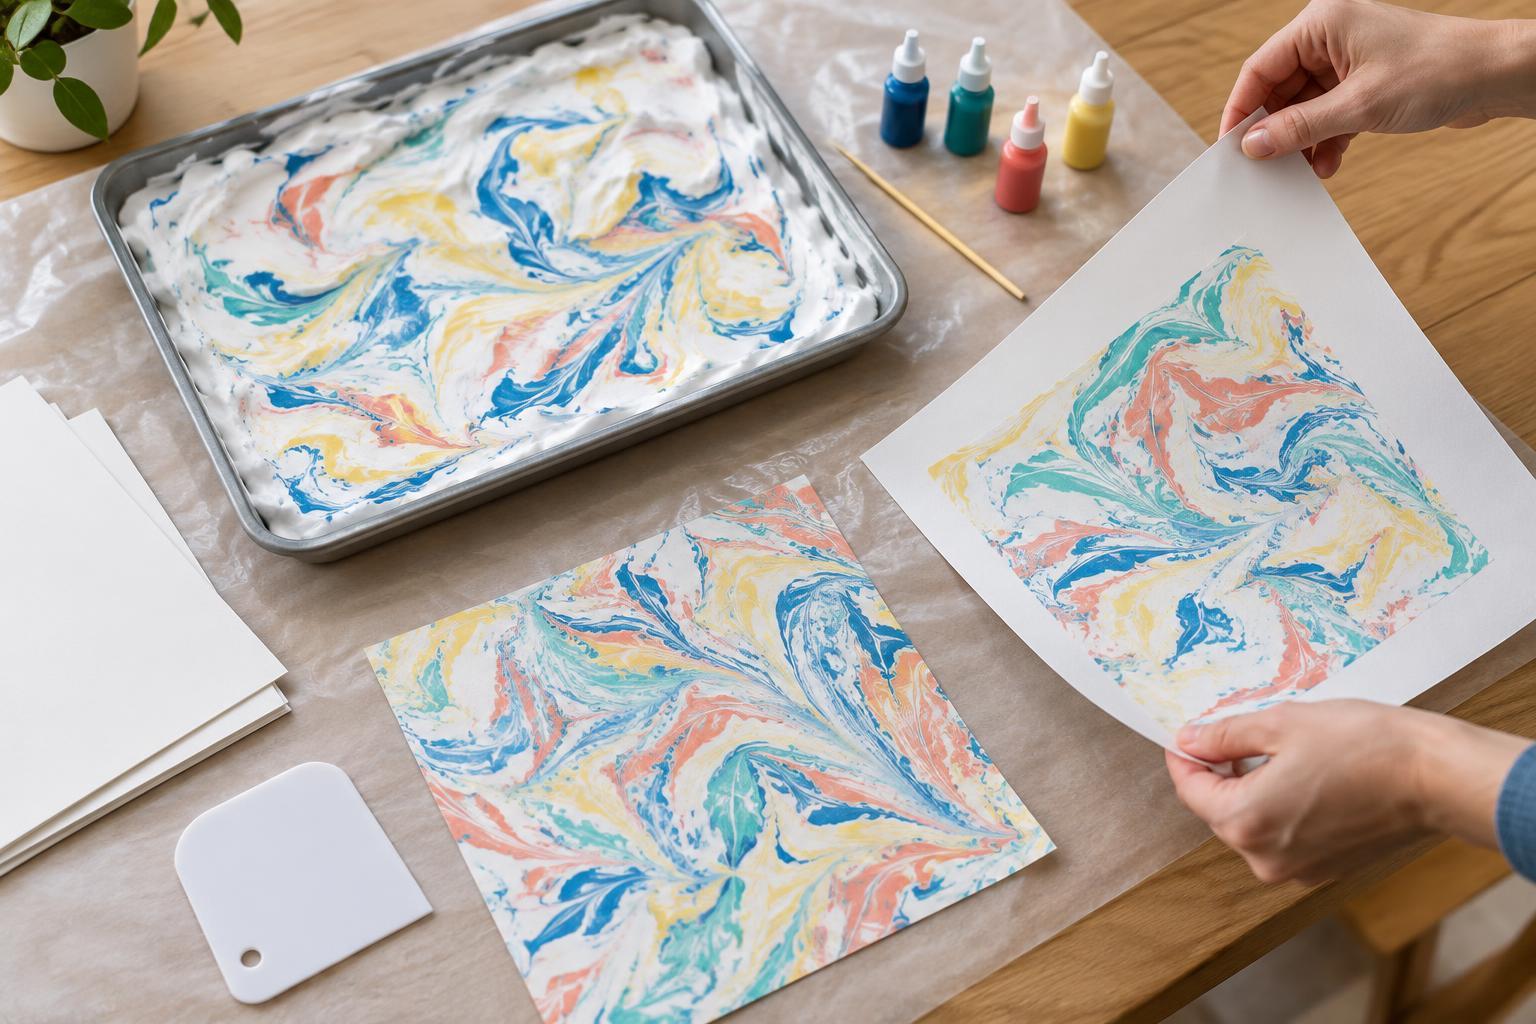
Gather materials and protect your workspace
Shaving-cream marbling uses a layer of foam to hold swirls of color while you press paper onto the surface. Each sheet picks up a different pattern, making this a useful technique for cards, gift tags, bookmarks, and decorative backgrounds.
You will need plain foaming shaving cream rather than gel, food coloring, a shallow tray or baking dish, a toothpick or skewer, and paper cut small enough to fit inside the tray. Keep a piece of stiff cardboard or a plastic scraper nearby to remove the foam after printing. Paper towels, a covered work surface, and a place to dry the sheets will make cleanup easier. Food coloring can stain hands, clothing, and some worktops, so an apron and disposable gloves may be helpful.
Start with white or light-colored cardstock if you have it. It is easier to handle than thin printer paper when damp and is less likely to wrinkle or tear. You can try other papers, but make a small test print first: coated or glossy surfaces may not take color evenly.
Prepare the foam and add color
Spread shaving cream across the bottom of the tray in a layer large enough for one sheet of paper. Smooth it gently with a piece of cardboard or the back of a spoon. It does not need to be perfectly level, but a fairly even surface helps the paper make contact across the whole design.
Add a few drops of food coloring over the foam, leaving space between colors. Begin with two or three colors so you can see how they interact. Drag a toothpick through the drops in loose lines, loops, or figure-eight shapes. Make only a few passes: the aim is to create distinct ribbons of color, not blend everything into one shade.
For a different look, pull the toothpick in parallel lines and then cross those lines in the opposite direction. Work gently so you move the color through the top of the foam without scraping the bottom of the tray.
Print the pattern onto paper
Hold a sheet by two corners and lower it onto the colored foam. Starting at one edge can help prevent trapped air. Pat the back lightly with your fingertips to make contact, especially near the corners, but do not push the paper deep into the tray. Lift it carefully from one edge. The surface will look covered in shaving cream at first; the pattern appears when you remove it.
Place the sheet on your protected work surface, foam side up. Pull a straight-edged piece of cardboard or a plastic scraper across it in one smooth pass. Wipe the scraper clean before making another pass if needed. Scraping repeatedly or rubbing the wet surface can smear the design. Set the print aside to dry completely before cutting, folding, or writing on it.
You can usually make more than one print from the same tray. If the pattern becomes muddy, skim away some foam, add a little fresh shaving cream, and swirl in new drops of color.
Dry the sheets and solve common problems
Lay each print separately on a clean, protected surface until dry. Thin sheets may curl as they dry. Once a sheet is completely dry, place it between clean pieces of plain paper and leave it under a flat, lightweight book to help it settle. Keep wet prints away from finished projects because food coloring may transfer when damp.
If a print has blank patches, the foam may be uneven or the paper may not have touched it. Smooth the foam before the next attempt and pat the back of the sheet more evenly. If the colors look blurred, use fewer drops, swirl less, and scrape the foam away promptly after lifting the paper. A soggy or torn print is a sign to use sturdier paper or a lighter touch.
Before using marbled paper in a project, test any pens, glue, or sealers on a spare piece. The color may react to moisture, so this technique is best for items that will stay dry. Cut successful prints into card fronts, labels, or collage shapes, and save the smaller offcuts for future paper projects.


