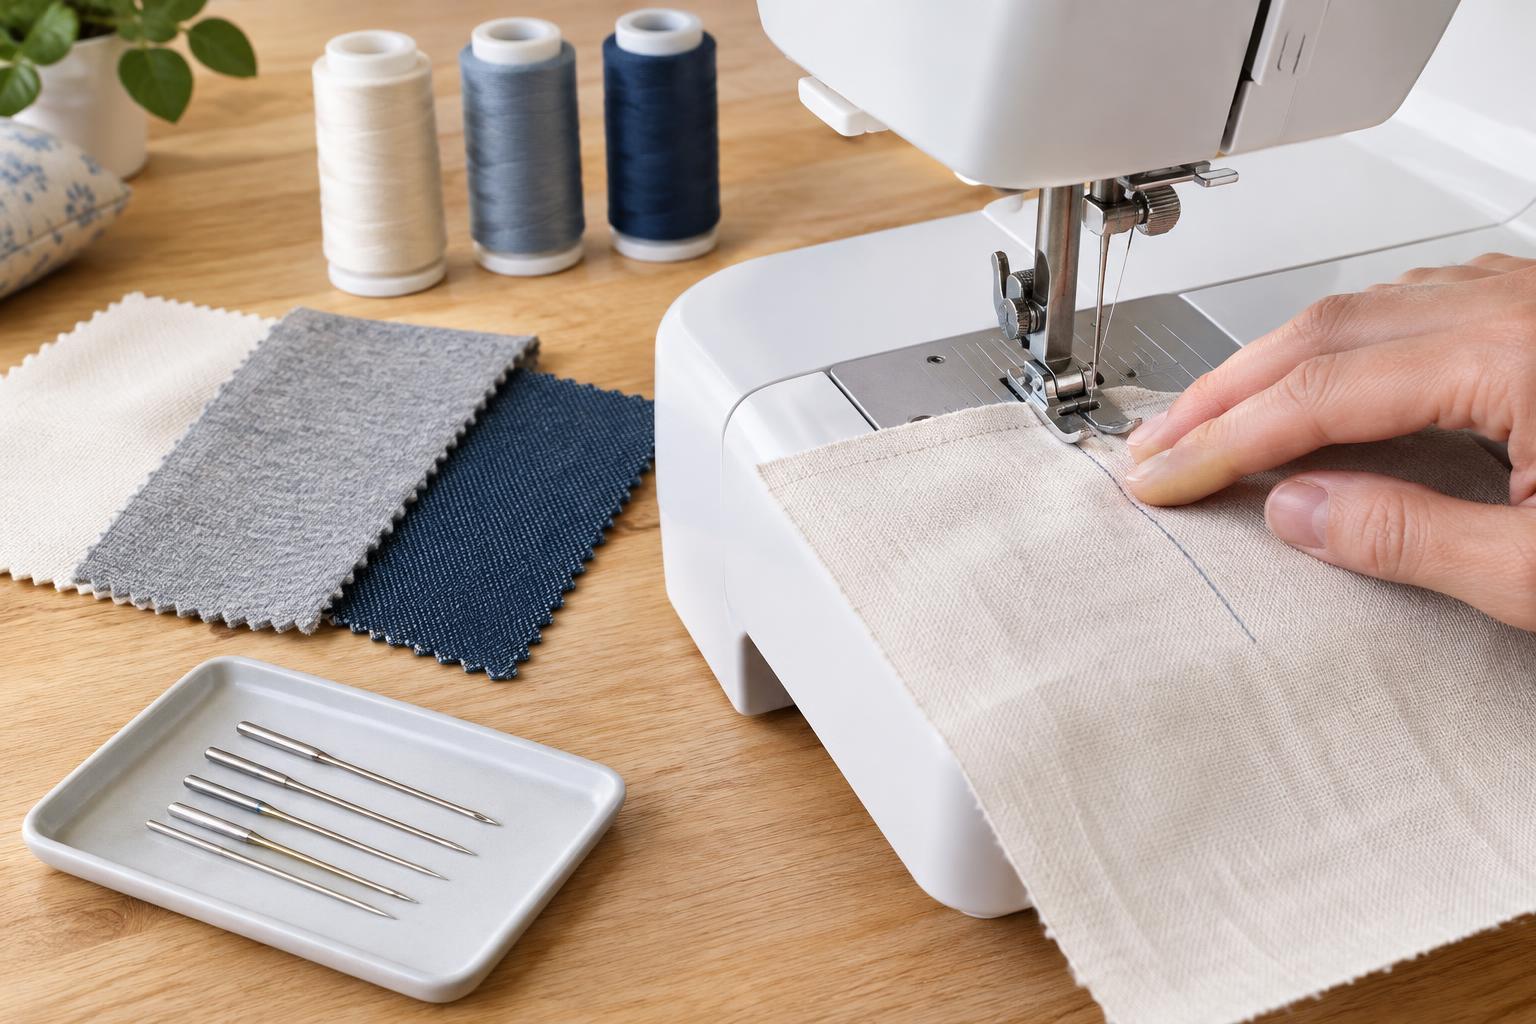
Start with the fabric, not the needle packet
Before choosing a needle, look at how your fabric behaves. A closely woven cotton, a stretchy jersey, and a thick denim all meet the needle differently. The needle point needs to pass through the material without damaging it, while the needle shaft must be strong enough to carry the thread through each layer. Thread should be strong enough for the project without being so bulky that it crowds the needle eye or seam.
Check the fabric’s structure, weight, and stretch. Is it woven or knitted? Does it feel light and fine, medium weight, or dense and heavy? Then count the layers you expect to sew, including hems and seam intersections. A fabric that is easy to stitch in one layer may need a larger needle at a folded edge. Keep a few scraps after cutting so you can test the combination under realistic conditions.
Choose a needle point for the fabric structure
A universal needle is a useful starting point for many ordinary woven fabrics, such as quilting cotton or plain-weave linen. For tightly woven or delicate fabrics, a sharp or Microtex needle may produce a cleaner puncture. Denim needles have a strong shaft suited to firm, dense fabric. These are starting points rather than guarantees: coatings, finishes, and the number of layers can change how a fabric sews.
For knits, begin with a ballpoint or jersey needle. Its rounded point is designed to move between yarns rather than pierce them as a sharp point might. If a very stretchy knit or fabric containing elastane still develops skipped stitches, try a stretch needle. On any fabric, replace a needle that is bent, blunt, or making new snagging or popping sounds. A damaged needle can cause problems even when its type is otherwise correct.
Match needle size to fabric and thread
Needle size describes the thickness of the needle shaft. On common home-machine needles, a label such as 80/12 gives a metric size followed by an American size; higher numbers indicate a thicker needle. As a starting point, try 70/10 for fine fabrics, 80/12 for many medium-weight fabrics, and 90/14 for sturdier materials. A 100/16 may suit thick layers, provided your machine and project can handle them. Test before increasing size: an unnecessarily large needle can leave visible holes.
The thread must pass freely through the needle eye. General-purpose polyester thread works for many everyday seams, including garments that need a little give. Cotton thread may be a suitable match for some woven cotton projects. Heavier decorative or topstitching thread usually needs a larger eye, often supplied by a topstitch needle. Avoid pairing very thick thread with a small needle: fraying, breakage, or uneven stitches may follow. Also check your machine manual for the correct needle system and any limits on needle size or specialty thread.
Make a test seam before sewing the project
Cut a scrap large enough to fold into the same number of layers as your planned seam. Fit a fresh needle, thread the machine carefully with the presser foot raised, and use a bobbin and upper thread appropriate to the fabric and machine. For a straightforward seam, using the same general-purpose thread in the needle and bobbin is a simple place to begin. Sew several inches at a moderate speed, then try a folded edge or seam crossing if your project has one.
Inspect both sides of the sample. Stitches should look reasonably even, without loops, frequent skips, puckering, or holes that seem excessive for the fabric. Gently pull the seam to see whether the stitches suit the fabric’s stretch and intended use. If you need a visibly different result, change one thing at a time: needle type, needle size, thread, stitch setting, or tension. Testing one change at a time makes it easier to identify what helped.
Use stitch problems as clues
Skipped stitches can point to the wrong needle point for a knit, a worn needle, or incorrect threading. Thread that shreds near the needle may be too thick for the eye, or the needle may be damaged. Puckering can come from a needle that is too large, thread or tension choices, or fabric being pulled as it feeds. If the needle struggles at a thick seam, slow down and avoid forcing the fabric; a suitable needle and steady feeding are safer than pulling from behind.
There is no single needle-and-thread pairing for every fabric. Keep a small note of combinations that worked on your own machine, especially for fabrics you use often. Starting with the fabric structure, choosing a suitable point and size, and checking a sample seam will help you make better choices before the final piece goes under the presser foot.


