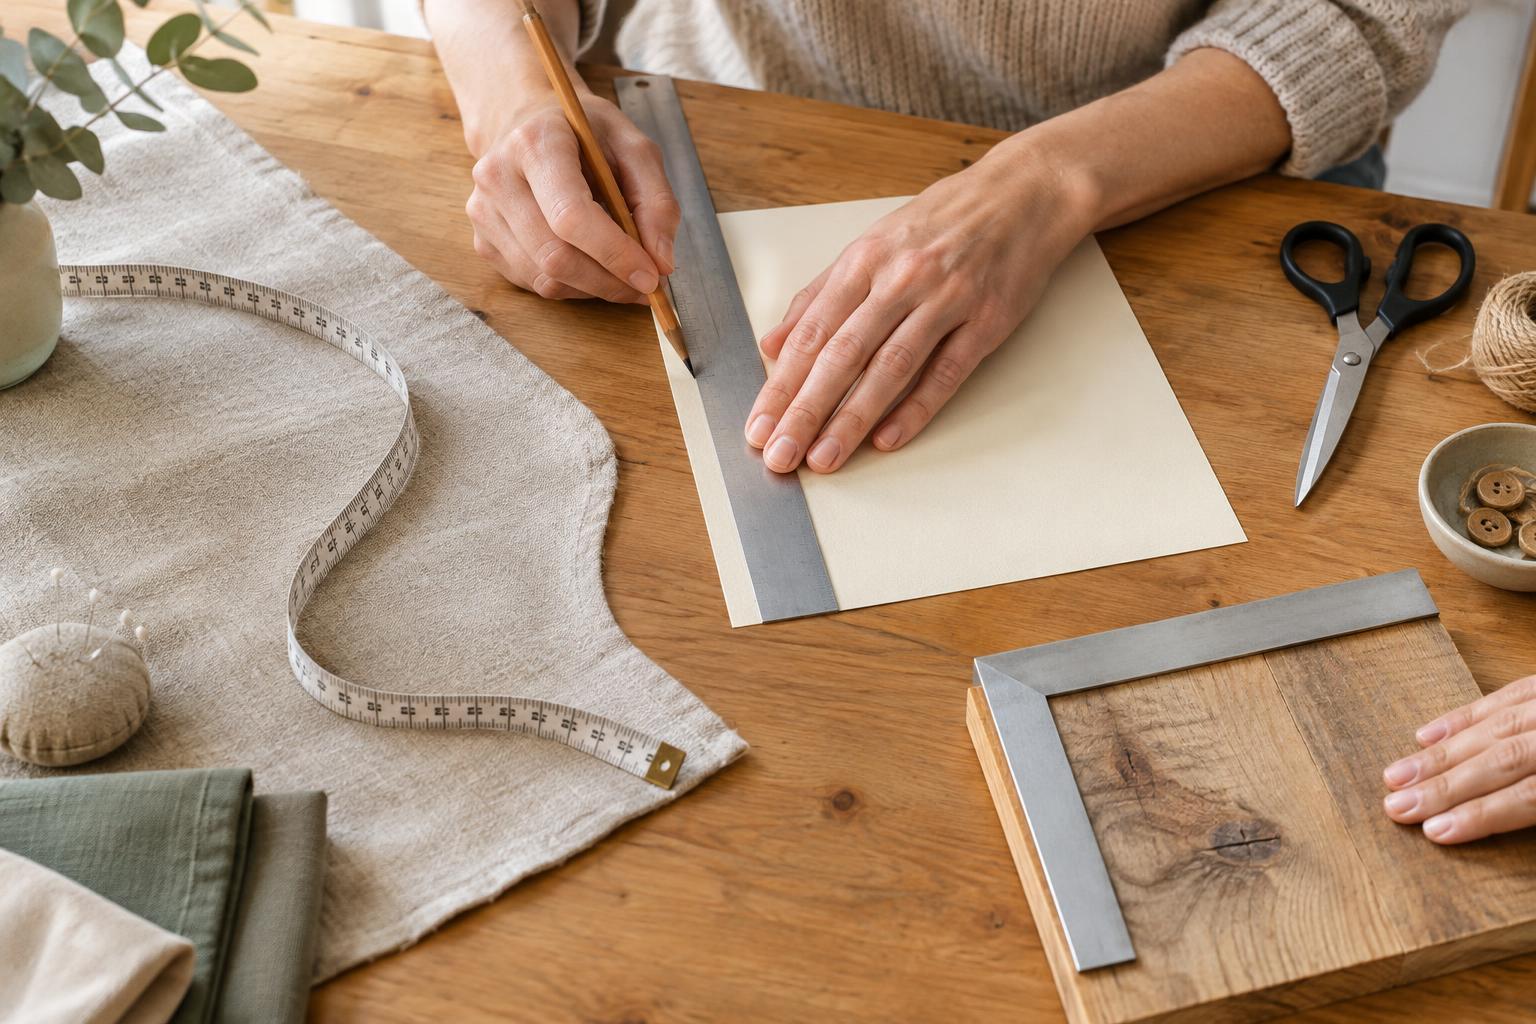
Start with the right measuring tool
A rigid ruler is useful for short, flat measurements and straight lines on paper, card and small pieces of wood. A metal ruler can also guide a craft knife, provided you hold it firmly and keep your fingers away from the cutting edge. A flexible tape measure follows curves and wraps around objects, making it useful for fabric and irregular shapes. A square helps you mark or check a right angle when a corner needs to be neat.
Before starting, check that your tool has clear markings and a usable zero point. Some rulers have a small gap between the end of the ruler and the zero mark. If the end is worn or hard to read, align the printed zero with your starting point instead. Keep one unit of measurement throughout a project; switching between centimetres and inches invites mistakes.
Prepare a reliable starting point
Choose one edge or corner as your reference before marking a piece. For a paper panel, this might be a factory-cut edge. For fabric, smooth out wrinkles and use a straightened edge rather than a wavy cut edge. If you are working with an upcycled item, check whether the original edge is actually straight before trusting it. A poor starting edge can make every later measurement look correct while the finished piece ends up uneven.
Place the ruler flat against the surface, with its zero mark at your chosen starting point. Look straight down at the scale rather than from an angle, which can make a mark appear to fall on the wrong line. Use a sharp pencil for paper and a suitable removable marking tool for fabric. Make a small, precise mark instead of a thick line whose exact position is hard to judge.
Mark straight lines and square corners
To mark a cutting line, measure the required distance from your reference edge at two points, then align your ruler with both marks. This is more dependable than measuring once and guessing the direction of the line. On a large sheet, add a third mark between them if it helps you spot an error. Draw lightly until you have checked the line; a faint pencil mark is easier to correct than a heavy one.
For a right-angle corner, hold one arm of a square snugly against a straight reference edge and draw along the other arm. If the square rocks or leaves a gap, inspect the edge before marking. A square can also help check an existing corner: place it against both sides and look for gaps. When making a rectangle, measure its opposite sides as well as its corners. A neat-looking corner alone does not guarantee that the piece is the intended size.
Measure fabric and curved objects without stretching
Fabric can shift as you handle it, so lay it on a flat surface and let it rest without pulling. Keep a tape measure flat against the fabric, but do not stretch it tight. For a long straight cut, measure from the same reference edge at several points and connect the marks with a ruler or straightedge. If a sewing pattern includes a seam allowance, check whether the stated dimensions already include it before adding anything.
To measure around a container or another curved object, wrap the tape so it follows the surface without sagging or digging in. Keep it level if you are measuring around a cylindrical shape. If you only have a rigid ruler, wrap a non-stretching strip of paper around the object, mark where the ends meet, then lay the strip flat and measure it. Make sure the strip does not slip between marking and measuring.
Check before cutting or assembling
A quick second check is usually easier than fixing a piece cut too small. Read the measurement aloud to yourself, confirm the unit, and check that you started at zero rather than at the end of the tool. For repeated pieces, measure the first one carefully against the project dimensions. Then use it as a template only after confirming that its edges and corners are correct; otherwise, a small error will be repeated.
Keep measuring tools in good condition. A bent ruler, stretched tape or chipped square may give inconsistent results. Store a tape loosely rather than pulling it hard during use, and clean adhesive or paint from ruler edges so they sit flat. Above all, take a moment to identify what you are measuring: the finished size, the cutting size or the space a piece must fit. That distinction often matters more than making an extra mark.


