Start with what you actually use
Before buying organizers, gather your craft supplies in one place. Group similar items together: cutting tools, adhesives, paper, fabric, thread, paints, and decorative pieces. Check pens, glue, and other supplies that may have dried out or become unusable. This gives you a clearer picture of what needs storage and prevents you from buying containers that are the wrong size.
Next, separate everyday tools from occasional supplies and works in progress. Keep frequently used items, such as scissors, a ruler, and a pencil, within easy reach of your work surface. Store less-used materials farther away. If several people share the space, give each person a small, clearly marked place for unfinished projects rather than mixing them with general supplies.
Give each category a home
Choose containers based on the contents, not just on how neatly they fit a shelf. Shallow trays work well for small items because you can see what is inside without digging. Jars or upright holders can keep pencils and brushes accessible; store brushes with their bristles protected. Boxes with lids help keep dust off materials used less often. Labels are especially useful when containers are opaque or stacked.
Divide large categories into smaller, practical groups. Instead of one box marked “paper,” consider separate spaces for full sheets, scraps large enough to reuse, and small decorative offcuts. Keep fabric by project, type, or size—whichever makes it easiest to find what you need. Avoid making categories so detailed that putting things away becomes a chore.
Use height without crowding the work surface
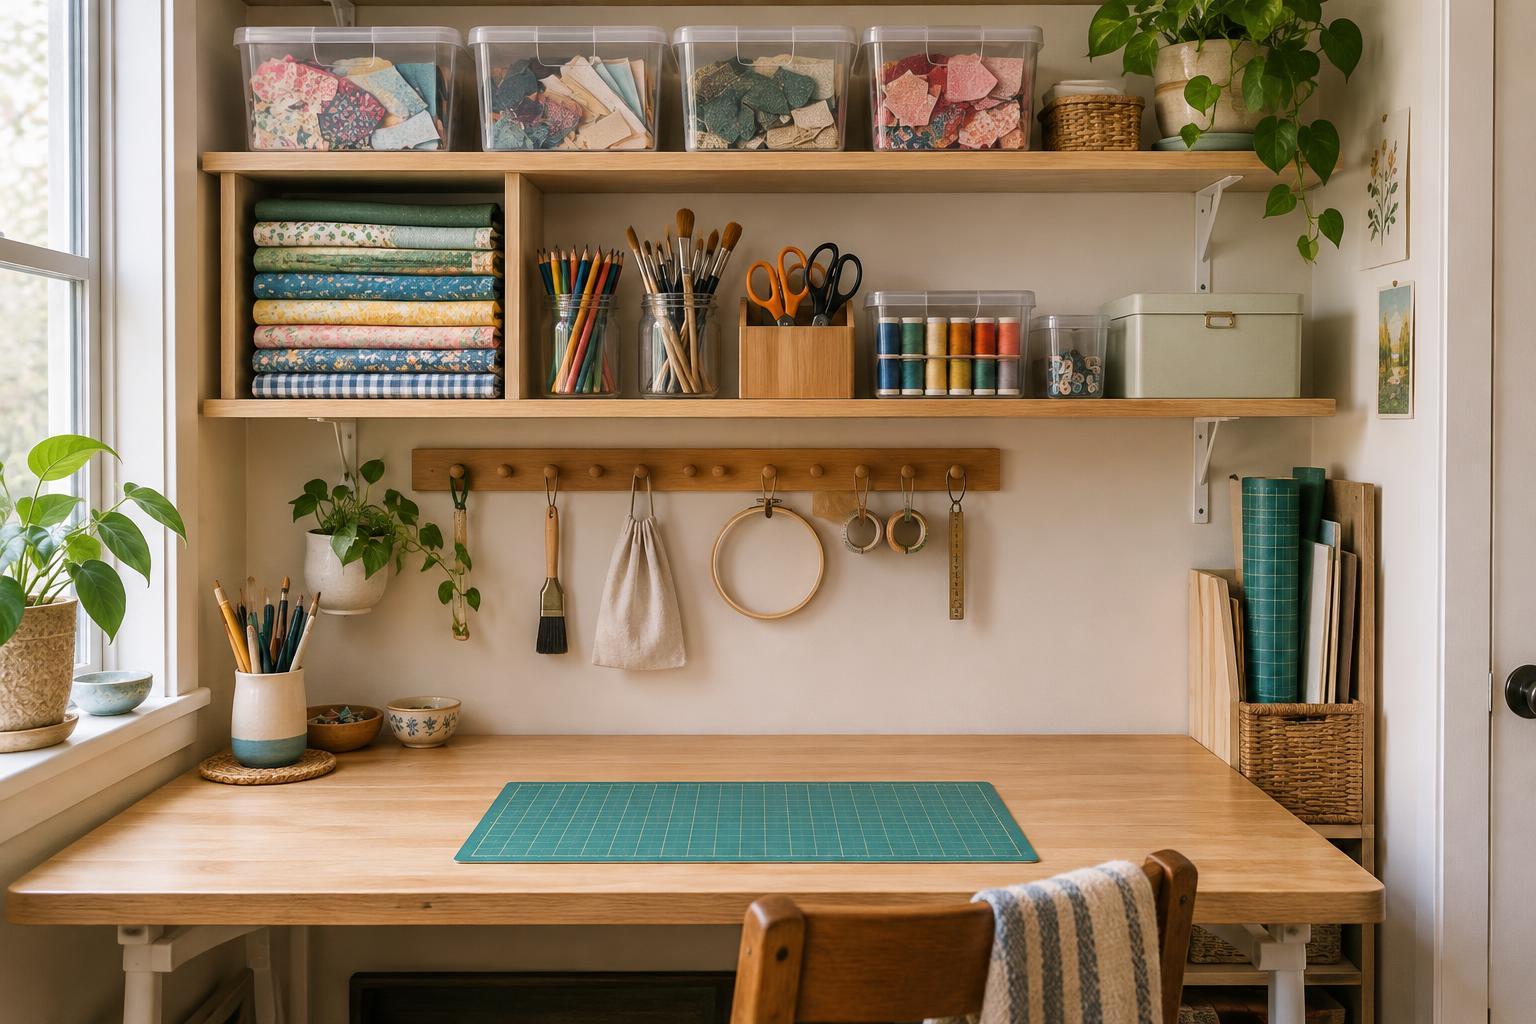
When floor space is limited, look at the wall and the space above your desk. A shelf can hold labeled boxes, while hooks or a pegboard can make lightweight, frequently used tools easy to spot. Check that wall storage is securely installed and suited to the weight of what you put on it. Reserve the desktop for the task at hand, leaving enough clear space to measure, cut, or lay out materials.
Make use of awkward gaps only if the supplies remain easy to retrieve. A narrow cart may fit beside a table, and a portable caddy can move between a cupboard and your work area. Be cautious with deep, overfilled bins: they save visible space but often hide what you own. Keep heavier items low and leave enough room to remove a container without disturbing everything around it.
Protect materials and handle tools safely
Storage should help supplies stay usable. Keep paper flat in a folder or tray so edges are less likely to curl. Fold fabric loosely and store it somewhere clean and dry. Close paint and glue containers firmly, and follow any storage directions on their packaging. Put lids on small containers of beads, buttons, or pins before moving them.
Give sharp tools a dedicated spot rather than leaving them loose in a drawer. Use blade covers where appropriate, and keep needles and pins in a case or pincushion. If children or pets can reach the area, store sharp tools, strong adhesives, and other unsuitable materials out of their reach. Good organization is not only about appearance; it should also make safe handling easier.
Build a simple reset routine
A small space becomes difficult to use when unfinished work spreads into every available corner. Keep one tray or box for the current project, with its pattern, materials, and notes together. At the end of a crafting session, return shared tools to their homes, close containers, and clear the surface. This brief reset makes it easier to begin again without sorting through yesterday’s supplies.
Review the setup whenever a container becomes hard to close or a tool is consistently left out. That may mean a category needs a larger home, the storage spot is inconvenient, or you have more material than you can comfortably use. Adjust the system to match how you craft. The best small-space arrangement is one you can maintain while still having room to make things.


