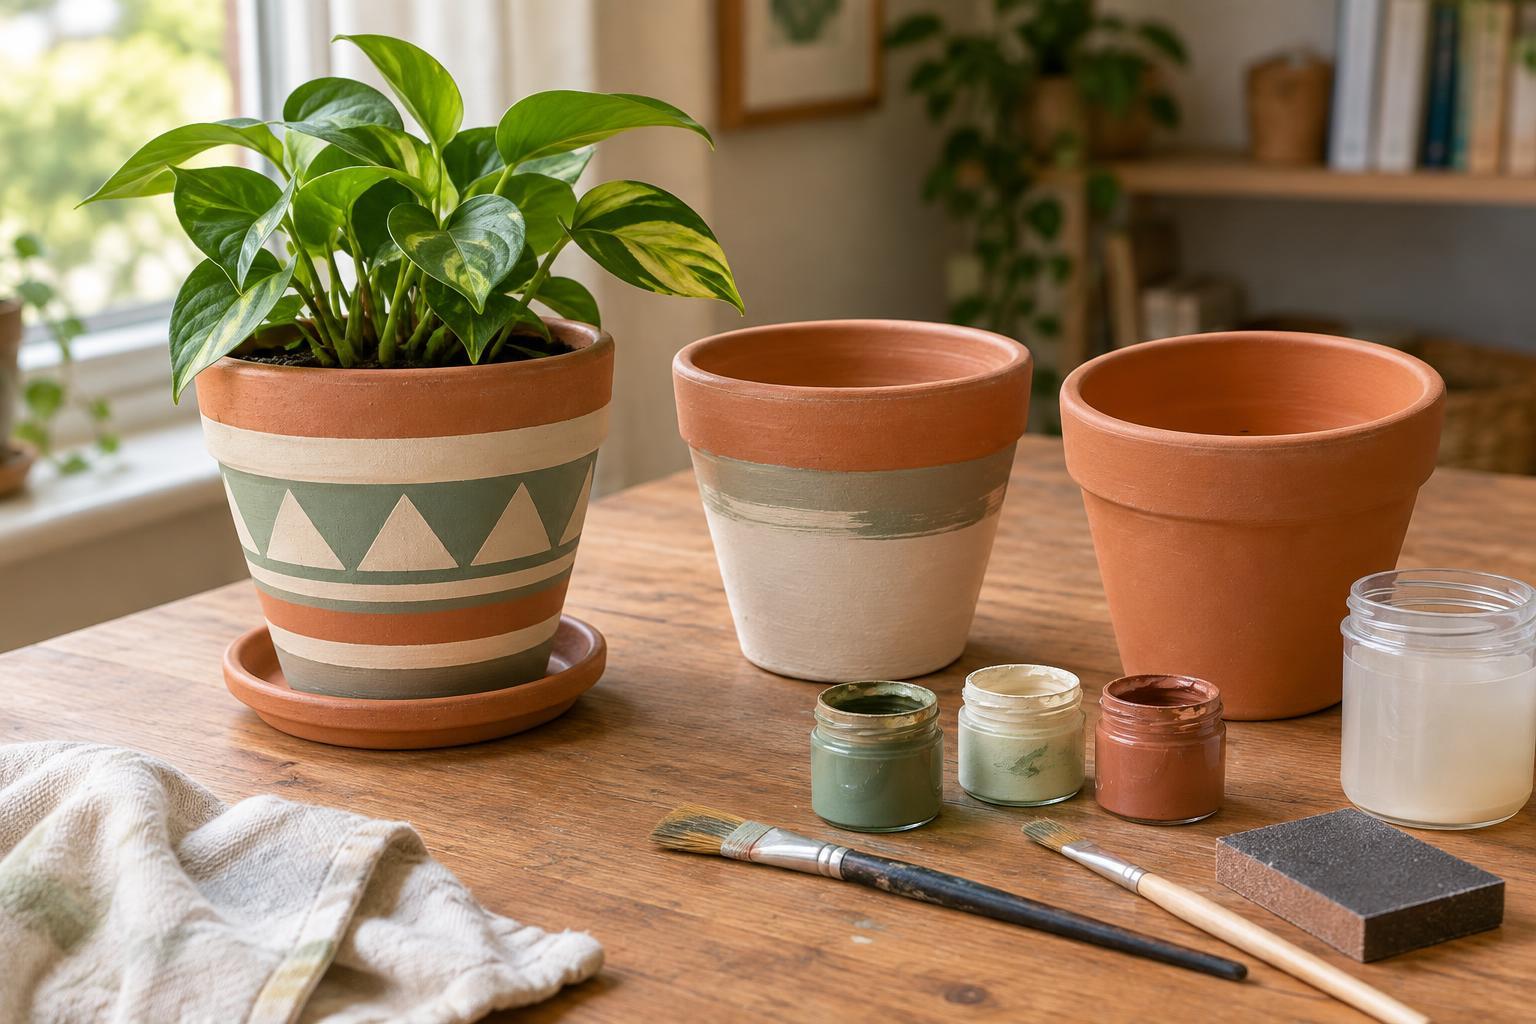
Choose a pot and plan its use
Terracotta is appealing for decorative projects because its warm colour looks good on its own and its matte surface takes paint well. It is also porous: moisture can pass through the clay and affect a painted finish. Before choosing colours, decide whether your pot will hold a plant directly or serve as a decorative outer pot around a separate container. An outer pot gives you more control over moisture and is often the simpler choice for an indoor display.
For a first project, choose a plain, unglazed pot with a smooth surface and no visible cracks. Gather acrylic craft paint, brushes, a palette, a soft cloth, mild soap, fine-grit sandpaper if needed, painter’s tape and a clear sealer whose label says it is suitable for painted terracotta or porous surfaces. Protect your work area with paper or a reusable mat. If you plan to plant directly in the pot, make sure its drainage hole remains open and have a saucer ready to protect the furniture beneath it.
Clean and prepare the terracotta
Paint adheres more evenly to a clean, dry surface. Wipe a new pot to remove dust. For a previously used pot, brush away loose soil, wash it with mild soapy water and rinse it thoroughly. If you notice a chalky residue, gently scrub it away rather than painting over it. Let the pot dry completely before continuing; terracotta can retain moisture after its surface appears dry.
Check for rough spots or raised marks, and smooth them lightly with fine-grit sandpaper. Wipe away all sanding dust. A primer made for porous surfaces can help create a more uniform base, particularly if your design uses pale colours over dark clay. Check that the primer and paint are compatible, and follow the product directions for drying. Primer is optional for many simple indoor projects, but careful cleaning is not.
Paint in thin, controlled layers
Start with a simple design that suits the pot’s shape. A solid colour, a band around the rim or a few large painted shapes are easier to keep neat than a detailed pattern on a curved surface. Sketch your idea on paper first. For straight bands, press painter’s tape firmly onto the dry pot, taking extra care around the rim where tape can lift.
Apply acrylic paint in thin layers with a soft brush. A light first coat may look uneven because the clay absorbs paint; resist the urge to cover everything at once. Let each layer dry according to the paint directions before adding the next. Turn the pot as you work rather than reaching across wet areas, and use a smaller brush for edges and corners. Remove tape carefully while the final coat is still slightly flexible, unless the tape or paint instructions recommend otherwise.
Keep paint out of the drainage hole if the pot will hold a plant directly. You can paint the rim and any visible upper interior, but there is little reason to coat the entire inside. Allow the finished design to dry fully before sealing. Handling it too soon can leave fingerprints or pull up a layer that has not bonded firmly.
Seal the finish without trapping a problem
A clear sealer can make a painted surface easier to wipe clean and help protect it from occasional splashes. It does not necessarily make a porous pot waterproof. Choose a product compatible with your paint and intended for the pot’s indoor use, and test it on a small, less visible area first. Some sealers change the sheen or deepen the paint colour, so the test helps you decide whether you like the result.
Apply thin, even coats to the painted exterior, following the sealer’s directions for ventilation, drying time and recoating. Avoid puddles around the base and rim, which can dry cloudy or unevenly. Do not block the drainage hole. Let the finish cure for the time stated on the product label before putting the pot into use; being dry to the touch is not always the same as being ready for handling and watering.
Display and care for your finished pot
For the easiest upkeep, place a plant in its own nursery pot inside your decorated terracotta pot. Remove the inner pot when watering, allow excess water to drain, then return it. If you plant directly in the terracotta, use a saucer and check it after watering. Water moving through the clay can still leave marks or put pressure on a painted finish, even when the outside has been sealed.
Place the pot where it will not sit in spilled water or get knocked against hard objects. Clean the exterior with a soft, slightly damp cloth rather than soaking or scrubbing it. If a small area chips, clean and dry the spot before touching up the paint and sealer as directed by their labels. With careful preparation and a little attention to moisture, a painted terracotta pot can be a personal accent that is also practical to live with.


