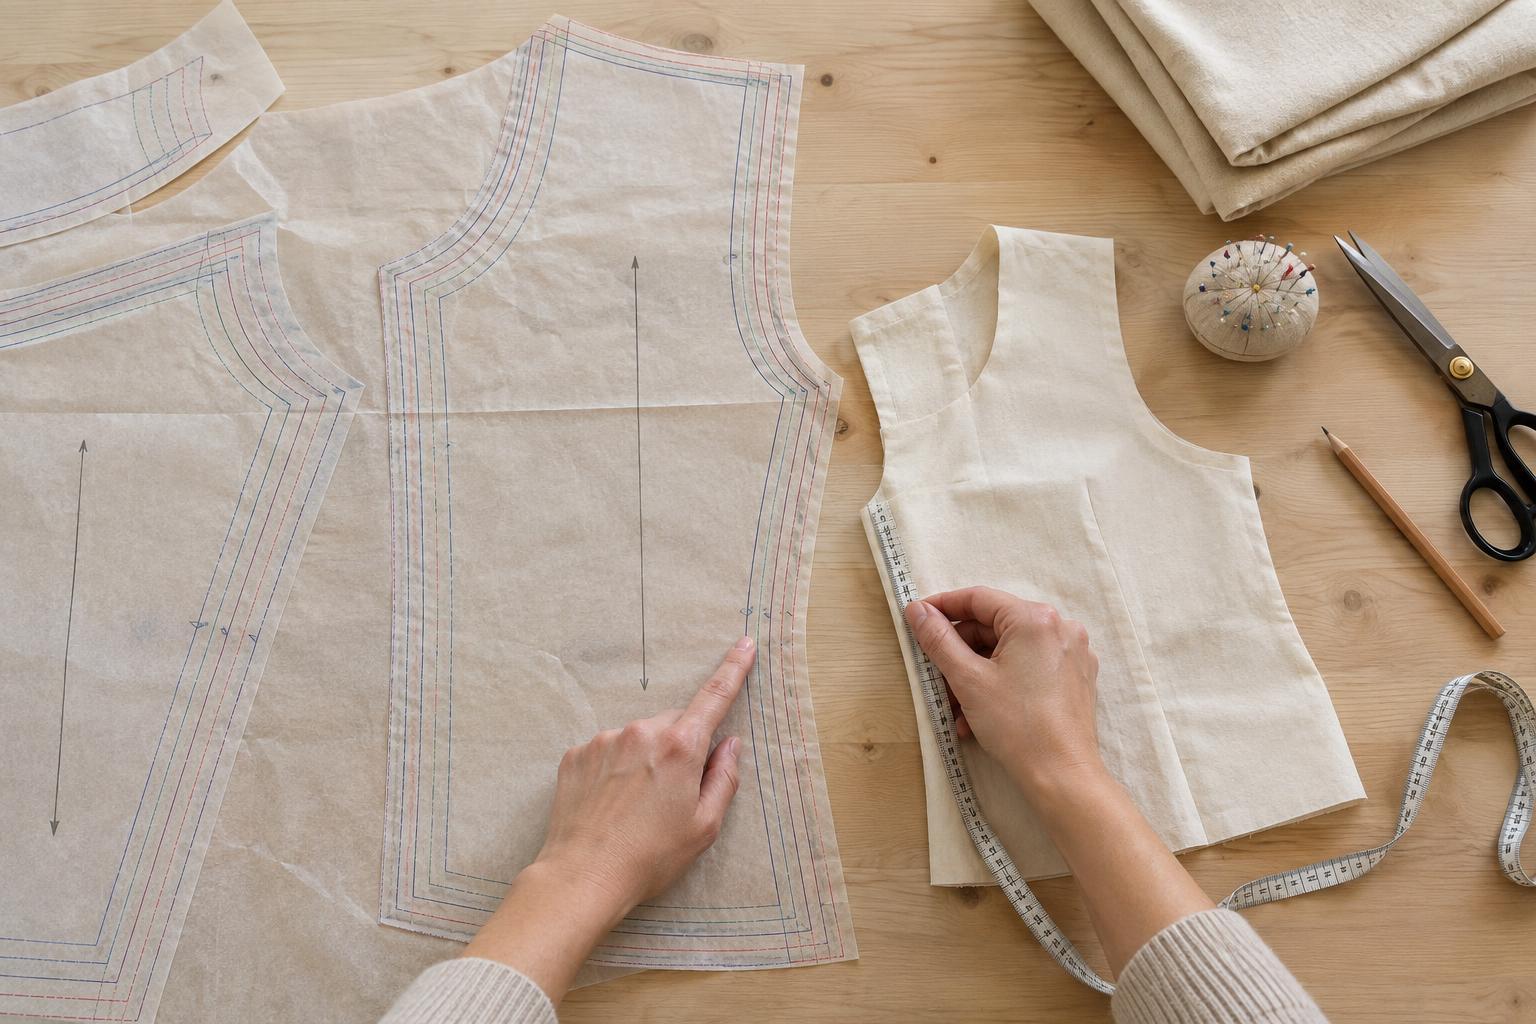
Start with the pattern overview
Before unfolding the pattern pieces, read the envelope or introductory pages. Find the garment views, size chart, finished garment measurements, fabric recommendations and list of supplies. One pattern may offer several versions with different sleeves, lengths or closures. Choose the version you want first, then note which pieces and supplies it requires.
Check whether your fabric suits the design. A pattern intended for a stretchy knit may not work as expected in a woven fabric, and a crisp fabric will hang differently from a soft one. The fabric requirements also tell you how much to buy for your chosen size and fabric width. If the fabric has a directional print or a raised surface that looks different when turned, you may need extra length to keep every piece facing the same way.
Measure your body and use the pattern’s size chart
Sewing pattern sizes do not necessarily match the sizes you buy in ready-made clothes. Use the chart supplied with the pattern rather than choosing your usual shop size. Measure over the undergarments you expect to wear with the garment. Keep the measuring tape level and comfortably close to your body without pulling it tight. For most garments, the key measurements are bust or chest, waist and hips; the pattern may ask for others, such as height or back length.
Choose a starting size using the measurement most important to the garment’s fit. For a fitted skirt, that may be the hip measurement; for a fitted top, the bust or chest is often central. Read the pattern’s guidance if it identifies a different measurement. If your measurements fall across sizes, you do not have to use one size throughout. You can blend gradually between size lines, keeping the transition smooth and making the same change on matching pieces.
Understand ease and check finished measurements
Body measurements and finished garment measurements serve different purposes. The size chart describes the body the pattern is designed for. Finished measurements describe the sewn garment at specified points. The difference is called ease. Some ease allows you to move and sit comfortably; additional ease may be part of a loose or flowing style. Stretch garments may be designed to fit differently, so follow the pattern’s fabric guidance rather than assuming every finished measurement must be larger than your body measurement.
Compare finished measurements with a garment you own that fits the way you want. Measure both at the same point and consider the fabric, silhouette and how you will use the garment. A measurement that looks generous on paper may be intentional. Conversely, a close-fitting design may need adjustments even when the body size chart appears to match. Finished measurements are a useful check, not a replacement for trying the garment on.
Decode the pieces before you cut
Find the cutting line for your selected size on each pattern piece. Crowded, nested lines are easy to confuse, especially near corners. Tracing your size onto separate paper can help preserve the original pattern and make cutting clearer. Read each piece’s label: it usually identifies the garment part, the number to cut and whether it should be placed on a fabric fold. Confirm whether seam allowances are included and how wide they are; do not add another allowance unless the instructions tell you to.
Other marks guide placement and assembly. A grainline arrow generally runs parallel to the fabric’s selvage, helping the piece hang as intended. A fold marking belongs against a folded edge, where you should not cut through the fold. Notches help match seams, while dots and lines can mark darts, pleats, pockets or stitching points. Check the symbol key, since markings vary between patterns. Transfer useful marks to the fabric before removing the paper pieces.
Make a fit check before using your best fabric
Read the cutting layout and the first few construction steps before cutting. Note which pieces are cut on folded fabric and which must be cut as a single layer. If you are between sizes or using an unfamiliar pattern, make a simple test version from fabric with similar weight and stretch to your intended fabric. You can often sew only the main body pieces needed to assess fit, leaving out details such as facings or pockets.
Try the test garment on and look at where it feels tight, loose or too long. Mark changes while you can see them, then update the pattern pieces before cutting the final fabric. A common mistake is choosing a smaller size simply because the pattern pieces look large; seam allowances and design ease can make them deceptive. Measuring carefully, checking finished dimensions and testing the fit give you a more reliable starting point.


