Start with the jar and its intended use
Empty glass jars can become containers for buttons, paintbrushes, ribbon scraps, or homemade decorative objects. Before removing a label, inspect each jar in good light. Set aside any with chips around the rim or cracks in the glass. Remove the lid and check it separately for rust, dents, or a damaged lining. A jar that looks fine for holding craft supplies is not necessarily suitable for preserving food; use containers and methods intended for that purpose if you plan to can anything.
Work over a towel or in a sink so a wet jar is less likely to slip. Gather warm water, dish soap, a soft cloth, a plastic scraper or old card, and a small amount of cooking oil. These are enough for many labels. Keep abrasive pads and metal blades out of the first round: they can scratch glass, damage painted details, or make the job harder than it needs to be.
Soak and lift paper labels
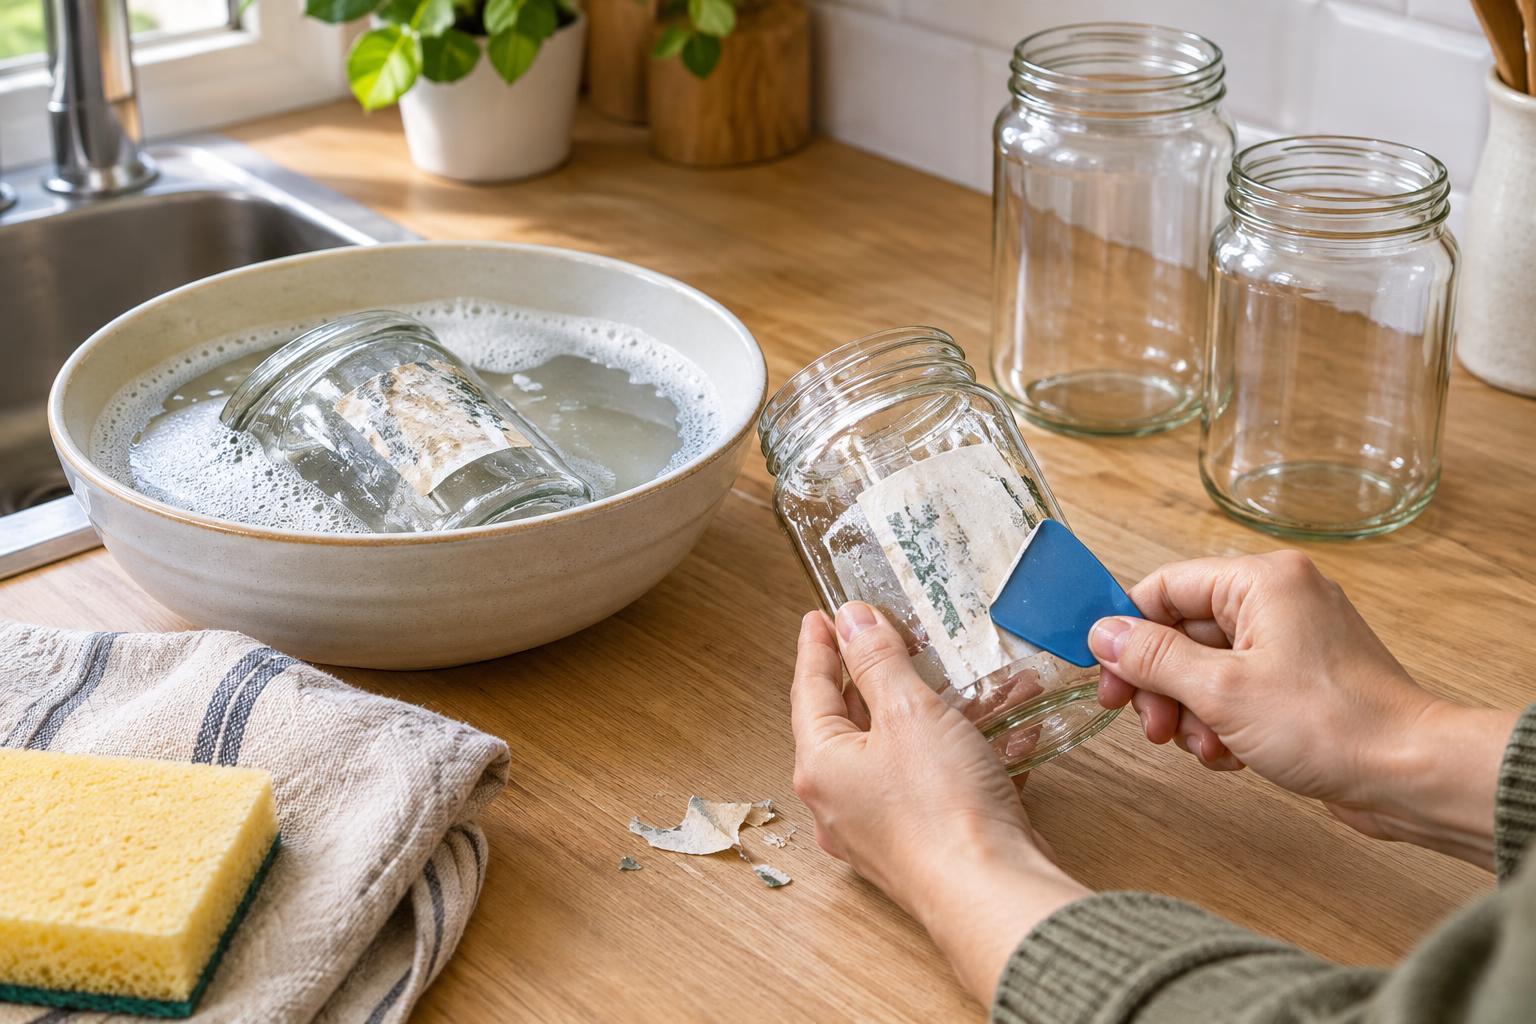
Fill a bowl or sink with comfortably warm water and a little dish soap. Submerge the jar, or place it on its side if the container is shallow. Let the label soften, then try lifting a corner with your fingernail or a plastic card. Some paper labels slide off in one piece; others separate into layers. If a layer stays behind, wet it again rather than scraping harder.
Peel slowly and close to the surface of the glass. Pulling straight away from the jar often tears a softened label into small pieces. A soft cloth can roll damp paper fibers off the surface. If several jars need cleaning, work on one while the others soak. Wash away loose paper before it collects in the sink drain.
Avoid sudden temperature changes. A cold jar does not need boiling water to release its label, and extreme changes in temperature may crack glass. Warm, soapy water and patience are a better starting point.
Handle plastic labels and stubborn glue
A glossy plastic label may resist soaking because water cannot reach the adhesive through its surface. Lift an edge and peel it back slowly. If the film tears, score only the label lightly with a fingernail or plastic tool, then try another edge. Do not dig at the glass with a knife. Once the film is gone, you can treat the sticky patch underneath.
Rub a few drops of cooking oil onto the residue and leave it briefly to loosen. Use a cloth or your fingers to work the glue into small rolls, then lift it with the plastic card. Repeat rather than pressing hard. A paste made from a little oil and baking soda can add gentle scrubbing action on plain glass, but test it first and keep it away from painted decoration, printed markings you want to preserve, and lids with delicate finishes.
For residue that still will not shift, a small amount of rubbing alcohol on a cloth may help on uncoated glass. Test an inconspicuous area first, work with ventilation, and keep it away from flames. Do not mix cleaning products. If the jar has a painted or coated exterior, stick with the gentler methods unless you are willing to risk altering the finish.
Wash away the remover and check your work
Oil can make a jar look clean while leaving a slippery film. Wash the glass thoroughly with warm water and dish soap, including the rim and the base where adhesive is easy to miss. Rinse well and dry with a clean towel. Tilt the jar toward a light source: tacky patches often show up as dull or streaky areas. If you find one, repeat the oil treatment only on that spot and wash again.
Clean lids separately rather than assuming they tolerate the same soak or scrub as glass. Dry around the rim and any crevices before putting a lid back on. If you used a solvent, make sure it has been washed off before the jar holds anything. For jars that will hold food, follow appropriate food-container cleaning practices and use a sound, suitable lid.
Prepare the clean jar for a craft project
Let the jar dry completely before adding paint, glue, or a new label. Moisture under a paper wrap can cause wrinkles, while an oily patch can stop decoration from adhering evenly. For an easy test, run a clean, dry finger over the outside: it should feel smooth rather than tacky or slick.
Then match the jar to the project. A wide jar makes a useful holder for sewing notions; a small one can keep beads sorted; an unpainted jar can display a few dried stems. If you plan to decorate it, decide which parts need to stay clear before applying paint or adhesive. The label-removal step may be slow, but a clean, dry surface gives the finished piece a much neater start.


