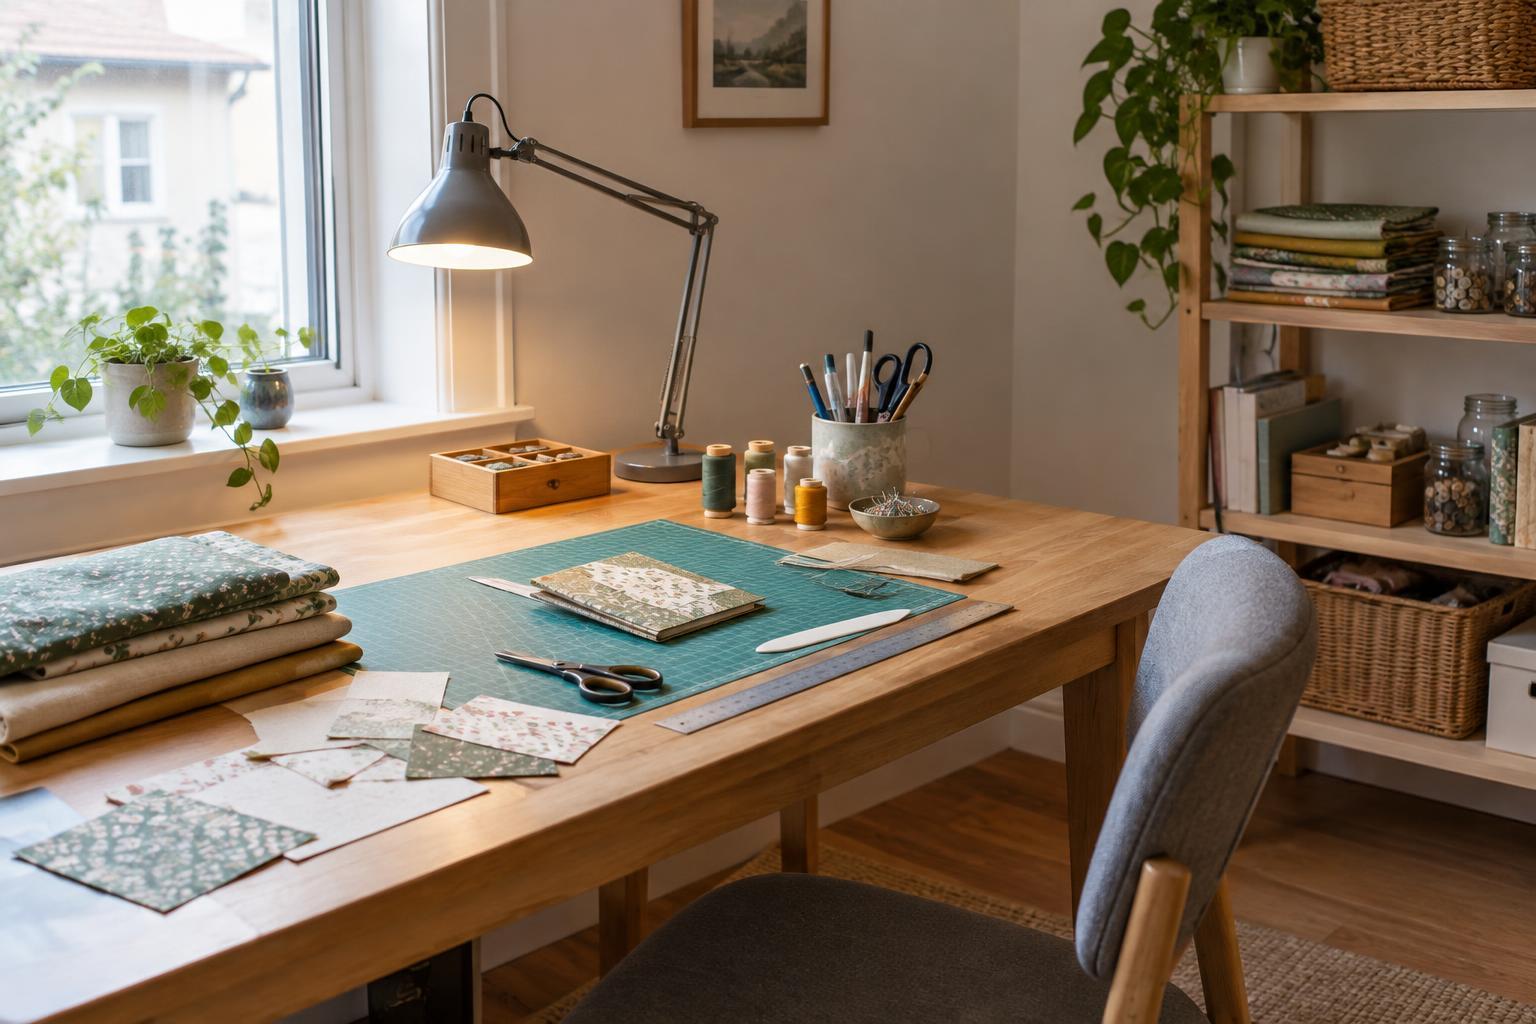
Start with the work you actually do
A comfortable craft workspace can be a dedicated desk, one end of a dining table, or a folding surface that you clear after each session. Before moving furniture, think about your usual projects. Paper cutting needs a firm, flat surface; sewing needs room to guide fabric past the machine; painting and gluing need a surface you can protect. Choose a spot that fits the activity you do most often rather than trying to accommodate every possible craft at once.
Clear enough space for the project, the tools you will use, and a small area for pieces waiting to dry or be assembled. If you share the table, a tray or portable box can hold your current project between sessions. A cutting mat or washable cover protects the surface, but check that it lies flat and will not slide while you work.
Make the light work for your hands
Good craft lighting helps you see edges, stitch lines, colours, and small details without leaning closer to the work. Daylight from a nearby window is useful, but it changes throughout the day and can cast strong shadows. Add a movable task lamp so you can direct light onto the part of the project that needs attention. Position it to the side opposite your working hand when possible: this may keep your hand from shading a cut line or seam.
Test the setup with an actual task, such as threading a needle or marking a pencil line on dark paper. If the lamp reflects off a glossy mat or shines into your eyes, change its angle rather than simply moving it closer. Even light across the work surface is more useful than a very bright spot surrounded by shadow. When selecting colours for a project, look at them in the light where the finished item will be used as well as at your desk.
Arrange the surface for comfortable movement
Sit at the workspace and notice whether your shoulders rise, your wrists bend sharply, or you have to stretch to reach common tools. A stable chair and table that let you work without hunching are a good starting point. For close work, bring the project nearer or adjust the lamp before bending over it. Change position and take short breaks during long sessions, especially when repeating the same cutting, stitching, or painting motion.
Keep the area directly in front of you for the project. Put scissors, pins, rulers, and other frequently used items to one side, where you can reach them without crossing over the work. Leave space behind a sewing machine for fabric to move freely. For larger paper or fabric pieces, clear the surrounding area before you start measuring; an edge hanging off the table can pull the material out of alignment.
Store supplies where they support the process
Store materials by task rather than by appearance. A paper-craft box might contain a ruler, pencil, bone folder, and adhesive, while a sewing kit could hold needles, clips, thread, and seam tools. Shallow containers help you find small items without emptying a deep drawer. Label containers if several people use the space, and keep your most-used supplies close enough to retrieve without covering the work surface.
Give sharp tools a secure place between uses, and close adhesive containers promptly. Keep liquids away from paper stacks, electrical equipment, and unfinished fabric. If a project needs time to dry, designate a shelf or tray where it can stay undisturbed. This makes cleanup easier and reduces the chance of putting a hand or another material onto wet glue or paint.
Check the space before each project
A quick reset makes a small workspace more dependable. Remove scraps from the previous project, check that the surface is steady, and set out only the tools needed for the next step. Keep cords out of walkways and away from cutting paths. Follow the product instructions for lamps, irons, adhesives, and finishes, including any guidance about ventilation or protecting the work surface.
Your setup can change with the task. A clear mat and angled lamp may be ideal for cutting paper, while sewing may call for more space to the left and behind the machine. Instead of aiming for a perfect permanent arrangement, notice what interrupts your work and adjust one thing at a time. The best craft workspace is one you can set up safely, use comfortably, and put back in order without turning cleanup into another project.


